Setup & site building · Guide
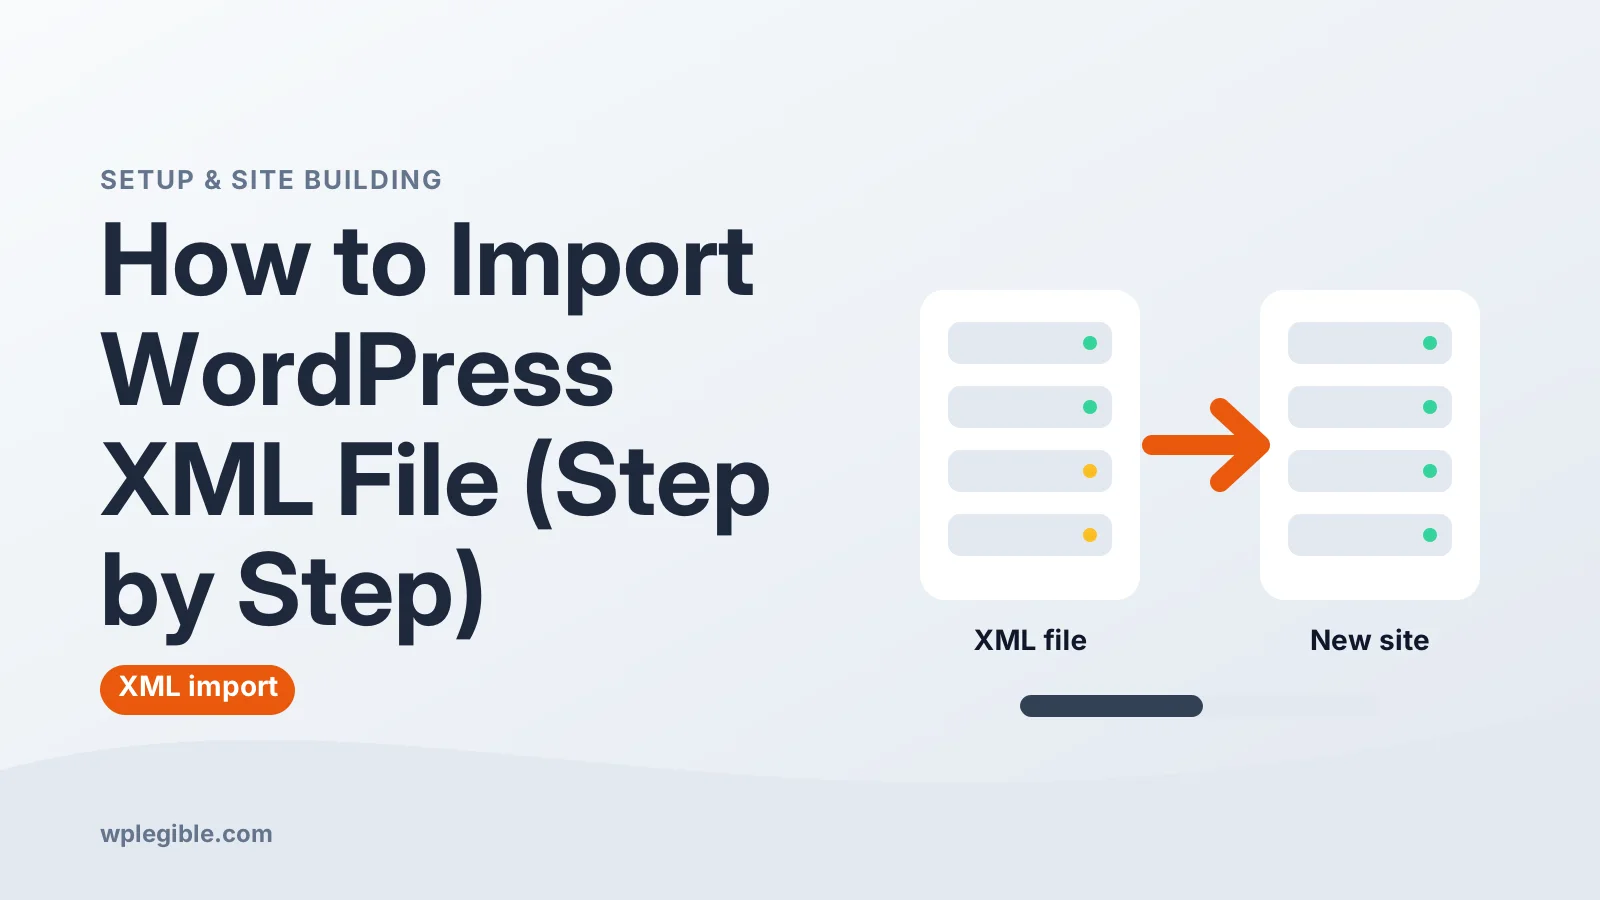
How to Import WordPress XML File (Step by Step)
Short answer
Go to Tools then Import, install the WordPress importer and click Run Importer. Upload your XML export, assign each author to a new or existing user, tick the option to download attachments and submit. Large files may need a higher upload limit or WP-CLI.
Key takeaways
- Tools > Import > WordPress handles WXR files.
- XML imports move content, not themes, plugins or settings.
- Tick the attachments box and keep the old site online for media.
- Activate plugins for custom post types before importing.
- Use WP-CLI or split files when uploads are too large.
- Re-running the importer usually fills gaps without duplicates.
How do you import a WordPress XML file?
Go to Tools > Import in your dashboard, install the WordPress importer, click Run Importer, upload the XML file, assign authors and start the import.
A WordPress XML file is an export in the WXR format (WordPress eXtended RSS). It holds your posts, pages, comments, categories, tags, custom fields, menus and the links to your media files. It does not hold the media files themselves, your theme, your plugins or your settings.
That matters before you start. An XML import moves content, not a whole website. If you need everything, a full migration or backup restore is the better tool, which we cover further down.
If you do not have a file yet, follow our guide on how to get a WordPress XML file first, then come back here.
What do you need before you import?
You need the XML file, admin access to the new site, the WordPress Importer plugin and a backup of the destination site in case the result is not what you expected.
Run through this short checklist first:
- The export file. It usually has a name like sitename.WordPress.2026-11-22.xml.
- An administrator account on the site you are importing into. Editors cannot run importers.
- A backup of the destination site. An import adds content and cannot be undone with one click. See how to back up a WordPress site.
- The old site still online, if you want media files pulled across. The importer downloads images from their original URLs.
- Matching plugins, if your content uses custom post types, shortcodes or blocks from a plugin. Install and activate those plugins before importing.
Custom post types are the one people miss most often. If a post type is not registered on the new site when you import, those items are skipped.
How do you install the WordPress Importer?
Open Tools > Import, find WordPress at the bottom of the list, and click Install Now; when it finishes, the link changes to Run Importer.
The importer is a free plugin maintained by the WordPress project. You can also install it from Plugins > Add New by searching for WordPress Importer, or read about it on the WordPress Importer plugin page.
The core documentation for the Tools Import screen lists the other importers too, such as Blogger, LiveJournal, Tumblr and RSS. For a WXR file, you always want the one simply called WordPress.
If you need help adding plugins in general, our guide on installing an import plugin in WordPress walks through it in more detail.
How do you run the import step by step?
Click Run Importer, choose your XML file, click Upload file and import, map the authors, tick the attachments box and click Submit.
Here is the full process:
- Go to Tools > Import and click Run Importer under WordPress.
- Click Choose File and select your XML file from your computer.
- Click Upload file and import.
- On the Assign Authors screen, decide who will own each author's posts (more on this below).
- Tick Download and import file attachments if you want images and other media copied over.
- Click Submit and wait. Do not close the tab while it runs.
- When you see All done. Have fun!, the import is finished.
Large files can take several minutes. The page may look frozen while the importer downloads images, which is normal.
How should you assign authors during the import?
For each author in the file, either create a new user with that login name or pick an existing user on your site to own their content.
The importer shows every author found in the XML file. For each one you get three choices:
| Option | What happens | Best for |
|---|---|---|
| Import author as new user | Creates a user with the original login name | Keeping bylines the same on a new site |
| Create new user with a different login | Lets you type a new login name | Avoiding a clash with an existing username |
| Assign posts to an existing user | Attaches the posts to a user already on the site | Merging content under one account |
New users created this way get no password email. If those people need to log in, reset their passwords from Users after the import.
If you leave everything blank, the importer assigns the posts to your own account. That is fine for a single-author blog.
Why should you tick Download and import file attachments?
Ticking it tells the importer to fetch every image and file from the old site's URLs and add them to your new Media Library; without it, your posts will still point at the old site.
This step only works if the old site is reachable online. If you have already deleted the old site, the importer cannot fetch anything and you will see failed attachment messages.
Even when it works, check a few posts afterwards. Images inside post content may still use the old domain in their URLs. A search and replace tool, or the WP-CLI search-replace command, can fix those links.
If the old site is gone, copy the wp-content/uploads folder across by FTP or your host's file manager instead. Then the old file paths will match on the new site.
What if the XML file is too large to upload?
Raise your PHP upload limit, split the file into smaller parts, or run the import with WP-CLI, which has no browser upload limit.
The import screen shows a Maximum size line under the file field. That number comes from the PHP settings upload_max_filesize and post_max_size, which are explained in the PHP core configuration docs.
Your options:
- Increase the limit. Our guide to increasing the max upload size in WordPress covers php.ini, .htaccess and host panels.
- Export in pieces. On the old site, export by post type, category or date range so each file is smaller.
- Use a file splitter. Some free tools split a WXR file into valid smaller files. Test the parts before relying on them.
- Use WP-CLI. Upload the file by SFTP, then run the import from the command line with WP-CLI, the official command-line tool for WordPress.
The wp import command needs the WordPress Importer plugin installed. A typical command looks like this:
wp plugin install wordpress-importer --activate
wp import export.xml --authors=create
The --authors flag also accepts skip, or a mapping file if you want to control which user gets which posts.
What errors can happen during an XML import?
The most common problems are timeouts, failed media downloads, missing custom post types and a This does not appear to be a WXR file message.
Here is what each usually means:
| Problem | Likely cause | Fix |
|---|---|---|
| Blank screen or 504 error | PHP timeout or memory limit | Raise limits or split the file |
| Failed to import Media | Old site offline or blocking requests | Copy uploads folder manually |
| Invalid post type | Plugin for that post type not active | Activate the plugin and re-run |
| Not a WXR file | File corrupted, edited or incomplete | Export again from the source site |
| Posts imported twice | You ran the import more than once | Delete duplicates; importer skips most exact matches |
Timeouts are the big one on shared hosting. If the import stops halfway, see how to fix maximum execution time exceeded and raise the memory limit too.
The good news is that you can usually run the importer again. It skips posts that already exist with the same title and date, so it picks up what was missed. Check for duplicates afterwards anyway.
What does an XML import not bring across?
It does not import your theme, plugins, widgets, Customizer settings, site options, users' passwords or most plugin settings.
People are often surprised by this. After an import, the content is there but the site looks different. That is expected.
To finish the move:
- Install the same theme and redo its settings, or use the theme's own export tool if it has one.
- Reassign menus under Appearance > Menus or in the Site Editor. Menu items import, but their locations do not.
- Rebuild widgets in classic themes.
- Redo SEO plugin settings, or use that plugin's own import tool.
- Re-save permalinks under Settings > Permalinks so the new URLs work.
WooCommerce products are a special case. They do come across in a WordPress XML file, but a CSV import is usually cleaner. See how to import WooCommerce products with images.
When should you use a migration plugin instead?
Use a migration or backup plugin when you want an exact copy of a whole site, including design, plugins, settings and media files, rather than just the content.
The XML route is best when you are:
- Merging one blog into another site.
- Moving content to a site with a new design.
- Moving from WordPress.com to a self-hosted site on a free plan.
- Copying a set of posts or pages between sites.
A full migration is better when you are changing hosts or domains and want everything to stay the same. Our guide on what WordPress migration is explains the difference in more detail.
How do you check the import worked?
Compare post, page and media counts between the old and new sites, open a sample of posts, and check that images, categories and internal links all work.
A quick checklist:
- Compare counts in Posts, Pages and Media on both sites.
- Open a few older posts and a few newer ones. Look for broken images.
- Check Posts > Categories and Tags for the right counts.
- Click a few internal links. They may still point at the old domain.
- Review comments if your site uses them.
- Re-save permalinks and test a few URLs.
If anything is missing, fix the cause from the table above and run the importer again. Most gaps close on a second pass.
Frequently asked questions
Does importing a WordPress XML file overwrite existing content?
No. The importer adds content and skips posts that already exist with the same title and date. Your existing posts, pages and settings stay as they are. That is why a backup is still smart, since removing a bad import means deleting posts by hand.
Why are my images missing after the XML import?
The XML file only holds links to media, not the files. The importer must download them from the old site, which fails if that site is offline or blocks requests. Copy the uploads folder across manually, then fix any old domain URLs with a search and replace.
Can I import a WordPress XML file without a plugin?
Not through the dashboard. WordPress needs the free WordPress Importer plugin to read WXR files, and the WP-CLI import command uses the same plugin. Installing it takes one click from the Tools Import screen and you can remove it afterwards.
How big can a WordPress XML import file be?
It depends on your host's PHP upload limits, which are shown under the file field on the import screen. Many shared hosts allow somewhere between a few megabytes and a few hundred. For larger files, raise the limit, split the export, or use WP-CLI.
Will my menus and widgets import from the XML file?
Menu items come across, but you need to assign menus to their theme locations again. Widgets, Customizer settings and theme options are not part of the export, so you have to rebuild them or use the theme's own export tool.
Sources
- Tools Import Screen WordPress.org
- WordPress Importer WordPress.org
- wp import WordPress Developer Resources
- Tools Export Screen WordPress.org
- Description of core php.ini directives PHP Manual
Is your product missing, or something out of date?
Tell us what to add or correct. We read every note and reply when we need a source. A message does not buy a ranking.
Thanks — we review requests within 3 business days.
Related guides
About the editors
Researched from the primary sources listed above and checked against our editorial rules before publishing.