Setup & site building · Guide
How to Get WordPress XML File (Step by Step)
Short answer
In your WordPress dashboard, go to Tools, then Export. Choose All content or a single content type such as Posts or Pages, then click Download Export File. Your browser saves an XML file in WordPress eXtended RSS format.
Key takeaways
- The built-in Export tool creates the XML file with no plugin.
- The file holds content, comments, terms and menus, not media files or settings.
- Filters let you export one category, author or date range.
- WP-CLI's wp export avoids browser timeouts on large sites.
- Import the file on another site with the WordPress Importer.
- The XML export is not a full backup on its own.
How do you get a WordPress XML file?
Go to Tools > Export in your WordPress dashboard, choose All content or one content type, and click Download Export File to save the XML file.
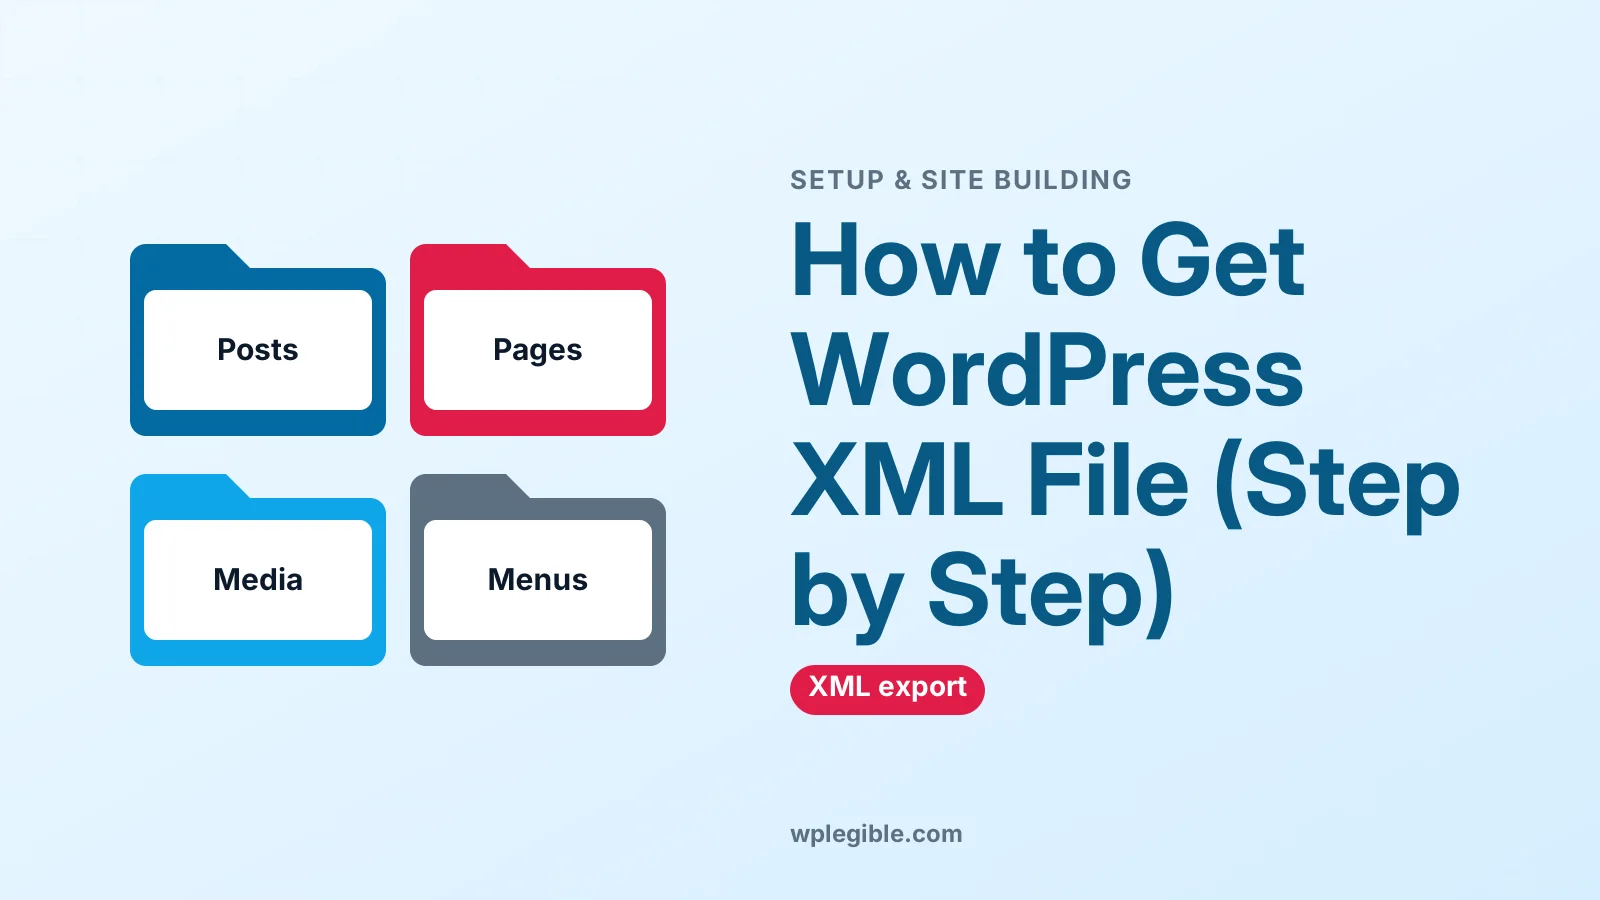
That XML file uses the WordPress eXtended RSS format, often called WXR. It holds your posts, pages, comments, custom fields, categories, tags, menus and the list of media attachments.
People usually need it to move content to another WordPress site, to switch hosts, to merge two blogs, or to keep a content backup that is easy to read.
This guide covers the dashboard method, WordPress.com, WP-CLI for large sites, and what the file does and does not include.
What is inside a WordPress XML export?
A WordPress XML export holds your text content and its structure, such as posts, pages, authors, terms and comments, but not the actual image files or your settings.
| Included in the XML | Not included |
|---|---|
| Posts, pages and custom post types | Uploaded media files themselves |
| Comments and post meta | Themes and plugins |
| Categories, tags and custom taxonomies | Most plugin and theme settings |
| Authors (names and usernames) | User passwords |
| Navigation menus | Widgets and Customizer settings |
| Media attachment records with their URLs | The database as a whole |
So the XML is a content export, not a full site backup. If you want everything, use a backup or migration plugin instead. Our guide on restoring a WordPress site from backup explains the difference.
XML itself is just a structured text format. MDN's introduction to XML explains the basics if you want to open and read the file.
Step 1: How do you open the Export tool?
Log in as an administrator and go to Tools > Export in the left-hand dashboard menu.
The Export screen is built into WordPress, so you do not need a plugin. Only users with the administrator role can see it by default.
If you cannot see the Tools menu at all, your account probably has a lower role such as Editor or Author. Ask a site administrator to run the export, or to change your role for the task.
Some hosts and security plugins hide or restrict the Export screen. If the menu item is missing for an administrator, check those plugins first.
The official Tools Export Screen documentation describes every option on the page.
Step 2: How do you choose what to export?
Pick All content for a complete content export, or choose Posts, Pages, Media or a custom post type to export only that part.
When you choose Posts, WordPress shows filters for:
- Categories, to export a single category.
- Authors, to export one writer's posts.
- Start date and End date, to export a date range.
- Status, such as published, draft or scheduled.
Pages has similar filters for author, date and status. Custom post types from plugins, such as products or events, also appear in the list if they support export.
For most moves, choose All content. Use filters when you want to split a very large site into smaller files, or move only part of a blog.
Custom post types only appear if the plugin that created them registered them with export support. If a post type is missing from the list, its data may need that plugin's own export tool instead.
Drafts, scheduled posts and private posts are included in All content. Trashed posts are not, so restore anything you want to keep before exporting.
Step 3: How do you download the XML file?
Click Download Export File, and your browser saves an XML file to your computer, usually named after your site and the date.
The file lands in your browser's downloads folder. Its name normally starts with your site name and ends in .xml.
Open it in a code editor to check it is complete. A healthy file starts with an XML declaration and ends with closing rss and channel tags.
Avoid opening very large XML files in a word processor. It may freeze or change the formatting. A plain code editor such as VS Code or Notepad++ is safer and shows the structure clearly.
If the download fails or is cut off, see our guide on fixing WordPress export errors, which covers timeouts, memory limits and empty files.
How do you get the XML file on WordPress.com?
On WordPress.com, go to Tools > Export, choose Export all, and download the file from the link shown or sent by email.
WordPress.com packages the XML in a zip file. Unzip it to get the XML. The WordPress.com export guide explains the current steps and how to download your media library separately.
The steps differ a little by plan, so follow the guide for your account type.
How do you export a large site with WP-CLI?
Run wp export over SSH to create XML files on the server without browser timeouts, and use its options to split the output into smaller files.
wp export --dir=/home/user/exports --max_file_size=15The wp export command reference lists options to export a single post type, a date range or specific post IDs.
Splitting into files of a few megabytes each also makes importing easier, because many hosts limit upload size. Our guide on migrating WordPress with WP-CLI covers related commands.
How do you bring the images across?
The XML only lists media URLs, so either let the importer download attachments from the old site, or copy the uploads folder yourself.
When you import, the WordPress Importer offers a Download and import file attachments checkbox. If the old site is still online, it fetches each file from its original URL.
That works for small and medium sites. For large media libraries, it is faster and more reliable to copy the wp-content/uploads folder with SFTP or your host's file manager, then import the XML without attachments.
It can fail when the old site is slow, behind a firewall, or already switched off. In that case, the posts import fine but images show as broken links.
If images break after a move, our guide on fixing broken links after migration covers search and replace for old URLs.
How do you import the XML file into another site?
On the new site, go to Tools > Import, install the WordPress importer, upload the XML file, assign authors, and run the import.
- Go to Tools > Import on the destination site.
- Under WordPress, click Install Now, then Run Importer. This uses the official WordPress Importer plugin.
- Choose your XML file and click Upload file and import.
- Map each old author to an existing user or create new ones.
- Tick Download and import file attachments if you want media fetched.
- Click Submit and wait for the success message.
If the upload is rejected for size, our guide on increasing the max upload size shows how to raise the limit, or you can split the export into smaller files.
Are there other XML files people mean?
Yes. Some people mean the XML sitemap, which lists your URLs for search engines, rather than the content export file.
WordPress creates a basic sitemap automatically at /wp-sitemap.xml, and SEO plugins often replace it with their own. That file is for search engines, not for moving content. Our guide on exporting a sitemap from WordPress covers it.
Store owners sometimes want product data instead. WooCommerce exports products as CSV rather than XML, as explained in our guide on exporting WooCommerce products.
What should you check after exporting?
Check the file size looks sensible, open it to confirm it ends properly, and test an import on a staging site before relying on it.
A tiny file for a large site usually means the export stopped early. A file that ends without closing tags is incomplete and will fail on import.
Compare the counts too. Open the file and search for the number of item entries, then compare it with the number of posts and pages in your dashboard. A big difference means something was missed.
Keep the XML with your other backups, but remember it cannot rebuild a whole site on its own. Pair it with a copy of your uploads folder and a full backup for real protection.
Frequently asked questions
Where is the WordPress XML file stored?
WordPress does not keep the export on the server. It builds the file when you click Download Export File and sends it straight to your browser, which saves it in your downloads folder. WP-CLI exports, by contrast, are written to a server folder you choose.
Does the WordPress XML export include images?
No. The XML lists each media item and its URL, but not the image files themselves. The importer can download them from the old site if it is still online, or you can copy the uploads folder manually.
Why is my WordPress XML export empty or small?
A small or empty file usually means the export timed out, ran out of PHP memory, or a plugin printed extra output. Try exporting one content type at a time, raise PHP limits, or use WP-CLI instead of the browser.
Can I export only one category to XML?
Yes. Choose Posts on the Export screen, then pick the category from the Categories dropdown. You can also filter by author, date range and status to export exactly the posts you need.
Is the XML export enough to back up my site?
No. It covers content but not themes, plugins, settings, user passwords or media files. Use a full backup plugin or your host's backups for complete protection, and keep the XML as an extra copy of your content.
Sources
- Tools Export Screen WordPress.org
- wp export WordPress Developer Resources
- WordPress Importer WordPress.org
- Export your content WordPress.com Support
- XML introduction MDN Web Docs
Is your product missing, or something out of date?
Tell us what to add or correct. We read every note and reply when we need a source. A message does not buy a ranking.
Thanks — we review requests within 3 business days.
Related guides


About the editors
Researched from the primary sources listed above and checked against our editorial rules before publishing.