Hosting · Guide
How to Add WordPress to Hostinger (New or Existing Website)
Short answer
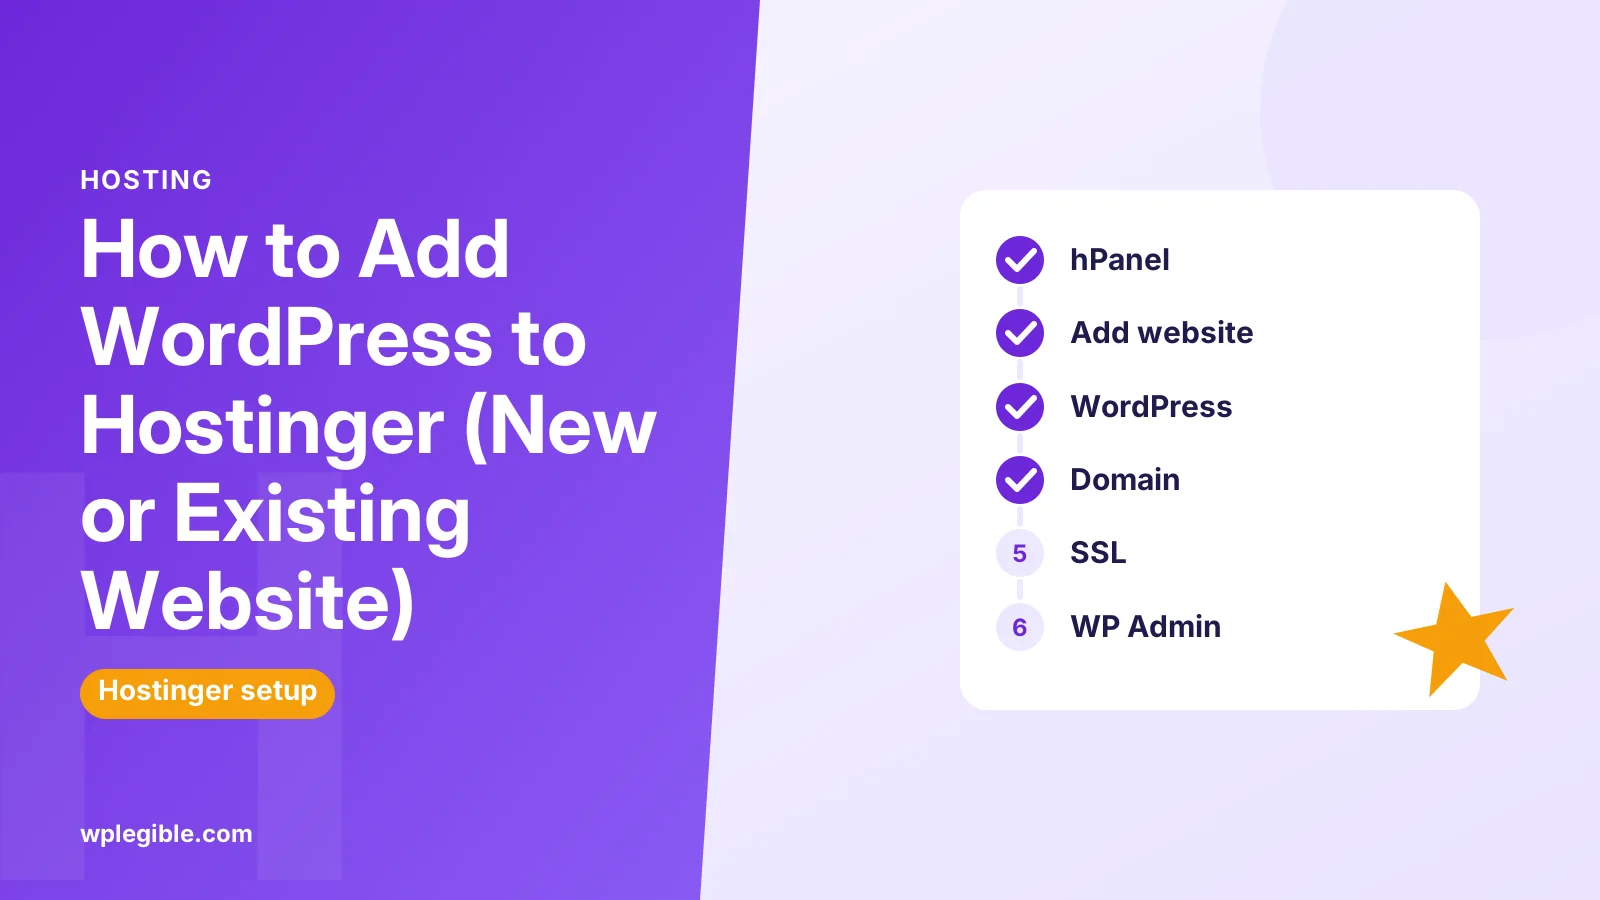
To add WordPress to Hostinger, log in to hPanel, go to Websites, click Add website on your hosting plan and choose WordPress, then enter your admin login details, language and domain. For a domain or subdomain that already exists in your plan, open its dashboard, go to Auto Installer and select WordPress. Then open WP Admin to start building.
Key takeaways
- New sites: Websites > Add website > WordPress creates a site with WordPress installed.
- Existing domains or subdomains: use Auto Installer in that website's dashboard.
- You can install WordPress in the root or in a folder such as /blog.
- Point your domain to Hostinger and activate SSL so the site works on HTTPS.
- If you are moving an existing WordPress site, use migration instead of a fresh install.
Which Hostinger method should you use?
Use Add website for a brand new site, Auto Installer to add WordPress to a domain or subdomain already in your plan, and a migration if you are moving an existing WordPress site.
| Situation | Method in hPanel |
|---|---|
| New website on your hosting plan | Websites > Add website > WordPress |
| Existing domain with no site yet | Website dashboard > Auto Installer > WordPress |
| Subdomain such as blog.yourdomain.com | Auto Installer, then choose the subdomain under Advanced |
| Folder such as yourdomain.com/blog | Auto Installer with a directory path |
| Existing WordPress site from another host | Migration request or migration plugin |
For moving a site, see our guide to migrating a WordPress site to Hostinger instead of installing a fresh copy.
How do you add a new WordPress website in hPanel?
In hPanel, go to Websites, click Add website on your hosting plan, choose WordPress, enter the admin language, email and password, choose your domain, and finish the setup.
Hostinger's help article on adding a WordPress website shows the current screens. The flow usually goes like this:
- Log in to hPanel and open Websites
- Click Add website on the hosting plan you want to use
- Select WordPress
- Choose the language for your WordPress admin panel
- Enter the admin email and a strong password
- Pick whether to start from a blank site or use the AI builder option
- Connect your domain, or use a temporary domain for now
- Wait for the installation to finish, then click WP Admin
Save the admin email and password in a password manager. You will use them to log in to WordPress itself, which is separate from your Hostinger account login.
How do you install WordPress with Auto Installer?
Open the website's dashboard, choose Auto Installer in the sidebar, select WordPress, fill in the site title and admin details, choose the domain or path, and click Install.
Auto Installer is the right tool when the domain or subdomain already exists in your hosting plan. Hostinger's guide to installing WordPress with Auto Installer lists each field.
The main fields are:
- Website title: the name of your site, which you can change later
- Administrator username, password and email: your WordPress login
- Language: for the WordPress dashboard
- Advanced: the installation path or subdomain, and database options
To install on a subdomain, expand Advanced and pick the subdomain from the list. To install in a folder, enter a directory such as /blog. The Hostinger WordPress installation docs describe both options.
How do you connect your domain to the WordPress site?
If the domain is registered at Hostinger, it connects automatically; if it is registered elsewhere, point it to Hostinger with nameservers or DNS records, then wait for DNS to update.
hPanel shows the nameservers or records to use for your plan. Change them at your registrar, such as GoDaddy or Namecheap.
Most DNS changes work within a few hours, though they can take longer. Our guide on pointing a domain to WordPress hosting explains both methods.
If your domain is at GoDaddy, our guide for GoDaddy domains covers that registrar step by step.
Until DNS finishes, you can keep building on a temporary domain if Hostinger provides one for your site, then switch the site to your real domain once it resolves.
How do you turn on SSL and HTTPS?
Activate the free SSL certificate for the domain in hPanel's security or SSL section, then make sure WordPress uses https in Settings > General.
Free certificates like those from Let's Encrypt renew automatically, so you do not need to buy one for a normal site.
SSL can only be issued once the domain points to Hostinger. If activation fails at first, wait for DNS to finish updating and try again.
After SSL is active, check that both the WordPress Address and Site Address start with https. Our guide to installing an SSL certificate on WordPress covers redirects and mixed content.
What should you do right after installing WordPress on Hostinger?
Log in to WP Admin, set your site title and permalinks, choose a theme, add your main pages and a few essential plugins, and check that backups and updates are set up.
A short checklist:
- Settings > General: site title, tagline, time zone
- Settings > Permalinks: choose Post name
- Delete the sample post and page
- Install a lightweight theme and your essential plugins
- Check Hostinger's backup schedule and WordPress update settings in hPanel
- Make sure Settings > Reading does not discourage search engines when you launch
Our guide on creating a WordPress website for beginners walks through every step after installation.
Hostinger installs some of its own helper plugins on new WordPress sites. Keep the ones you use and remove the rest, so the site stays light and you have fewer things to update. You can always reinstall a helper later from the plugin directory if you find you need it.
Can you install WordPress manually on Hostinger instead?
Yes, you can upload WordPress yourself with File Manager or FTP and create a database in hPanel, though the built-in installers are faster and set everything up for you.
A manual install makes sense if you need a specific WordPress version, want full control over the setup, or are testing something unusual. The steps are the same as on any host:
- Download WordPress from WordPress.org
- Upload and extract it in the domain's folder with File Manager
- Create a MySQL database and user in hPanel's Databases section
- Visit your domain and run the WordPress setup, entering the database details
- Create your admin account and log in
The official installation guide covers each step in detail, including setting up wp-config.php by hand.
For most people, Add website or Auto Installer is the better choice. They create the database, set secure settings and register the site in hPanel's WordPress tools automatically.
How do you set up email for the new WordPress site?
Create a mailbox for your domain in hPanel's email section if your plan includes it, and make sure WordPress can send its own emails reliably, such as password resets and form notifications.
These are two different things. A mailbox lets you send and receive email as [email protected]. WordPress emails are messages your site sends automatically.
WordPress emails often land in spam when they go out through the web server. An SMTP plugin connected to your mailbox or a transactional email service fixes that. Send yourself a test password reset after setup to confirm it arrives.
If you ever move away from Hostinger, remember that email may be tied to the hosting plan. Plan the email move as carefully as the website move.
How do you manage the WordPress site from hPanel?
Open the site's WordPress Overview in hPanel to see core, theme and plugin updates, set auto-update rules, and jump into WP Admin.
hPanel also lets you check resource usage, manage backups, change the PHP version and clear the server cache. These tools work alongside the normal WordPress dashboard.
Check the PHP version early. WordPress recommends PHP 8.3 or newer, and hPanel lets you switch versions for each website.
What if the WordPress installation fails?
If installation stops or the site shows an error, check that the target folder is empty, the domain points to Hostinger, and your plan has a free website slot, then try again or contact support.
Common causes include existing files in public_html, a plan that has reached its website limit, or a domain still pointing to another host.
If you see a Hostinger default page after installation, DNS may not be pointing to the right place yet, or the domain is connected to a different website in hPanel.
For costs and plan limits, see our guide on how much Hostinger costs.
If you are still deciding on a host, read whether Hostinger is worth it before committing to a long term.
Frequently asked questions
Does Hostinger install WordPress for free?
Yes. Installing WordPress through hPanel costs nothing extra; it is included with Hostinger hosting plans. You pay for the hosting plan and domain, not for WordPress itself.
How do I log in to WordPress on Hostinger?
Go to Websites in hPanel and click WP Admin next to your site, or open your domain followed by /wp-admin and enter the WordPress username and password you set during installation.
Can I install WordPress on a subdomain at Hostinger?
Yes. Create the subdomain first, then use Auto Installer and choose the subdomain under the Advanced settings before clicking Install.
Can I have more than one WordPress site on Hostinger?
It depends on your plan. Each plan allows a set number of websites. Use Add website for each new site, as long as the plan has free slots.
Why does my domain still show a Hostinger page after installing WordPress?
DNS may not have updated yet, the domain may point to another host, or it may be linked to a different website in hPanel. Check the domain settings and wait for DNS propagation.
Sources
- How to add a WordPress website in Hostinger Hostinger Help Center
- How to install WordPress using Auto Installer Hostinger Help Center
- Installing WordPress Hostinger Docs
- Requirements WordPress.org
- Let's Encrypt Internet Security Research Group
Is your product missing, or something out of date?
Tell us what to add or correct. We read every note and reply when we need a source. A message does not buy a ranking.
Thanks — we review requests within 3 business days.
Related guides
About the editors
Researched from the primary sources listed above and checked against our editorial rules before publishing.