Security · Info
Wordfence Export Settings Explained: What Each Option Does
Short answer
Wordfence export settings let you copy your security setup to another WordPress site. Go to Wordfence, then Tools, then Import/Export Options, click Export to get a token, and paste that token into Import Options on the other site.
Key takeaways
- Export lives under Wordfence Tools, Import/Export Options.
- Export gives a token, not a settings file.
- Import overwrites matching settings on the destination site.
- License keys, logs and scan history do not transfer.
- Review alert emails and allowlists after every import.
- Wordfence Central suits larger site portfolios.
What are Wordfence export settings?
Wordfence export settings let you copy your Wordfence configuration from one WordPress site into another by generating a token on the first site and pasting it on the second.
The feature lives in the Wordfence Tools area under Import/Export Options. It is built for people who run more than one site and want the same firewall, scan and alert setup everywhere.
Instead of clicking through dozens of options on each site, you configure one site well, export its settings, and import them on the rest. That saves time and reduces the risk of leaving one site with weaker protection.
Wordfence's own import and export help page is the official reference for the feature. This guide explains what each part does in plain English.
If you are new to the plugin, our explainer on what Wordfence does covers the basics first.
Where do you find the Wordfence export option?
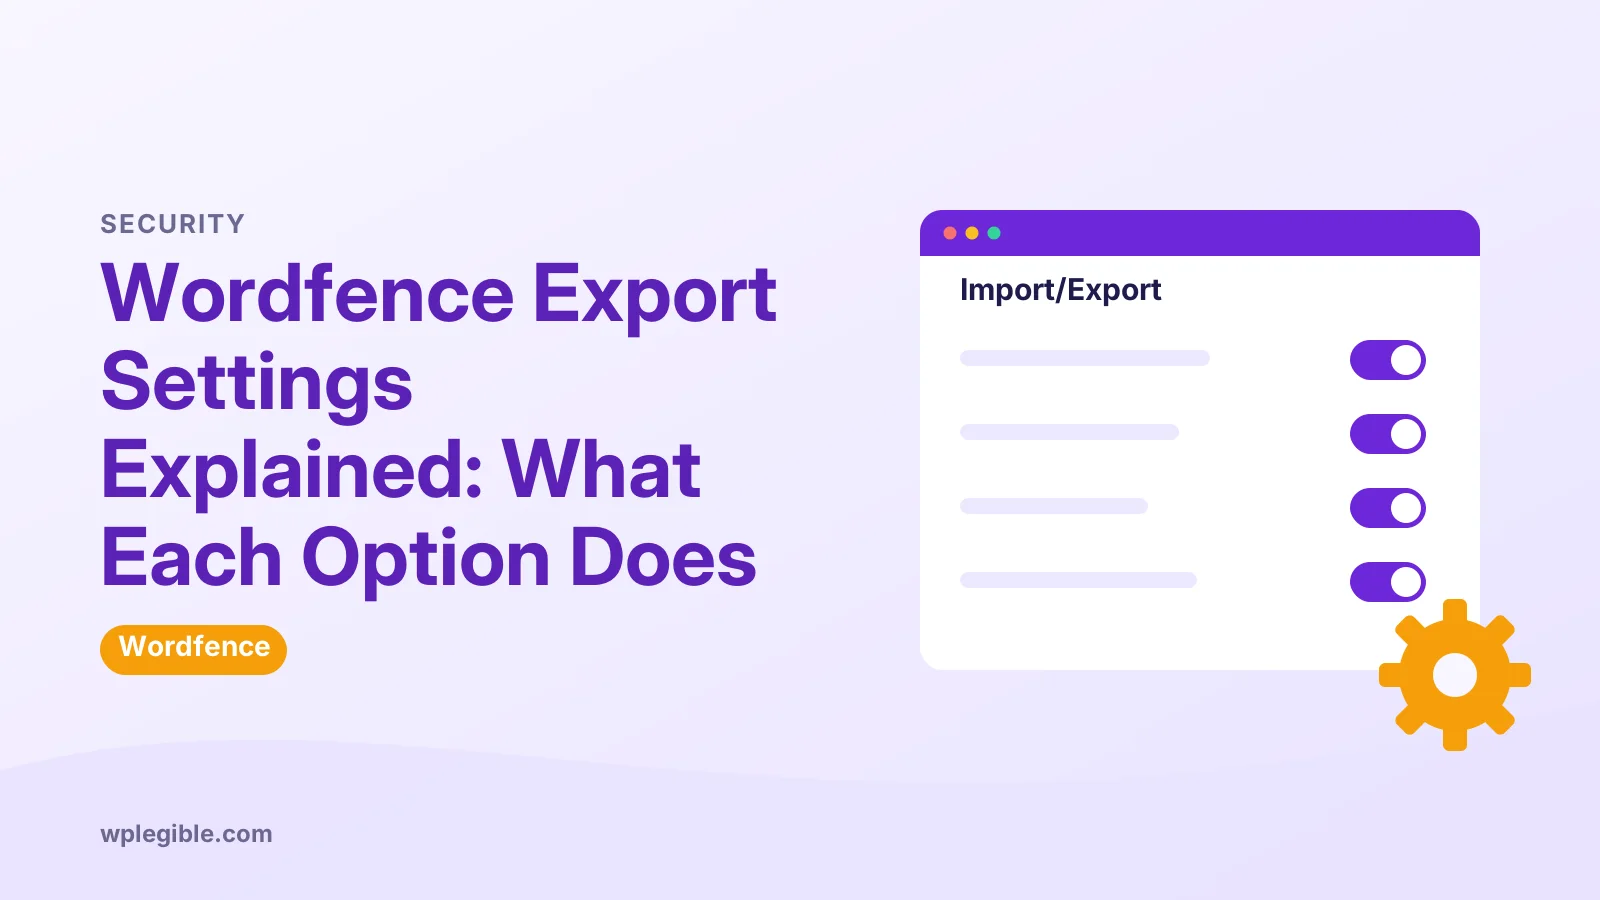
In your WordPress dashboard, open Wordfence, then Tools, and select the Import/Export Options tab, where both the export and import controls sit on the same screen.
The screen has two parts:
- Export Options, with a button that creates a token for the current site's settings.
- Import Options, with a text box where you paste a token from another site and a button to apply it.
You need to be logged in as an administrator to see the Tools menu. If the menu is missing, check that the Wordfence plugin is active and that your user role has full admin rights.
On older Wordfence versions, the same feature sat under a different menu. If your screen looks different, update Wordfence first from the Wordfence plugin page on WordPress.org or from your Plugins screen.
How does the Export Options button work?
Clicking Export packages your current Wordfence settings and gives you a long token string, which acts as a reference to that saved copy of your configuration.
The token is not your settings in plain text. Wordfence stores the exported configuration and hands you a key that another site can use to fetch it.
Because of that design, both sites must be able to reach Wordfence's servers. A site that blocks outgoing connections, or a local development site with no internet access, may fail to export or import.
Copy the token straight away and keep it somewhere safe, such as a password manager note. Treat it like a configuration key: anyone with the token could apply your setup to their own site, so do not post it in public support threads.
How does the Import Options box work?
Paste the token from the source site into the Import Options box on the destination site and click Import, and Wordfence replaces the matching settings on that site with the exported ones.
A few points matter here:
- Import overwrites. Settings on the destination site that are covered by the export are replaced, not merged.
- The import button stays greyed out until there is text in the box. If it looks disabled, paste the token again and check for extra spaces.
- After import, reload the Wordfence pages so the new values show up.
Before you import, it is worth taking a quick backup or at least a screenshot of the destination site's key settings. That way you can roll back if the imported setup does not suit that site.
What settings does a Wordfence export include?
An export covers most of the plugin's global options, including firewall behaviour, scan settings, rate limiting, brute force protection, alert preferences and general dashboard options.
The table below summarises the main groups you would expect to move across. Wordfence can change what is included between versions, so confirm the current list on its help pages.
| Settings group | What it controls | Typically carried over? |
|---|---|---|
| Firewall options | Protection level, rules behaviour, blocking responses | Yes |
| Rate limiting | How fast crawlers and humans can request pages | Yes |
| Brute force protection | Login attempt limits and lockout times | Yes |
| Scan options | Scan types, sensitivity, schedule settings | Yes |
| Alert preferences | Which events trigger emails | Yes |
| General options | Dashboard and display preferences | Yes |
| License key | Premium licence for this site | No, add per site |
| Site-specific data | Blocked IPs history, scan results, logs | No |
The general rule is simple. Settings travel; site history and site identity do not.
For a deeper look at the individual options themselves, see our guide to Wordfence settings explained.
What does the export not include?
Exports do not move your Premium license key, past scan results, live traffic logs, or the record of who was blocked, because those belong to one specific site and would be wrong anywhere else.
Things to set up by hand on each site:
- License key. Each Premium site needs its own key entered in the Wordfence dashboard.
- Firewall optimisation. The extended protection step writes server files on each host, so you run it per site. Our guide on setting up the Wordfence firewall walks through it.
- Learning mode period. A newly protected site may still need its own learning period so the firewall learns that site's normal traffic.
- Brute force tuning. Lockout thresholds that suit a busy shop may be too strict for a small blog. The OWASP brute force attack page explains why limits matter, so review them per site.
- Two-factor authentication. 2FA codes are tied to user accounts on each site, so users must set them up again.
Also check site-specific values that did come across. Alert email addresses and allowlisted IP addresses may be correct for one site and wrong for another.
When should you use Wordfence export and import?
Use export and import when you manage several similar sites, move a site to new hosting, or want a known-good copy of your settings before making big changes.
Common situations include:
- Agency or multisite-style setups. You build one secure baseline and roll it out to every client site.
- Staging to live. You test stricter firewall or rate-limit options on staging, then copy them to production.
- Rebuilds. You reinstall Wordfence after a problem and want your old setup back quickly.
- Audits. You keep a token from a known-good date as a reference point.
If you are moving a whole site to new hosting, our guide to migrating WordPress manually covers the wider steps around security plugins.
How do you export and import settings step by step?
Configure the source site, export a token from Tools, log in to the destination site, paste the token into Import Options and click Import, then review alerts, allowlists and licence details.
- On the source site, review every Wordfence settings page so the baseline is correct.
- Go to Wordfence > Tools > Import/Export Options and click Export.
- Copy the token that appears.
- Log in to the destination site as an administrator.
- Open the same Import/Export screen and paste the token into the import box.
- Click Import and wait for the confirmation message.
- Review alert email addresses, allowlisted IPs and any site-specific options.
- Enter the destination site's own license key if it uses Premium.
- Run a scan to confirm everything works.
The whole process usually takes a few minutes per site.
What if the Wordfence import does not work?
If the import fails, the token is usually copied wrongly, the site cannot reach Wordfence's servers, or the two sites run very different Wordfence versions.
Work through these checks:
- Copy the token again. Long strings break easily when copied from email or chat apps. Paste it into a plain text editor first to strip formatting.
- Update both sites. Run the same current Wordfence version on the source and destination.
- Check outgoing connections. Some hosts block outbound HTTP requests. Ask your host to allow connections to Wordfence.
- Look for errors. Turn on WordPress debugging and try again to see if a PHP error appears.
- Test for conflicts. Another security plugin can interfere with Wordfence requests.
If Wordfence blocks you from your own dashboard after an import, our guide on fixing Wordfence blocking admin explains how to get back in.
Is there an alternative to export and import for many sites?
For larger portfolios, Wordfence Central lets you connect many sites to one dashboard and apply configuration templates, which is often easier than passing tokens around one site at a time.
Central is a separate Wordfence service. You connect each site to it and then manage scans, findings and settings from one place.
Export and import still has a role. It is quick for a handful of sites and needs no extra account setup.
A simple rule of thumb:
- One to five sites: export and import is usually enough.
- Many client sites: look at Central and its templates.
Check the Wordfence help documentation for the current Central features, since they change over time.
What are good practices for exporting Wordfence settings?
Keep a dated note of each exported token, review site-specific values after every import, and re-export whenever you change your baseline so your saved copy stays current.
Some habits that help:
- Write down which site and date each token came from.
- Re-export after major Wordfence updates, since new options appear over time.
- Never share tokens in public forums or tickets.
- Test strict firewall settings on a staging site before rolling them out.
- Pair settings exports with full site backups from a tool such as WPvivid.
A settings export is not a backup of your site. It only covers Wordfence's configuration, so keep proper file and database backups too.
The free and Premium versions both include this tool. Our guide on using Wordfence free covers what else the free version gives you, and the WordPress hardening guide on developer.wordpress.org covers wider security steps that sit alongside any plugin.
Frequently asked questions
Does Wordfence export create a file?
No. Wordfence gives you a token string rather than a downloadable file. The token points to a saved copy of your settings, and you paste it into the import box on another site to apply that configuration.
Does a Wordfence export include my license key?
No. The Premium license key belongs to one site, so it is not carried across. Enter each site's own key in the Wordfence dashboard after you import the settings.
Will importing Wordfence settings delete my blocked IPs?
Importing replaces the configuration options covered by the export, but it is not designed to move site history such as logs and scan results. Review your block lists afterwards and re-add anything specific to that site.
Can I use a Wordfence export token on a local site?
Only if the local site can reach Wordfence's servers over the internet. Offline development setups and hosts that block outbound connections often cannot fetch the saved settings, so the import fails.
Is the Wordfence import and export tool free?
Yes. The import and export options are part of the free Wordfence plugin as well as the paid tiers, so you can copy settings between sites without a Premium licence.
Sources
- Import/Export Options Wordfence
- Wordfence Help Documentation Wordfence
- Wordfence Security plugin WordPress.org
- Hardening WordPress WordPress Developer Resources
- Debugging in WordPress WordPress Developer Resources
Is your product missing, or something out of date?
Tell us what to add or correct. We read every note and reply when we need a source. A message does not buy a ranking.
Thanks — we review requests within 3 business days.
Related guides
About the editors
Researched from the primary sources listed above and checked against our editorial rules before publishing.