Security · Guide
How to Disable Wordfence From cPanel (Step by Step)
Short answer
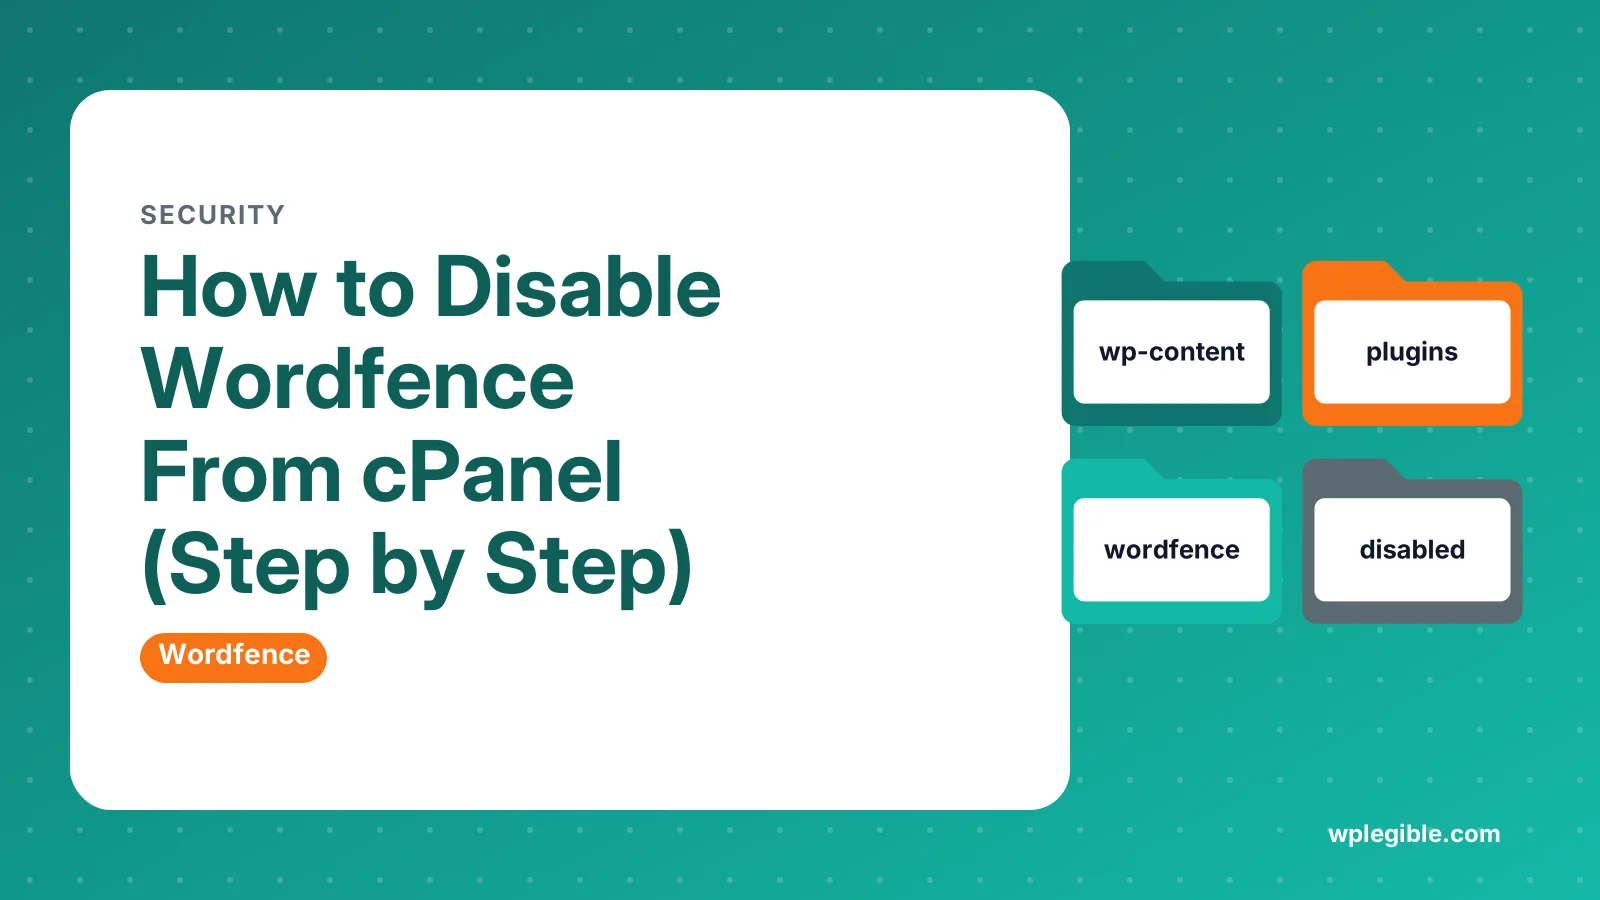
Open cPanel File Manager, go to public_html, then wp-content, then plugins, and rename the wordfence folder to wordfence-disabled. WordPress deactivates the plugin and you can log in. If the firewall was optimised, also remove the auto_prepend_file line before deleting the firewall file.
Key takeaways
- Rename the wordfence plugin folder to deactivate it.
- Renaming keeps all Wordfence settings and data.
- Optimised firewalls load from an auto_prepend_file line.
- Remove that line before deleting wordfence-waf.php.
- PHP may take a few minutes to reload .user.ini.
- Fix the lockout cause before reactivating Wordfence.
How do you disable Wordfence from cPanel?
Open cPanel File Manager, go to public_html/wp-content/plugins, and rename the wordfence folder to something like wordfence-disabled; WordPress then deactivates the plugin and you can log in again.
This is the standard fix when Wordfence locks you out, blocks your own IP address, or causes an error that stops the dashboard from loading.
Renaming the folder does not delete your Wordfence settings or scan history. When you rename it back, you can reactivate the plugin from the Plugins screen.
If Wordfence's firewall was optimised, there is one more step, covered below. Skipping it can leave the firewall partly running even after the plugin is off.
When should you disable Wordfence from cPanel?
Disable it from cPanel when you cannot reach the WordPress dashboard, for example after a Wordfence lockout, a blocked IP, a failed login security setup or a critical error after an update.
If you can still log in, deactivate Wordfence from Plugins > Installed Plugins instead. It is quicker and cleaner.
Common reasons people need the cPanel route include:
- Your IP was blocked by rate limiting or a firewall rule.
- Two-factor authentication stopped working and you cannot log in.
- A country block or login rule caught your own location.
- The site shows a critical error after a Wordfence update.
- Wordfence scans are using too many server resources.
If the block was caused by a specific rule, our guide on how to fix Wordfence blocking admin shows ways to unblock yourself without turning the plugin off.
How do you open File Manager in cPanel?
Log in to your hosting account, open cPanel, and click File Manager in the Files section to browse your site's files in the browser.
Most hosts link to cPanel from their customer area. Others give you a direct address, often your domain followed by port 2083.
If you are not sure how to reach it, see our guide on how to get to cPanel from WordPress.
Some hosts use their own control panel instead of cPanel, such as hPanel, Plesk or a custom dashboard. They all include a file manager that works the same way for this task.
If your host gives you SFTP details, a desktop client like FileZilla does the same job. Connect, browse to the plugins folder and rename the folder there.
The cPanel File Manager documentation explains the interface, including how to show hidden files. You will need hidden files visible for the firewall step.
How do you rename the Wordfence plugin folder?
Navigate to public_html/wp-content/plugins, right-click the wordfence folder, choose Rename, and change the name to wordfence-disabled or similar.
Step by step:
- In File Manager, open public_html, or the folder where WordPress is installed.
- Open wp-content, then plugins.
- Find the folder named wordfence.
- Right-click it and choose Rename.
- Enter a new name, such as wordfence-disabled, and confirm.
- Visit your login page and sign in.
WordPress cannot find the plugin under its old name, so it deactivates it. You may see a notice that the plugin was deactivated because its file does not exist.
If the login page still blocks you, clear your browser cookies for the site and try a private window. A page cache or CDN may also be serving a cached block page, so purge it from your host or CDN dashboard.
Also check that you renamed the folder on the right site. Accounts with several domains often have each site in its own folder under public_html or the home directory.
The same technique works for any plugin. Our guide on how to deactivate all plugins without admin access explains the wider method.
What about the Wordfence firewall file?
If Wordfence's firewall was optimised for Extended Protection, a wordfence-waf.php file in the site root and an auto_prepend_file line keep loading before WordPress, so check them too.
Extended Protection makes the firewall run before WordPress loads. Wordfence sets this up by adding a PHP setting that points to wordfence-waf.php.
That setting usually lives in one of these files in your site root:
- .user.ini
- .htaccess
- php.ini
Look for a block marked with Wordfence WAF comments and a line containing auto_prepend_file.
How do you fully remove the firewall optimisation?
Delete the Wordfence WAF lines from .user.ini, .htaccess or php.ini first, wait a few minutes for PHP to reload the settings, and only then delete wordfence-waf.php.
The order matters. If you delete wordfence-waf.php while the auto_prepend_file line still points to it, PHP cannot find the file and every page shows a fatal error.
Follow these steps:
- In File Manager, click Settings and turn on Show Hidden Files.
- Open .user.ini in the site root and remove the Wordfence block with the auto_prepend_file line. Save.
- Do the same in .htaccess if it contains a Wordfence WAF section.
- Wait about five minutes. PHP caches .user.ini settings for a short time.
- Delete wordfence-waf.php from the site root.
The PHP manual's page on .user.ini files explains why changes can take a few minutes to apply.
Wordfence also documents this in its firewall optimisation troubleshooting guide.
What if you see a fatal error about wordfence-waf.php?
A fatal error saying PHP failed to open wordfence-waf.php means the file was deleted or moved while the auto_prepend_file setting still points to it.
You have two ways to fix it:
- Remove the auto_prepend_file line from .user.ini, .htaccess or php.ini, then wait a few minutes.
- Or create an empty wordfence-waf.php file in the site root as a quick placeholder until you clean up the settings.
If your host sets PHP options in its own control panel, the line may live in MultiPHP INI Editor inside cPanel rather than a file. Check there too.
For other critical errors, see our guide on how to fix there has been a critical error.
How do you turn Wordfence back on?
Rename the folder back to wordfence, then go to Plugins in the dashboard and click Activate; Wordfence keeps its previous settings unless you chose to delete its data.
Before reactivating, fix whatever caused the lockout. For example:
- Add your IP address to the allowlist in the firewall settings.
- Reset or reconfigure two-factor authentication.
- Relax overly strict brute force or country blocking rules.
If you removed the firewall optimisation, Wordfence will offer to set it up again from its firewall page.
When you turn the firewall back on, consider learning mode for a few days so normal admin actions are not blocked.
Can you disable Wordfence through phpMyAdmin instead?
Yes, you can deactivate plugins by editing the active_plugins option in the wp_options table with phpMyAdmin, but renaming the folder is simpler and less risky.
The active_plugins value is a serialised PHP array. A single wrong character can break it and deactivate every plugin or cause errors.
Only use phpMyAdmin if File Manager is unavailable. Take a database backup first using cPanel's backup tools.
If you do use it, open the wp_options table, find the row named active_plugins and edit its value carefully. Many people find it easier to replace the value with an empty array to deactivate every plugin at once, then reactivate the others from the dashboard.
Your table prefix may differ from wp_, so check the prefix in wp-config before searching.
How do you remove Wordfence completely?
To uninstall Wordfence fully, first enable the option to delete its tables and data on deactivation, remove the firewall optimisation, then deactivate and delete the plugin.
Simply deleting the folder leaves database tables, the wflogs folder in wp-content and possibly the firewall files behind.
Wordfence's remove or reset guide lists the full process. Our guide on how to remove Wordfence walks through it step by step, including leftover checks.
Here is a summary of what each action does.
| Action | Plugin active? | Firewall still runs? | Data kept? |
|---|---|---|---|
| Rename plugin folder | No | Yes, if optimised | Yes |
| Rename folder and remove auto_prepend_file | No | No | Yes |
| Deactivate in dashboard | No | Depends on optimisation | Yes |
| Delete with data removal enabled | No | No | No |
Frequently asked questions
Does renaming the Wordfence folder delete my settings?
No. Renaming only deactivates the plugin. Wordfence settings, blocks and scan results stay in the database, so when you rename the folder back and reactivate the plugin, your configuration returns as it was.
Why is the Wordfence firewall still active after renaming the folder?
If Extended Protection was enabled, PHP loads wordfence-waf.php before WordPress through an auto_prepend_file setting. Remove the Wordfence lines from .user.ini, .htaccess or php.ini, wait a few minutes, then delete the firewall file.
Can I disable Wordfence without cPanel?
Yes. Any file access works, including SFTP, your host's own file manager or SSH. Rename the wordfence folder inside wp-content plugins. With WP-CLI over SSH, you can also deactivate the plugin with a single command.
I deleted wordfence-waf.php and now my site shows a fatal error. What do I do?
The auto_prepend_file setting still points to the missing file. Remove that line from .user.ini, .htaccess, php.ini or the MultiPHP INI Editor, or create an empty file with the same name in the site root until you clean it up.
Is it safe to leave Wordfence disabled?
Only for a short time. Disabling Wordfence removes its firewall, login protection and scans. Fix the cause of the lockout and reactivate it, or replace it with another security setup, so the site is not left unprotected.
Sources
- Remove or Reset Wordfence
- Firewall Optimization Troubleshooting Wordfence
- File Manager cPanel Documentation
- .user.ini files PHP Manual
- Fatal error failed opening required wordfence-waf.php WordPress.org Support Forums
Is your product missing, or something out of date?
Tell us what to add or correct. We read every note and reply when we need a source. A message does not buy a ranking.
Thanks — we review requests within 3 business days.
Related guides
About the editors
Researched from the primary sources listed above and checked against our editorial rules before publishing.