Setup & site building · Guide
How to Use WP All Export: A Beginner's Guide
Short answer
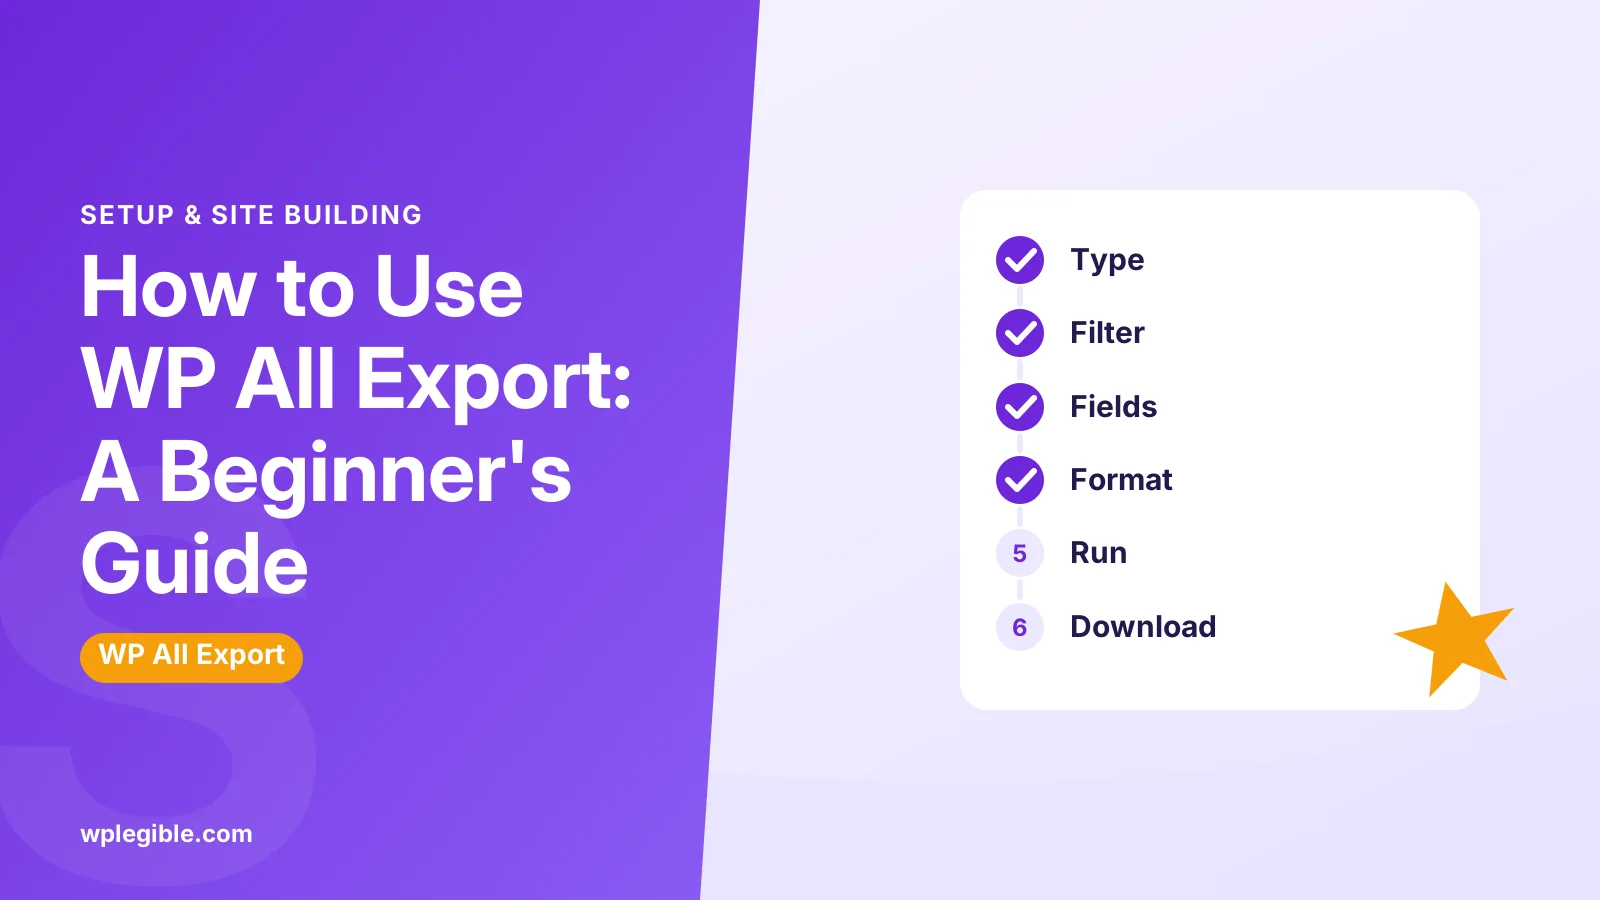
To use WP All Export, go to All Export > New Export, choose the post type or data you want, and add filters if needed. Then drag fields into the export layout, pick CSV, Excel or XML, and click Confirm and Run Export to download your file.
Key takeaways
- Start every export under All Export > New Export.
- Filters limit the export to the exact items you need.
- Drag fields from Available Data to build your columns.
- Use CSV for most apps and XML for structured feeds.
- Lower records per iteration if exports time out.
What is WP All Export used for?
WP All Export is a WordPress plugin that exports posts, pages, users, products and custom post types to CSV, XML or Excel files, with a drag-and-drop editor for choosing exactly which fields to include.
The built-in WordPress exporter under Tools > Export only creates a WXR file, which is a special XML format meant for moving content between WordPress sites. That is fine for migrations, but it is hard to open in a spreadsheet.
WP All Export fills the gap. You can pick columns, rename them, filter which items to include, and get a clean file you can open in Excel, Google Sheets or another system.
Common uses include:
- Sending a product list to a supplier or marketplace
- Exporting users or customers for a CRM or email tool
- Building a spreadsheet of posts for a content audit
- Moving data to another WordPress site with WP All Import
- Creating backups of specific custom field data
The free version is on WordPress.org. A paid version adds features such as scheduled exports, deeper WooCommerce and ACF support, and one-click re-import. Feature splits change, so check the vendor's site before you buy.
How do you install WP All Export?
Go to Plugins > Add New, search for WP All Export, click Install Now and then Activate; a new All Export menu appears in your dashboard.
If you bought the paid version, download the ZIP file from your account and upload it under Plugins > Add New > Upload Plugin. Then enter your license key in the plugin settings so you receive updates.
The plugin works on its own. You only need WP All Import if you want to bring the exported file back into WordPress later. Our guide on how to install WP All Import covers that plugin.
How do you start a new export?
Open All Export > New Export, choose the type of data you want, such as Posts, Pages, Users or a custom post type, then optionally add filters before customizing the file.
Step by step:
- Go to All Export > New Export
- Choose Specific Post Type and pick Posts, Pages, Products or another type
- Or choose WP_Query Results if you want to write a custom query using WP_Query arguments
- Wait for the record count to update so you know how many items match
- Add filters if you only want some items
- Click Customize Export File
The record count is a handy check. If it shows zero, your post type or filters are wrong, and there is nothing to export yet.
How do you filter which items get exported?
Use the filter options on the first screen to add rules, such as post status, date, category or a custom field value, so only matching items are exported.
Filters work like simple conditions. You choose a field, an operator and a value. For example:
- Post Status equals Publish
- Post Date is newer than a date
- Category is a chosen term
- A custom field equals a set value
You can combine several rules with AND or OR. The record count updates as you go, so you can see the effect of each rule before moving on.
There is also an option to export only new items since the last run, which is useful for regular exports. Wording can vary between versions, so look for it on the export options screen.
How do you choose fields with drag and drop?
On the Customize Export File screen, drag fields from the Available Data panel on the right into the export layout on the left, then rename or reorder the columns.
The Available Data panel groups fields into sections, such as Standard, Media, Taxonomies, Custom Fields and Other. If you use WooCommerce or ACF, extra sections appear when the matching add-on or paid feature is active.
Tips for this screen:
- Click a field in the layout to rename its column header
- Drag columns up and down to change the order
- Use Add All if you want every field, then remove the ones you do not need
- Use the preview button to see sample rows before running
You can also apply a PHP function to a field to change its value during export, such as formatting a date or stripping HTML. Only use custom code you understand and test it on a small export first.
Which export file format should you choose?
Pick CSV for spreadsheets and most other apps, Excel when people will open the file directly in Microsoft Excel, and XML when another system expects a set structure.
| Format | Best for | Notes |
|---|---|---|
| CSV | Spreadsheets, CRMs, email tools | Simple and widely supported |
| Excel (XLS or XLSX) | Sharing with non-technical teams | Opens directly in Excel |
| XML | Feeds and system-to-system transfers | Supports nested data and custom structures |
CSV files follow a common standard described in RFC 4180. If your data contains commas or line breaks, the plugin wraps those values in quotes so columns stay aligned.
For CSV, check the delimiter setting. Some regions use a semicolon by default in spreadsheet apps, so pick the one your target tool expects.
How do you run the export and download the file?
Review the export settings, click Confirm and Run Export, wait for the progress bar to finish, then download the file from the button on the final screen.
On the settings screen before running, you can name the export and set how many records process in each batch. Lower the batch size if your host is slow or exports time out.
When the export finishes, you get download links for the file. Later you can find every export under All Export > Manage Exports, where you can edit settings, run it again or download past files.
If an export stops part way, the vendor's guide to terminated imports and exports explains the usual server limits involved.
How do you export WooCommerce data with WP All Export?
Choose Products, Orders or Customers as the post type, then drag WooCommerce fields such as SKU, price, stock and order totals into the layout.
Some WooCommerce exports require the paid version or a WooCommerce add-on, so check what your version supports. Products include fields for variations, attributes and images. Orders include billing, shipping and line items.
For orders, decide how to handle multiple items. You can put each item on its own row or combine items in one cell. Pick the layout your target system expects.
If you only need a quick order list, WooCommerce has its own tools. Our guide on exporting WooCommerce orders to CSV compares both approaches.
For products, how to export WooCommerce products covers the built-in product exporter.
How do you export users with WP All Export?
Choose Users on the New Export screen, filter by role if needed, then add fields like email, display name, registration date and user meta to the layout.
User exports often contain personal data, so handle the file with care. Only export the fields you need, store the file securely, and delete it when you are done.
Privacy laws may apply when you move customer data to another service. This is general information, not legal advice, so check your obligations before sharing exports.
We also have a dedicated guide on how to export WordPress users that covers other tools.
How do you move data to another site with WP All Import?
Export with WP All Export, then import the file on the other site with WP All Import; the paid version can create a ready-made import template so field mapping is automatic.
Without the paid feature, you can still do it by hand. Export a CSV, then use WP All Import's drag-and-drop mapping on the other site. Our guide on how to use WP All Import explains that process.
Include a unique ID, such as the post ID or SKU, in your export. It lets you update existing items later instead of creating duplicates.
How do you schedule exports to run automatically?
Scheduled exports are a paid feature; you set a schedule in Manage Exports or trigger the export with a cron URL, so a fresh file is created on a regular basis.
Scheduling is useful for feeds that other systems read, such as product feeds for marketplaces. Each run creates a new file at the same URL, so the receiving system always gets current data.
If you use cron URLs, your server or a service needs to call them. Our guide on running WordPress cron from the server explains how server cron jobs work.
What problems should you watch for?
The most common issues are timeouts on large exports, missing custom fields, broken characters in spreadsheets, and memory limits on shared hosting.
Quick fixes:
- Timeouts: lower the records per iteration and try again
- Missing fields: make sure the right add-on or paid feature is active
- Strange characters: open CSV files in your spreadsheet app with UTF-8 encoding
- Memory errors: ask your host to raise the PHP memory limit
For memory problems, see how to increase the PHP memory limit in WordPress.
You can find more help in the WP All Export support forum and the vendor's export documentation.
Frequently asked questions
Is WP All Export free?
There is a free version on WordPress.org that exports posts, pages and custom post types to CSV or XML. A paid version adds features such as scheduling and deeper WooCommerce and ACF support. Check the vendor's site for current features and prices.
What is the difference between WP All Export and the WordPress exporter?
The built-in exporter creates a WXR file meant for moving content between WordPress sites. WP All Export creates custom CSV, Excel or XML files with only the fields you choose, which suits spreadsheets and other systems.
Can WP All Export export custom fields?
Yes. Custom fields appear in the Available Data panel and can be dragged into your layout. Fields created by ACF may need the ACF add-on or the paid version, depending on the field type.
Why is my WP All Export export timing out?
Large exports can exceed your server's execution time or memory. Lower the records per iteration setting, retry the export, and ask your host about PHP limits if the problem continues.
Can I re-run an export later?
Yes. Every export is saved under All Export > Manage Exports. You can edit its settings, run it again to get fresh data, or download earlier files without rebuilding the layout.
Sources
- WP All Export plugin WordPress.org Plugins
- Export WordPress Posts WP All Import
- Terminated Imports & Exports WP All Import
- RFC 4180: Common Format for CSV Files IETF
Is your product missing, or something out of date?
Tell us what to add or correct. We read every note and reply when we need a source. A message does not buy a ranking.
Thanks — we review requests within 3 business days.
Related guides


About the editors
Researched from the primary sources listed above and checked against our editorial rules before publishing.