Plugin how-tos · Guide
How to Use Contact Form 7 in WordPress (Beginner Guide)
Short answer
To use Contact Form 7, install and activate the plugin, go to Contact > Add New, build the form with form tags such as [text* your-name], then set the recipient and message in the Mail tab. Save the form and add it to a page with the Contact Form 7 block or its shortcode. Pair it with SMTP so emails arrive reliably.
Key takeaways
- Contact Form 7 is a free form plugin with more than 10 million active installations.
- Forms are built from text-based form tags rather than a drag-and-drop editor.
- The Mail tab controls who receives submissions and what the email contains.
- Contact Form 7 does not store submissions by itself; the Flamingo plugin adds that.
- Spam protection options include reCAPTCHA v3, Cloudflare Turnstile and Akismet.
What is Contact Form 7?
Contact Form 7 is a free WordPress plugin for building contact forms that email each submission to you, using a simple text-based form editor instead of drag and drop.
The Contact Form 7 plugin page lists more than 10 million active installations, which makes it one of the most widely used plugins in the directory. It is completely free, with no paid version.
Its strength is flexibility. Because forms are written with tags, you can build almost any form layout. The trade-off is that beginners face a steeper learning curve than with visual builders. Our comparison of Contact Form 7 vs WPForms explains that trade-off in detail.
How do you install Contact Form 7?
Go to Plugins > Add New Plugin, search for Contact Form 7, install and activate it. A new Contact menu appears in your dashboard with a ready-made Contact form 1.
Check the requirements before installing on an older server. Recent versions need a current WordPress release and a modern PHP version, so update your hosting environment first if the plugin refuses to activate.
The default form already includes name, email, subject and message fields. Many sites can use it with only small changes to the mail settings.
How do form tags work?
Form tags are short codes in square brackets that create fields, such as [text your-name] for a required text field, [email your-email] for an email field and [submit “Send”] for the button.
Each tag has three main parts. The type comes first, such as text or email. An asterisk after the type makes the field required. The name comes next and is used later in the Mail tab.
You do not need to type tags from memory. The buttons above the Form editor, such as text, email, URL, tel and checkboxes, open a small generator that builds the tag for you.
The official guide to how tags work lists every tag type and option.
How do you build a contact form step by step?
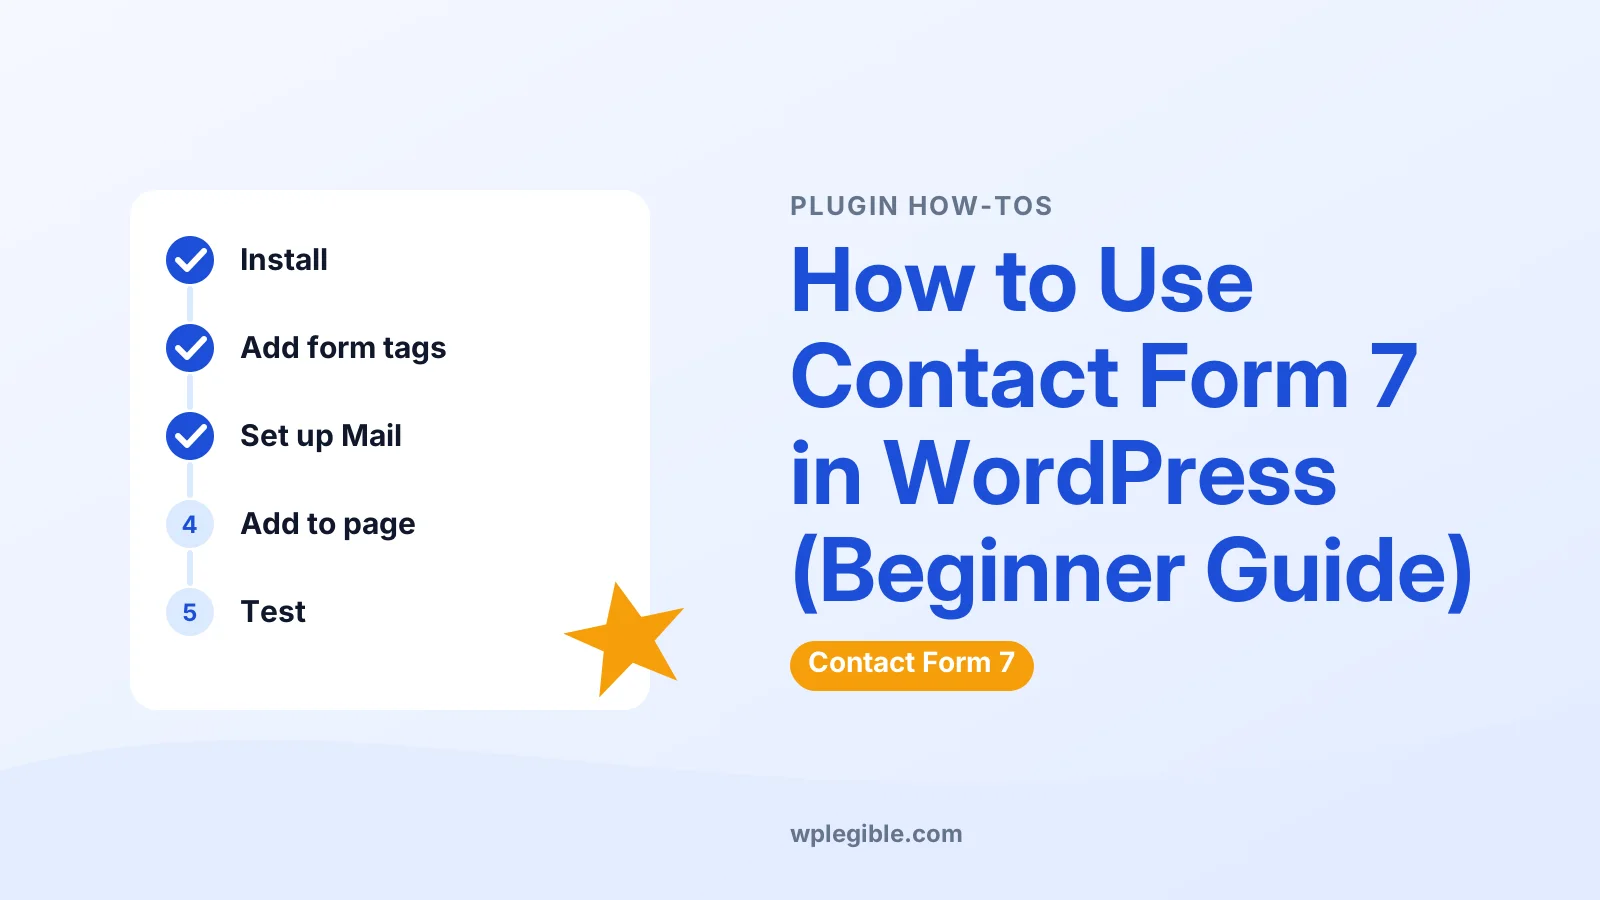
Open Contact > Add New, give the form a title, add labels and form tags in the Form tab, set up the Mail tab, then click Save and copy the shortcode.
- Go to Contact > Add New
- Enter a title, such as Main contact form
- In the Form tab, write a label and insert a tag for each field
- Add a submit button with [submit “Send”]
- Open the Mail tab and set the recipient and message
- Review the Messages tab for success and error text
- Click Save
Wrap each tag in a label so the field text is linked to the input. That helps screen readers and makes the whole label clickable. The W3C's forms tutorial explains why labels matter for accessibility.
How do you set up the Mail tab?
In the Mail tab, set To as the address that should receive submissions, set From as an address on your own domain, add the visitor's email in Reply-To, and use mail-tags like [your-name] in the message body.
Mail-tags are the field names in square brackets. When someone submits the form, each mail-tag is replaced with what they typed. If a field is missing from the email, check that its mail-tag matches the field name exactly.
The From address matters most. Using the visitor's email as From looks like spoofing to mail servers and often sends messages to spam. Put the visitor's address in Additional Headers as Reply-To instead, so you can still reply directly.
Contact Form 7 shows a warning in the Mail tab when a setting is likely to cause delivery problems. Read these warnings rather than ignoring them.
How do you send a confirmation email to the visitor?
Tick Use Mail (2) at the bottom of the Mail tab, set its To field to the visitor's email mail-tag, and write a short thank-you message. Mail (2) then works as an autoresponder.
Keep the autoresponder brief. Confirm that the message arrived, say when you usually reply, and avoid repeating every field the visitor typed, since that can expose personal details if the address was mistyped.
You can also send submissions to more than one person. Add several addresses in the To field, separated by commas, or add Cc and Bcc lines under Additional Headers.
The Additional Settings tab handles extra behaviour, such as subscribers_only: true to limit a form to logged-in users, or demo_mode: on to test a form without sending real email. Use demo mode while you build, then remove it before going live.
How do you add the form to a page?
Edit the page in the block editor, add the Contact Form 7 block and choose your form, or paste the form's shortcode into a Shortcode block or a page builder widget.
The shortcode appears at the top of the form's edit screen and in the forms list. It looks like a bracketed tag with the form's ID and title.
After publishing, fill in the form yourself. Confirm the success message appears and the email arrives in the inbox, not just the spam folder.
Why are Contact Form 7 emails not arriving?
Most delivery problems happen because WordPress sends mail through the server's basic mail function, which many hosts limit and many inboxes distrust. Sending through an SMTP service usually fixes it.
Our guide to setting up SMTP in WordPress shows how to route all site email through a proper mail service.
If the form shows an error after submitting, or emails still vanish, our troubleshooting guide for Contact Form 7 not sending covers the common causes one by one.
How do you save submissions with Flamingo?
Contact Form 7 does not store messages on its own. Install the free Flamingo plugin from the same developer, and every new submission is saved in your dashboard under Flamingo > Inbound Messages.
This is worth doing on any site where form messages matter. If an email gets lost, you still have a copy of the enquiry.
Flamingo only saves submissions made after it is activated. It cannot recover messages that were sent before you installed it.
How do you stop spam on Contact Form 7?
Turn on at least one of Contact Form 7's spam integrations, such as reCAPTCHA v3 or Cloudflare Turnstile under Contact > Integration, and consider Akismet filtering and the WordPress disallowed list.
reCAPTCHA v3 works invisibly by scoring each visitor. Cloudflare Turnstile is a privacy-friendly alternative that also usually runs without puzzles. Both need free keys from the provider, entered on the Integration screen.
Our guide on stopping contact form spam compares these options and when to combine them.
How do you style Contact Form 7 forms?
Contact Form 7 uses your theme's styles by default, so you change its look with CSS, either in the Customizer's Additional CSS, the Site Editor's custom CSS or a code snippet plugin.
Each form is wrapped in a container with the class wpcf7, which lets you target its fields without affecting other forms on the site. Keep focus outlines visible so keyboard users can see where they are.
If you want visual styling controls without code, a drag-and-drop form plugin may suit you better. Contact Form 7 rewards people who are comfortable with a little HTML and CSS.
When should you use Contact Form 7?
Choose Contact Form 7 when you want a free, lightweight, flexible form plugin and do not mind working with tags. Pick a visual builder if you want drag and drop, built-in entry storage and guided setup.
It is ideal for simple contact forms on brochure sites and blogs. Developers also like it because forms are plain text that is easy to adjust.
For complex forms with conditional logic, payments or multi-step layouts, you would need extra add-on plugins, and a premium builder may be simpler to maintain.
Frequently asked questions
Is Contact Form 7 free?
Yes. Contact Form 7 is completely free, with no paid version. Optional extras such as Flamingo for saving messages are also free plugins from the same developer.
Does Contact Form 7 save form submissions?
Not by itself. It only sends submissions by email. Install the free Flamingo plugin to store every new submission in your WordPress dashboard.
Why does my Contact Form 7 form show a red error after submitting?
That error usually means the email could not be sent. Set up SMTP, check that the From address uses your own domain, and review any warnings shown in the Mail tab.
How do I make a field required in Contact Form 7?
Add an asterisk right after the field type in the form tag. For example, a required email field uses email with an asterisk followed by the field name.
Can Contact Form 7 send a copy to the visitor?
Yes. Enable Mail (2) in the Mail tab and set its To field to the visitor's email mail-tag. Mail (2) works as an autoresponder with its own subject and message.
Sources
- Contact Form 7 plugin WordPress.org Plugins
- How tags work Contact Form 7 Docs
- Save submitted messages with Flamingo Contact Form 7 Docs
- Labeling Controls W3C Web Accessibility Initiative
- Cloudflare Turnstile documentation Cloudflare
Is your product missing, or something out of date?
Tell us what to add or correct. We read every note and reply when we need a source. A message does not buy a ranking.
Thanks — we review requests within 3 business days.
Related guides
About the editors
Researched from the primary sources listed above and checked against our editorial rules before publishing.