Backups & maintenance · Guide
How to Update WP Rocket (Step by Step)
Short answer
With an active licence, go to Dashboard, Updates or the Plugins screen and click update now under WP Rocket. If no update appears, download the latest ZIP from your WP Rocket account, upload it under Plugins, Add New Plugin, and choose Replace current with uploaded. Clear the cache afterwards.
Key takeaways
- WP Rocket updates come from its own servers and need an active licence.
- Back up and export WP Rocket settings before updating.
- Manual updates use the Replace current with uploaded option in WordPress.
- A missing update notice usually points to licence or blocked-request problems.
- The Tools tab offers a rollback to the previous version.
- Clear every cache layer and test pages logged out after updating.
How do you update WP Rocket?
With an active licence, go to Dashboard > Updates or the Plugins screen and click update now under WP Rocket; without automatic updates, download the latest ZIP from your WP Rocket account and upload it to replace the old version.
WP Rocket is a premium plugin, so it is not hosted on the WordPress.org plugin directory. Updates come from WP Rocket's own servers and depend on a valid licence key connected to your site.
There are two main ways to update:
- One-click update from the WordPress dashboard, the normal route for licensed sites.
- Manual update by uploading the latest ZIP file, useful when the update notice does not appear.
Your settings are stored in the database, so updating the plugin files does not reset your configuration. If you want a refresher on what the plugin does, see what WP Rocket does.
What should you do before updating WP Rocket?
Take a backup, check that your licence is active, note your current version, and, on a busy or complex site, test the update on staging first.
A short pre-update checklist:
- Back up the site. Files and database, using your host or a backup plugin.
- Check your licence. Updates require an active licence. You can see the status in your WP Rocket account and on the plugin's dashboard tab.
- Export your settings. In WP Rocket's Tools tab, export settings to a file so you can restore them quickly if needed.
- Read the changelog. WP Rocket publishes release notes. Look for changes to features you rely on, such as delay JavaScript or remove unused CSS.
- Use staging for large sites. Stores and membership sites benefit from testing first.
Developers can also follow ongoing work in the public WP Rocket repository on GitHub, where issues and code changes are visible before and after a release. You do not need it for normal updates, but it can help when you are tracking down a specific bug.
If your host offers one-click staging, create a fresh copy right before updating. An older staging site may not reflect your current plugins and settings, which makes the test less useful.
Our article on whether WP Rocket is worth it explains what happens when a licence expires, including losing access to updates.
How do you update WP Rocket from the dashboard?
Open Dashboard > Updates or the Plugins page, find WP Rocket in the list of available updates, and click update now; WordPress downloads and installs the new version in place.
Step by step:
- Log in to WordPress as an administrator.
- Go to Dashboard > Updates.
- Under Plugins, tick WP Rocket and click Update Plugins.
- Or go to Plugins > Installed Plugins and click update now in the WP Rocket row.
- Wait for the success message.
- Clear the cache from the WP Rocket admin bar menu or dashboard tab.
WP Rocket's own updating WP Rocket guide describes the same process and any current notes.
After the update, browse a few key pages while logged out. Check the home page, a post, and a checkout or form page if you have one.
Updates usually take only a few seconds. If the screen hangs or shows an error, do not click update again straight away. Reload the Plugins page first, because the update may have finished in the background.
If WordPress shows a message that the site is briefly unavailable for scheduled maintenance and it does not go away, delete the .maintenance file from the site root using SFTP or your file manager. WordPress creates that file during updates and normally removes it on its own.
How do you update WP Rocket manually?
Download the latest version from your WP Rocket account, go to Plugins > Add New Plugin > Upload Plugin, choose the ZIP, and click Replace current with uploaded when WordPress asks.
This is the method to use if the update notice never appears or if a one-click update fails.
- Log in to your account on the WP Rocket website.
- Download the latest plugin ZIP for your licence.
- In WordPress, go to Plugins > Add New Plugin.
- Click Upload Plugin, choose the ZIP file and click Install Now.
- WordPress detects that WP Rocket is already installed and shows a comparison of versions.
- Click Replace current with uploaded.
- Clear the WP Rocket cache.
WordPress added this replace option to the upload screen several versions ago, so you no longer need to delete the old plugin first. The plugin management documentation covers uploading plugins in general.
If you prefer SFTP, you can also unzip the new version and replace the wp-rocket folder inside wp-content/plugins. Deactivating and deleting the plugin from the dashboard is not recommended for updating, because WP Rocket may clean up its settings and configuration files when it is removed.
Why is the WP Rocket update not showing?
A missing update notice usually means the licence has expired or is not validated on this site, WordPress has not checked for updates recently, or a plugin or host setting is blocking update requests.
Check these in order:
- Licence status. Expired or invalid licences do not receive updates. WP Rocket explains this in its missing update notification article.
- Force a check. On Dashboard > Updates, click Check again.
- Staging and domain changes. If the site's address changed, the licence may need validating again.
- Blocked outgoing requests. Some security plugins or host firewalls stop WordPress from contacting external update servers.
- Update managers. Tools that hide or delay updates can stop the notice from appearing.
If licence validation keeps failing, the WP Rocket article on license validation problems covers the common reasons.
How do you roll back WP Rocket to a previous version?
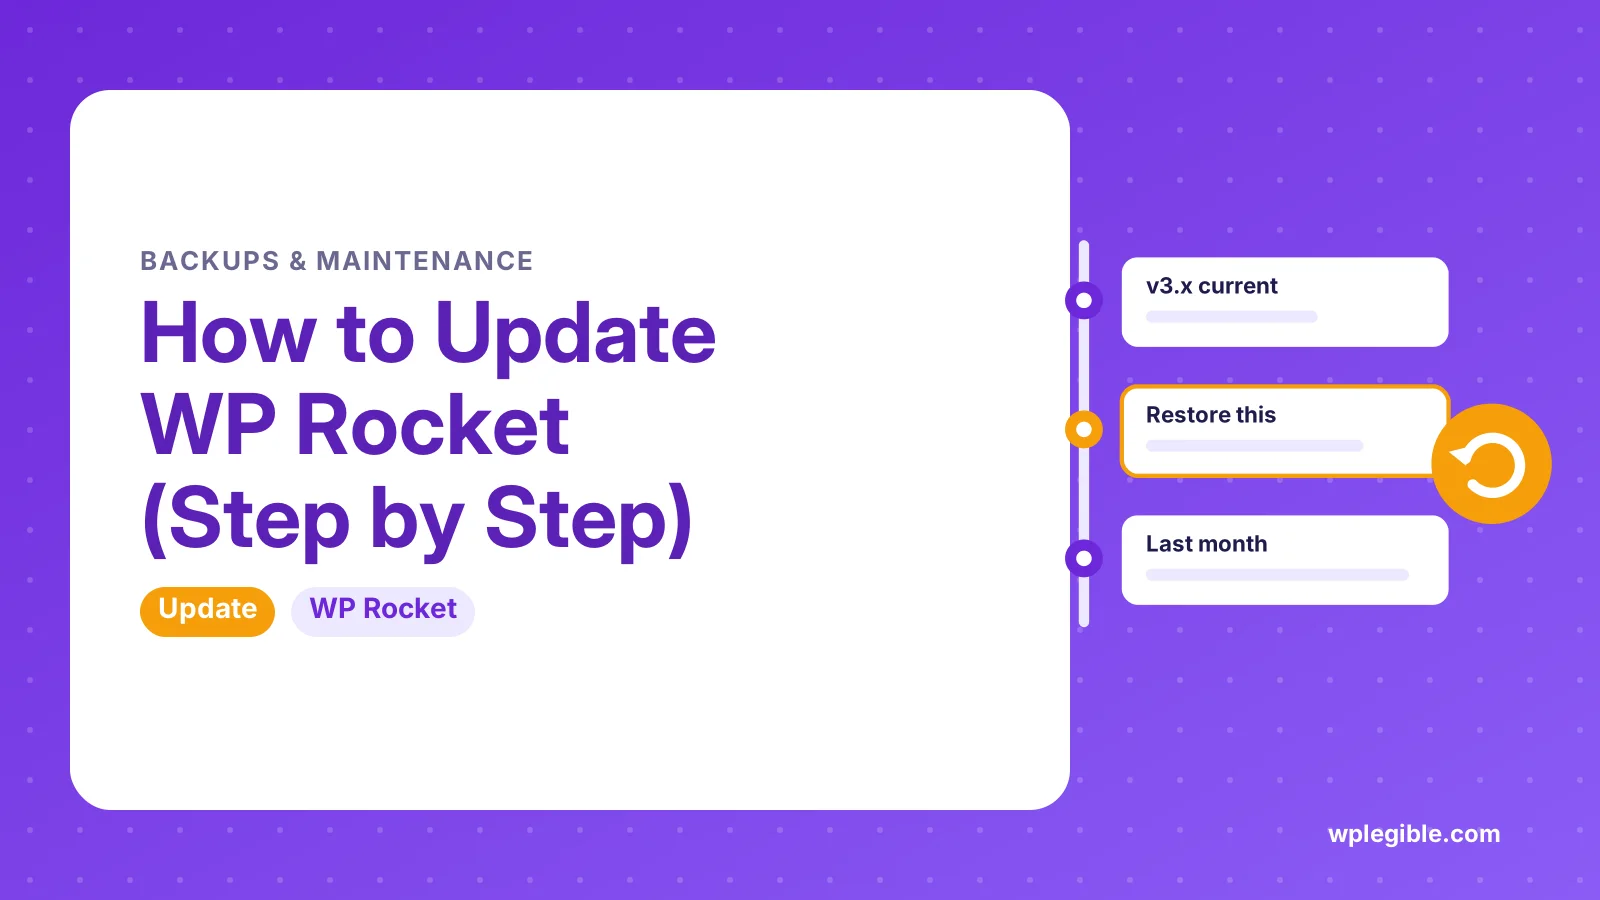
Use the Rollback option in WP Rocket's Tools tab to reinstall the previous version, or upload an older ZIP from your account if you need a specific release.
A rollback is useful when a new version clashes with your theme or another plugin. After rolling back:
- Clear the cache.
- Confirm the site works as before.
- Report the problem to WP Rocket support with details.
- Update again once a fix is released.
For general plugin rollbacks, our guide on updating plugins in WordPress covers the wider options.
What should you check after updating?
After updating, clear all caches, check key pages logged out, run a speed test, and confirm features like delay JavaScript, lazy load and preload still behave as expected.
A quick post-update check:
| Check | Why it matters |
|---|---|
| Clear WP Rocket, server and CDN cache | Removes files built by the old version |
| View pages logged out | Logged-in users usually bypass cache |
| Test menus, sliders and forms | Script optimizations can affect them |
| Run a speed test | Spots performance regressions |
| Check the browser console | Shows new JavaScript errors |
If something breaks, our guide to fixing WP Rocket breaking your site explains how to isolate the setting at fault. Tools such as PageSpeed Insights help you compare speed before and after.
Should you turn on automatic updates for WP Rocket?
Automatic updates are convenient for simple sites with good backups, but stores and complex sites are usually safer updating manually after a quick staging test.
WordPress lets you enable auto-updates per plugin from the Plugins screen, where the plugin supports it. Our guide on enabling automatic updates for plugins explains how the feature works and its risks.
A middle ground is to update manually within a few days of each release. That way you get bug and security fixes quickly without being the first to find a new issue.
How often does WP Rocket release updates?
WP Rocket releases updates several times a year, including feature releases and smaller bug-fix versions, so check for updates at least monthly.
Staying current matters because caching plugins interact with WordPress core, themes and browsers, all of which change. Our WP Rocket settings explained guide is a good reference when a new version adds or renames options.
Frequently asked questions
Do I lose my WP Rocket settings when I update?
No. Settings are stored in the database and stay in place when the plugin files are replaced. Exporting your settings first from the Tools tab is still a good safety step in case you need to restore them.
Can I update WP Rocket with an expired licence?
Not through the normal update system. An expired licence keeps the plugin working with its current version, but you stop receiving new versions and support. Renewing the licence restores access to updates and downloads.
Is it safe to update WP Rocket on a live site?
For most sites, yes, as long as you have a recent backup and check the site right after updating. Busy stores and complex sites are safer testing on staging first, since optimization changes can affect scripts and checkout pages.
Why did my site break after a WP Rocket update?
A new version may change how files are optimized, which can clash with a theme or plugin. Clear all caches first. If the problem stays, roll back from the Tools tab and disable optimization features one at a time to find the cause.
Should I delete WP Rocket before installing a new version?
No. Deleting the plugin can remove its configuration. Use the dashboard update or upload the new ZIP and choose Replace current with uploaded, which swaps the files while keeping your settings.
Sources
- Updating WP Rocket WP Rocket
- Missing update notification in dashboard WP Rocket
- Resolving problems with license validation WP Rocket
- Managing Plugins WordPress.org
- PageSpeed Insights Google
Is your product missing, or something out of date?
Tell us what to add or correct. We read every note and reply when we need a source. A message does not buy a ranking.
Thanks — we review requests within 3 business days.
Related guides
About the editors
Researched from the primary sources listed above and checked against our editorial rules before publishing.