Backups & maintenance · Guide
How to Install All In One WP Migration Unlimited Extension (Step by Step)
Short answer
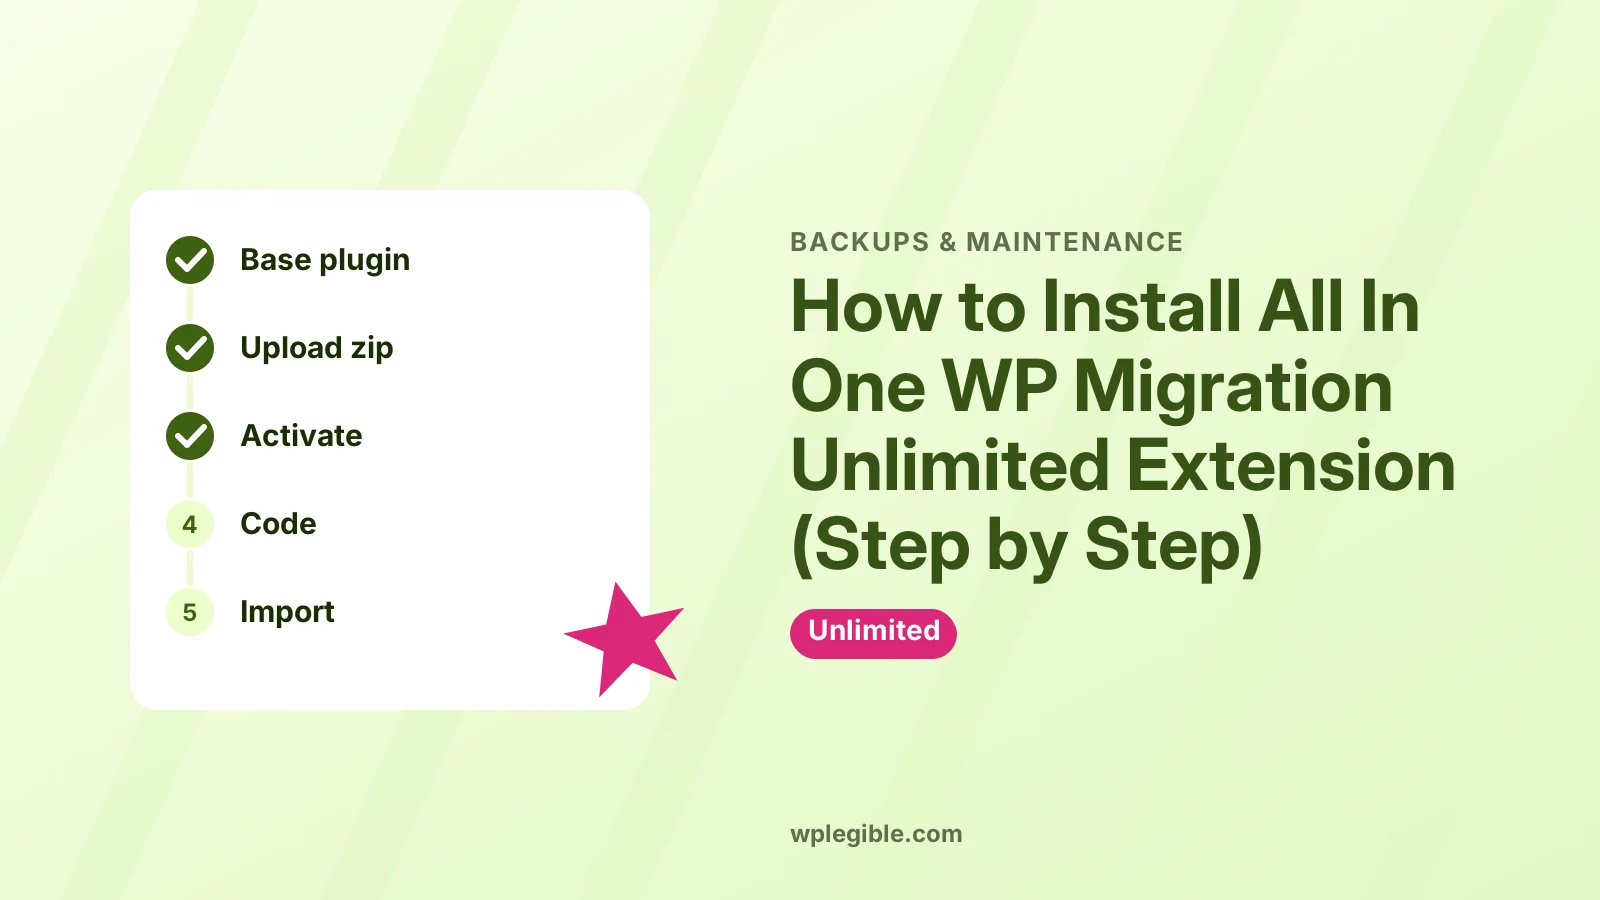
First install and activate the free All-in-One WP Migration plugin. Then go to Plugins, Add New, Upload Plugin, choose the extension zip from ServMask, install and activate it, and enter your purchase code when prompted. The import size limit is then removed.
Key takeaways
- The free base plugin must be installed and active first.
- Upload the extension zip without unzipping it.
- Enter your purchase code so the extension gets updates.
- Restore very large files from the server backups folder.
- Back up both sites before any import, because it overwrites everything.
What is the All-in-One WP Migration Unlimited Extension?
It is a paid add-on from ServMask that removes the import size limit of the free All-in-One WP Migration plugin, so you can restore large site exports.
The free All-in-One WP Migration plugin exports a whole site, files and database, into a single .wpress file.
Exporting is free at any size. The limit appears when you import, because the free version caps how large a file it will accept.
The Unlimited Extension lifts that cap and adds extra restore tools. It is a separate plugin that works on top of the free one, not a replacement for it.
If you are hitting that limit right now, our guide to the All-in-One WP Migration import limit explains why it happens.
What do you need before you install it?
You need admin access to the destination WordPress site, the free base plugin installed and active, the extension zip file from ServMask, and your purchase code.
Check this list before you start:
- WordPress admin login on the site where you will import.
- All-in-One WP Migration installed and activated from the plugin directory.
- The extension zip file, downloaded from the link in your purchase email or your ServMask account.
- Your purchase code, which ServMask sends with your order.
- Enough disk space on the server for the .wpress file plus the unpacked site.
Do not unzip the extension file. WordPress needs the zip exactly as you downloaded it.
It also helps to note the admin username and password of the source site. After the import, the destination site uses the old site's users, so your current login on the destination will stop working.
If the destination is a fresh install, you have nothing to lose there. If it already holds content, export a copy of it first so you can roll back.
Some browsers, especially Safari on macOS, unzip downloads automatically. If that happens, re-download the file or re-compress the folder before uploading.
How do you install the base plugin first?
Go to Plugins, then Add New, search for All-in-One WP Migration, install it and activate it before touching the extension.
- In wp-admin, open Plugins > Add New Plugin.
- Search for All-in-One WP Migration.
- Click Install Now on the plugin by ServMask.
- Click Activate.
You will now see an All-in-One WP Migration menu in the dashboard sidebar.
If it is already installed, update it to the latest version first. Extensions expect a recent base plugin and may show a notice if versions do not match.
How do you upload the Unlimited Extension?
Upload the extension zip through Plugins, Add New, Upload Plugin, then activate it like any other plugin, as described in ServMask's own install instructions.
ServMask publishes official install instructions for the Unlimited Extension. The steps are short:
- Open Plugins > Add New Plugin.
- Click Upload Plugin at the top of the page.
- Click Choose File and select the extension zip file.
- Click Install Now.
- When the upload finishes, click Activate Plugin.
The extension now appears in your plugin list as its own entry, under the base plugin.
The WordPress.org guide to managing plugins shows the same upload screen if you need a visual reference.
What if the upload fails because the zip is too big?
Extension zips are small, so a failed upload usually points to a low PHP upload limit, a broken download, or a security rule on the server.
Try these fixes in order:
- Re-download the zip and upload it again.
- Raise the upload size limit. Our guide on how to increase the max upload size in WordPress shows the common methods.
- Upload the unzipped folder by FTP or the hosting File Manager into wp-content/plugins/, then activate it from the Plugins screen.
The FTP route works because WordPress only needs the plugin folder in the right place. The PHP documentation on file uploads explains which server settings control upload size.
How do you enter the purchase code?
After activation, look for a purchase code field or notice from the extension and paste the code from your ServMask email so the extension can receive updates.
The exact screen can change between versions. Most often the prompt appears on the Plugins page next to the extension, or as a notice inside the All-in-One WP Migration menu.
Copy the code without extra spaces. A stray space at the start or end is the most common reason a valid code is rejected.
If you lost the code, check the original order email or log in to your ServMask account. Their help center also covers licence questions.
How do you import a large site after installing it?
Open All-in-One WP Migration, choose Import, then drag in your .wpress file; the size limit shown on the screen should now be gone.
- Go to All-in-One WP Migration > Import.
- Click Import From and choose File, or drag the .wpress file into the box.
- Wait for the upload and the unpacking to finish.
- Confirm the warning that the import will overwrite the current site.
- When it completes, log in again with the username and password from the old site.
After the import, visit Settings > Permalinks and click Save Changes twice. This rebuilds rewrite rules and fixes many 404 errors on inner pages.
For the full process from start to finish, read how to migrate with All-in-One WP Migration.
Can you restore from a file already on the server?
Yes, the Unlimited Extension can restore a .wpress file that sits in the plugin's backups folder, which avoids a slow or failing browser upload.
This is the best option for very large sites or slow connections.
- Upload the .wpress file by FTP or File Manager to wp-content/ai1wm-backups/.
- Go to All-in-One WP Migration > Backups in wp-admin.
- Find the file in the list and choose Restore.
Because the file is already on the server, there is no browser upload to time out.
What if the import gets stuck?
A stuck import usually comes from server time limits, low disk space, or a security plugin or firewall blocking the request, not from the extension itself.
Check free disk space first. A restore needs room for the .wpress file and for the unpacked files and database.
Then temporarily disable security plugins on the destination site and try again.
Our guide to fixing an All-in-One WP Migration import that is stuck lists more causes and fixes.
Which option should you pick for a big migration?
Use the browser import for moderate sites, the server backups folder for very large sites, and a manual migration when you want full control.
| Method | Good for | Needs Unlimited Extension | Main risk |
|---|---|---|---|
| Browser import | Small to medium sites | Yes, above the free limit | Upload timeouts |
| Restore from backups folder | Large sites, slow connections | Yes | Disk space |
| Manual migration (files plus database) | Any size, full control | No | More steps to get wrong |
If you would rather not pay for an extension, a manual move is free. See how to migrate WordPress manually.
Is the Unlimited Extension worth it?
It is worth it if you move large sites often, because it saves time and avoids split uploads, but a single small migration may not need it.
Pricing and licence terms are set by ServMask and change from time to time, so check the current price, renewal rules and site limits on the ServMask site before buying.
Always keep a separate backup of both sites before importing. An import overwrites everything on the destination, and there is no undo button once it finishes.
The official WordPress backup guide explains what a full backup should contain, which is worth reading before any large move.
Once the import is done, test the site properly. Open a few posts and pages, submit a test form, check images, and log in and out once.
If you moved to a new domain, also look for old links in menus and widgets. Our guide on fixing broken links after migration covers the usual clean-up.
Frequently asked questions
Do I still need the free All-in-One WP Migration plugin?
Yes. The Unlimited Extension is an add-on and only works when the free base plugin is installed and active on the same site. Keep both plugins updated so their versions stay compatible.
Where do I find the extension zip file?
ServMask sends a download link in your purchase email, and you can also download it from your ServMask account. Upload that zip file as it is, without extracting it first.
Why does WordPress say the package could not be installed?
This usually means the file was unzipped by your browser, the download was incomplete, or the server upload limit is too low. Re-download the zip, or upload the plugin folder by FTP instead.
Do I need the extension on the source site too?
No. Exporting is free at any size. You only need the Unlimited Extension on the destination site, where the large .wpress file is imported.
Can I use one licence on many sites?
ServMask's licence terms decide this, and they can change. Check the current terms on the product page or in your purchase email before using the extension across several client sites.
Sources
- All-in-One WP Migration and Backup WordPress.org Plugins
- Install Instructions for Unlimited Extension ServMask Help Center
- Manage Plugins WordPress.org Documentation
- Handling file uploads PHP Manual
Is your product missing, or something out of date?
Tell us what to add or correct. We read every note and reply when we need a source. A message does not buy a ranking.
Thanks — we review requests within 3 business days.
Related guides
About the editors
Researched from the primary sources listed above and checked against our editorial rules before publishing.