Backups & maintenance · Guide
How to Install All In One WP Migration (Step by Step)
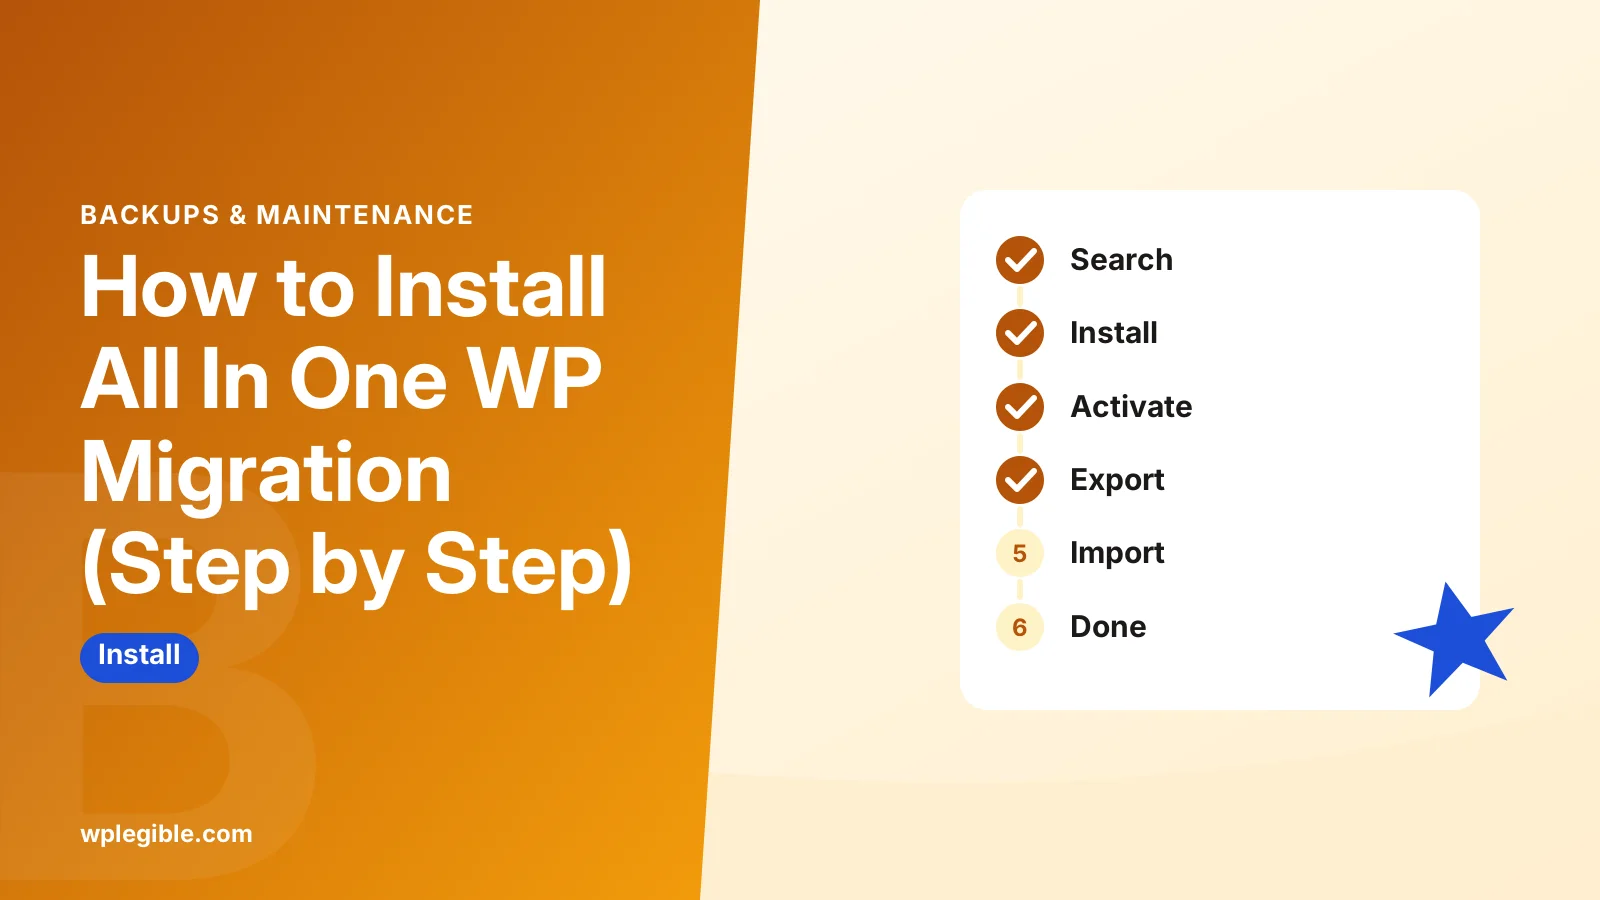
Short answer
In your WordPress dashboard, go to Plugins, then Add New Plugin, and search for All-in-One WP Migration. Install the plugin published by ServMask and click Activate. For a migration, install it on both the old site and the new site.
Key takeaways
- Install the plugin from the official directory and check the author is ServMask.
- You can also upload the zip file or use WP-CLI.
- Migrations need the plugin on both the source and destination sites.
- After import, log in with the old site's credentials.
- Paid extensions remove the import cap and add cloud storage.
- Test a first export right after installing.
How do you install All-in-One WP Migration?
Go to Plugins > Add New Plugin in WordPress, search for All-in-One WP Migration, click Install Now on the plugin by ServMask, then click Activate.
All-in-One WP Migration is a free plugin that exports a whole WordPress site, including the database, media, themes and plugins, into one file. You then import that file into another WordPress install.
Installing it takes about a minute. The part people often miss is that a migration needs the plugin on both sites: the old one you export from and the new one you import into.
This guide covers three ways to install it, what to check before you start, and what to do right after activation.
What do you need before installing it?
You need an administrator login, a WordPress site that can install plugins, and a recent backup, plus enough disk space for the export file.
Run through this short checklist:
- Admin access to every site you will use the plugin on.
- Plugin installs allowed. Some managed hosts and WordPress.com plans limit plugin uploads.
- Free disk space at least as large as your site, because the export file is stored on the server first.
- A current PHP version. Our guide on checking the PHP version on your host shows where to look.
- A backup of the destination site, because an import overwrites everything on it.
If you are moving a large store or a big media library, read our guide on the All-in-One WP Migration import limit before you start.
Method 1: How do you install it from the plugin directory?
In your dashboard, go to Plugins > Add New Plugin, search for the plugin, and install the one published by ServMask.
This is the easiest and safest method because WordPress downloads the latest version straight from the official directory.
- Log in to your WordPress dashboard.
- Go to Plugins > Add New Plugin.
- Type All-in-One WP Migration in the search box.
- Find the listing by ServMask. The directory page now calls it All-in-One WP Migration and Backup.
- Click Install Now.
- When the button changes, click Activate.
Several plugins have similar names, so check the author before installing. The official listing is on the WordPress plugin directory.
Look at the Last updated date and the number of active installations on the listing too. A widely used, recently updated plugin is less likely to break on current WordPress versions.
If you see an Update Now link instead of Install Now, the plugin is already on the site but inactive or outdated. Update it first, then activate it.
Method 2: How do you install it from a zip file?
Download the plugin zip from WordPress.org, then upload it at Plugins > Add New Plugin > Upload Plugin and activate it.
Use this method if search does not work on your site, or if your host blocks direct downloads from the directory.
- Open the plugin's page on WordPress.org and click Download.
- In your dashboard, go to Plugins > Add New Plugin.
- Click Upload Plugin at the top of the screen.
- Choose the zip file and click Install Now.
- Click Activate Plugin.
Do not unzip the file first. WordPress expects the zip as it is. The Manage Plugins documentation covers both install methods in more detail.
If WordPress says the destination folder already exists, an older copy is still installed. You can choose Replace current with uploaded on newer WordPress versions, or delete the old copy from the Plugins screen first.
If the upload fails because the file is too large, our guide on fixing the upload_max_filesize error will help.
Method 3: How do you install it with WP-CLI?
If you have SSH access, run one WP-CLI command that downloads and activates the plugin in a single step.
wp plugin install all-in-one-wp-migration --activateThe wp plugin install reference lists other options, such as installing a specific version.
This is handy when you set up several destination sites at once, or when the dashboard is slow. Our guide on migrating WordPress with WP-CLI shows other commands that help during a move.
How do you install it on both sites for a migration?
Install and activate the plugin on the old site to export, then do the same on the new site so it can import the file.
The usual order is:
- Install the plugin on the source site and create an export.
- Set up a fresh WordPress install on the destination host.
- Install the plugin on the destination site.
- Import the export file there.
The destination does not need any content first. A clean install with only this plugin is ideal, because the import replaces everything anyway.
Make sure both sites run similar PHP and WordPress versions. A big gap, such as moving from a very old PHP version to a much newer one, can expose outdated plugins or themes after the import.
Also check that the destination has the same or more disk space than the source. The import unpacks the file on the server, so it briefly needs room for both the archive and the extracted site.
After the import, you log in with the old site's username and password, because the users table comes from the export. For the full walkthrough, see our guide on migrating with All-in-One WP Migration.
What do you see after activating the plugin?
A new All-in-One WP Migration menu appears in the dashboard sidebar, with screens for Export, Import and Backups.
| Screen | What it does |
|---|---|
| Export | Packs the site into a single file you can download or send to storage |
| Import | Restores a site from an export file, replacing current content |
| Backups | Lists export files stored on the server, with restore and download options |
The Export screen also has advanced options, such as excluding spam comments, post revisions, media or inactive themes. Excluding things you do not need makes the file smaller and faster to move.
What is the difference between the free plugin and extensions?
The free plugin handles export and import, but has an import size cap and limited storage targets; paid extensions from ServMask remove the cap and add cloud storage.
ServMask sells an Unlimited Extension and separate storage extensions for services such as Google Drive and Dropbox. Prices and limits change, so check the ServMask website for current details.
Extensions are installed the same way as any premium plugin: download the zip from your ServMask account, upload it at Plugins > Add New Plugin > Upload Plugin, then activate it. The base plugin must stay active too.
Why can't you install or activate the plugin?
Install problems usually come from file permissions, low disk space, a host that blocks plugin installs, or an old PHP version.
Check these causes:
- Installation failed: could not create directory means WordPress cannot write to wp-content/plugins. Ask your host to fix folder permissions.
- The link you followed has expired usually means the upload was larger than the server allows. Raise the limit or use the directory install instead.
- Plugin does not appear in search can mean your host restricts plugins. Use the zip upload or ask your host.
- Critical error on activation points to a PHP version or plugin conflict. Our guide on checking PHP error logs helps you find the exact message.
PHP upload settings such as upload_max_filesize and post_max_size control how large an upload can be. The PHP core ini documentation explains each one.
What should you do after installing it?
Make a first export straight away, download the file to your computer, and check its size before relying on it for a migration.
A quick test confirms the plugin works on your host before you need it in a hurry. If the export finishes and downloads cleanly, you are ready.
Do not treat export files as your only backup. They live on the same server as your site, so a server failure could take both. Copy important exports to your computer or cloud storage, and see our guide on where to store WordPress backups for safer options.
If you want scheduled backups rather than one-off exports, a dedicated backup plugin is usually a better fit. All-in-One WP Migration is designed mainly for moving sites.
Keep the plugin updated like any other. If you only use it occasionally, you can deactivate and delete it after a migration, then reinstall it next time. Our guide on removing unused plugins safely explains why that is good practice.
If an export or import freezes partway, see our fix for All-in-One WP Migration getting stuck.
Frequently asked questions
Is All-in-One WP Migration free?
The core plugin is free in the WordPress plugin directory and handles both export and import. ServMask sells paid extensions that remove the import size cap and add cloud storage destinations. Check the vendor's site for current prices, as they change.
Do I need to install the plugin on both sites?
Yes. The source site needs it to create the export file, and the destination site needs it to import that file. The destination can be a fresh WordPress install with nothing else on it.
Why does the plugin not show up in search?
Your host may restrict plugin installs, or the search may fail because of a connection issue to WordPress.org. Download the zip from the plugin's directory page and upload it manually, or ask your host whether plugins are allowed.
What login do I use after importing a site?
Use the username and password from the old site. The import replaces the destination's database, including its users table, so the destination's original admin account no longer exists after the import finishes.
Can I delete the plugin after migrating?
Yes. Once the migration is done and you have checked the new site, you can deactivate and delete the plugin. Delete any large export files stored on the server too, so they do not use disk space or sit publicly reachable.
Sources
- All-in-One WP Migration and Backup WordPress.org
- Manage Plugins WordPress.org
- wp plugin install WordPress Developer Resources
- ServMask ServMask
- Description of core php.ini directives PHP Manual
Is your product missing, or something out of date?
Tell us what to add or correct. We read every note and reply when we need a source. A message does not buy a ranking.
Thanks — we review requests within 3 business days.
Related guides
About the editors
Researched from the primary sources listed above and checked against our editorial rules before publishing.