Backups & maintenance · Guide
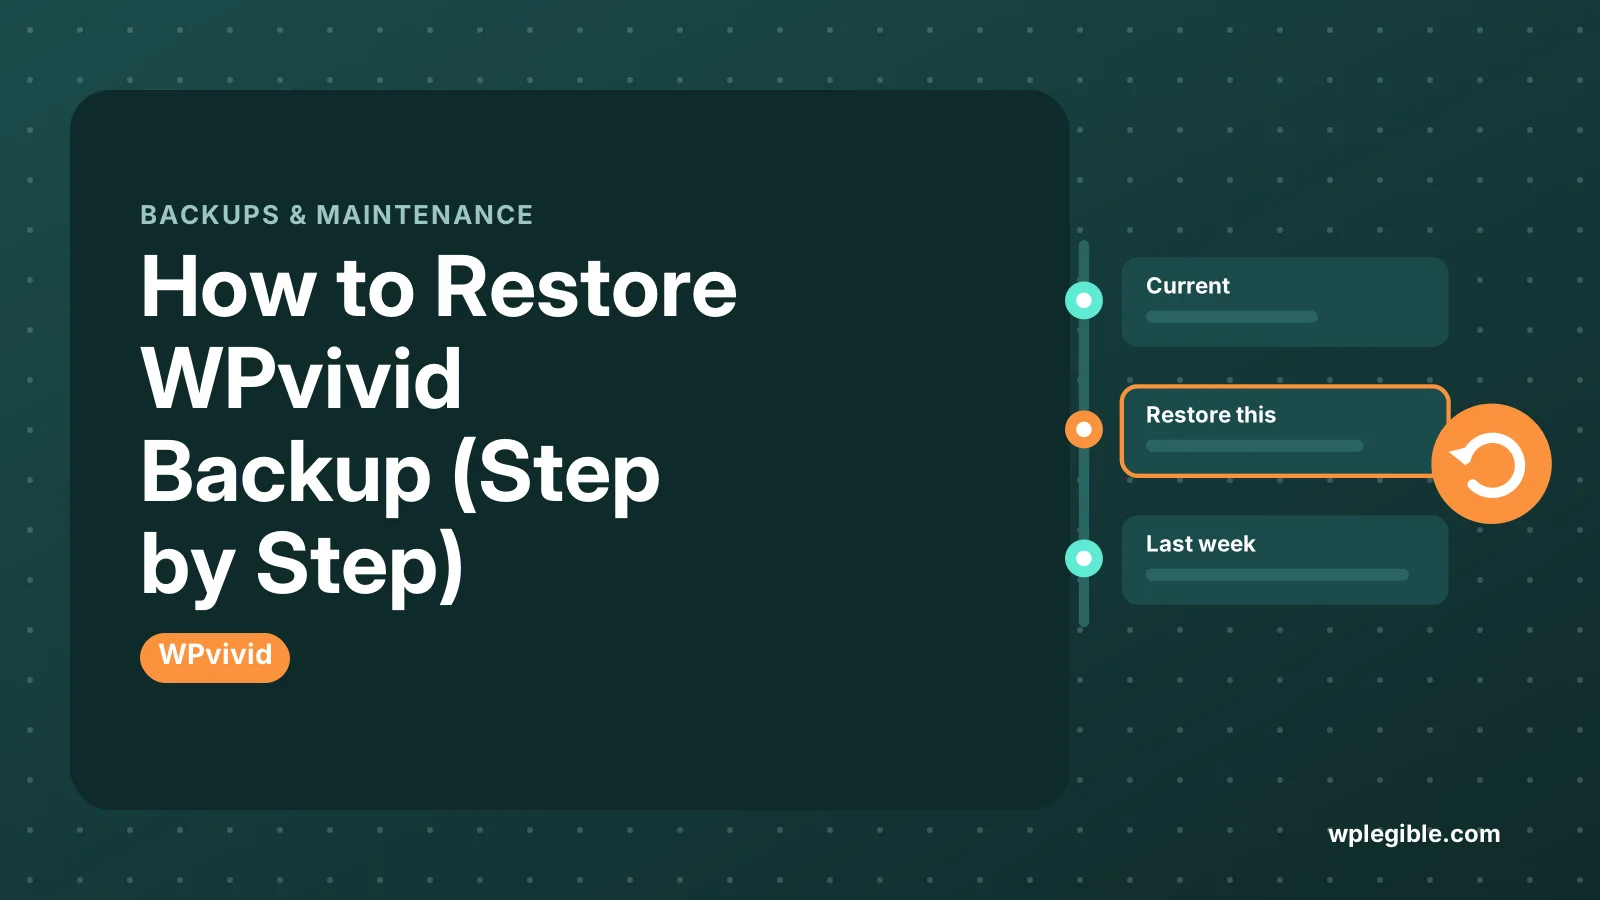
How to Restore WPvivid Backup (Step by Step)
Short answer
Open WPvivid Backup in the dashboard, find the backup in the list on the Backup and Restore page, and click Restore, then start the restore on the next screen. For a new site, install WPvivid, upload every backup part, and restore the uploaded backup the same way.
Key takeaways
- A restore overwrites the current site, so back it up first.
- Local backups restore from the list on the Backup & Restore page.
- Remote backups must be downloaded to the server before restoring.
- Upload every part of a split backup before clicking Restore.
- Use FTP plus a scan for backups too large to upload in the browser.
- Clear caches, resave permalinks and update plugins after restoring.
How do you restore a WPvivid backup?
Open WPvivid Backup in your dashboard, find the backup in the backups list on the Backup & Restore page, click Restore, then start the restore and wait for WPvivid to finish replacing your files and database.
WPvivid Backup is a free backup and migration plugin. Its restore process works the same whether you are rolling back after a bad update, recovering from a hack, or moving a backup to a new server.
There are three common situations, and this guide covers each:
- The backup is already on the site, in WPvivid's local backup list.
- The backup is in remote storage, such as Google Drive or Dropbox.
- You only have the backup files, for example on your computer, and need to upload them.
WPvivid's own guide to restoring a site from a backup shows the free version's screens. Labels can change between releases, so use it alongside this guide.
What should you check before restoring?
Make a fresh backup of the current site, confirm the backup you want is complete, and know which parts it contains, because a restore overwrites what is there now.
A restore replaces your current content with the backup's content. Anything added since that backup, such as new orders, comments or posts, will be lost unless you save it first.
Before you click Restore:
- Back up the current state. Even a broken site may hold data you want later.
- Check the backup date and size. A backup that is suspiciously small may be incomplete.
- Know what is inside. WPvivid can back up the database only, files only, or both.
- Pause busy activity. On a shop, put the site in maintenance mode so no orders arrive mid-restore.
- Note your login. After restoring, your user accounts and passwords will match the backup.
If you are new to the plugin, read how to use the WPvivid backup plugin for an overview of its screens.
Step 1: How do you restore a backup that is already on the site?
Go to WPvivid Backup in the admin menu, scroll to the backups list, click Restore next to the backup you want, and on the restore screen click the Restore button to begin.
- In the dashboard, open WPvivid Backup.
- Stay on the Backup & Restore tab.
- Scroll to the list of backups.
- Find the backup by date and type.
- Click Restore in that row.
- On the next screen, review the details and click Restore to start.
WPvivid shows a progress log while it works. Do not close the tab or navigate away until it says the restore is complete.
When it finishes, you may be logged out. Log back in with the username and password that existed at the time of the backup.
Step 2: How do you restore from remote storage?
If the backup lives in Google Drive, Dropbox or another remote service, WPvivid needs to download it to the server first, then you restore it the same way as a local backup.
The free version lists backups that it sent to remote storage from this site. In the backups list, a remote backup can usually be downloaded back to the server with one click, after which the Restore button works normally.
If the site was rebuilt and the list is empty, connect the same remote storage account again under the Remote Storage tab. Then download the backup files to your computer from the cloud service and upload them as described in the next step.
WPvivid Pro adds more direct options for browsing remote backups. The Pro restore guide covers those screens.
Not sure whether you need Pro at all? Our guide on whether WPvivid is free compares what each version can restore.
Step 3: How do you upload backup files and restore them?
Use the Upload option on WPvivid's Backup & Restore page to send the backup ZIP files to the server, then click Restore on the uploaded backup once it appears in the list.
This is the method for restoring on a fresh WordPress install or a different server.
- Install WordPress on the target site if it is not there yet.
- Install and activate WPvivid Backup from the plugin directory.
- Open WPvivid Backup and find the Upload tab or section on the Backup & Restore page.
- Drag in or select all the parts of the backup. Large backups are split into several ZIP files.
- Click Upload and wait for every part to finish.
- Find the uploaded backup in the list and click Restore.
WPvivid's guide on downloading and uploading backups explains the upload screen.
If you forget one part of a split backup, the restore may fail or leave the site half restored. Check the file names to make sure you have every piece.
What if the backup is too large to upload through the browser?
Upload the backup files by FTP or your host's file manager into WPvivid's local backup folder, then use the scan option in WPvivid so it detects them.
Browser uploads are limited by your server's PHP settings. The upload_max_filesize and post_max_size directives control how big a file can be. WPvivid uploads in chunks, but very large sites can still hit limits or timeouts.
The workaround:
- Connect with FTP or open your host's file manager.
- Go to
wp-content/and find the WPvivid backup folder. By default it is namedwpvividbackups, unless you changed it in the settings. - Upload all backup parts into that folder.
- In WPvivid, use the option to scan for uploaded backups.
- Click Restore on the backup once it appears.
What happens to the URL when restoring on a new domain?
When you restore a backup made on a different domain, WPvivid can replace the old URL with the new one in the database during the restore, so links and images point to the new address.
During an upload-and-restore to a new domain, WPvivid treats it as a migration. Check the restore screen for options related to the domain change before you start.
After the restore:
- Log in at the new address.
- Visit Settings > General and confirm the WordPress Address and Site Address are correct.
- Click through a few pages and images.
- Resave Settings > Permalinks to rebuild rewrite rules.
If posts return 404 errors after the move, our guide on how to flush permalinks in WordPress walks through the fix.
For a full move, WordPress's own guide to moving WordPress explains what changes when a domain changes.
What should you do after the restore finishes?
Log in, clear all caches, test key pages and forms, check that plugins and themes are the expected versions, and run a fresh backup of the restored site.
A checklist for the first ten minutes:
| Check | Why it matters |
|---|---|
| Log in to the dashboard | Users and passwords now match the backup |
| Clear plugin, server and CDN caches | Old cached pages can hide the restored content |
| Resave permalinks | Fixes 404 errors on posts and pages |
| Test forms and checkout | Confirms email and payment settings still work |
| Check plugin and theme versions | The restore may bring back older versions |
| Update anything outdated | Older versions may have known security issues |
| Take a new backup | Gives you a clean restore point |
Our guide to how to clear cache in WordPress covers each common cache plugin and host.
Why might a WPvivid restore fail?
Restores usually fail because of server timeouts, missing backup parts, low disk space, or a PHP memory limit, and most of these can be fixed by your host or by uploading files manually.
Common causes and fixes:
- Restore stops partway. The server killed a long process. Try again, or ask your host to raise the PHP time and memory limits.
- Backup not found. The files are in the wrong folder or a part is missing. Check the backup folder by FTP.
- Disk full. Restoring needs room for both the ZIP files and the extracted files. Free up space first.
- White screen after restore. A plugin in the backup may not suit the server's PHP version. Rename that plugin's folder by FTP to disable it.
- Cannot log in. Use the username and password from the time of the backup, or reset the password by email.
If WPvivid itself is failing to back up or restore, see our guide to WPvivid backup not working.
Frequently asked questions
Can I restore a WPvivid backup with the free version?
Yes. The free version of WPvivid Backup can restore backups from its local list and from uploaded backup files. WPvivid Pro adds extra options, such as more flexible remote browsing and selective restores, but a standard full restore works in the free plugin.
Will restoring a WPvivid backup delete new posts?
Yes, if the backup includes the database. Content added after the backup date, such as posts, comments or orders, will be replaced by the older data. Export or back up anything new before you restore.
Can I restore a WPvivid backup to a different domain?
Yes. Install WordPress and WPvivid on the new domain, upload the backup files, and restore. WPvivid handles the domain change during the restore. Afterward, check the site addresses in Settings, General and resave permalinks.
Where does WPvivid store backups on the server?
By default WPvivid stores local backups in a folder inside wp-content, usually named wpvividbackups. You can change the folder name in WPvivid's settings, so check there if you cannot find it.
Why can I not log in after restoring a WPvivid backup?
The restore brings back the user accounts and passwords from the backup date. Use the login details that were valid then. If you cannot remember them, use the lost password link or reset the password through your hosting control panel.
Sources
- Restore site from a backup (free) WPvivid Docs
- Download and upload backups WPvivid Docs
- Restore a backup (Pro) WPvivid Docs
- WPvivid Backup plugin WordPress.org
- Moving WordPress WordPress Developer Resources
- Core php.ini directives PHP Manual
Is your product missing, or something out of date?
Tell us what to add or correct. We read every note and reply when we need a source. A message does not buy a ranking.
Thanks — we review requests within 3 business days.
Related guides
About the editors
Researched from the primary sources listed above and checked against our editorial rules before publishing.