Plugin how-tos · Guide
How to Install WPML Plugin in WordPress (Step by Step)
Short answer
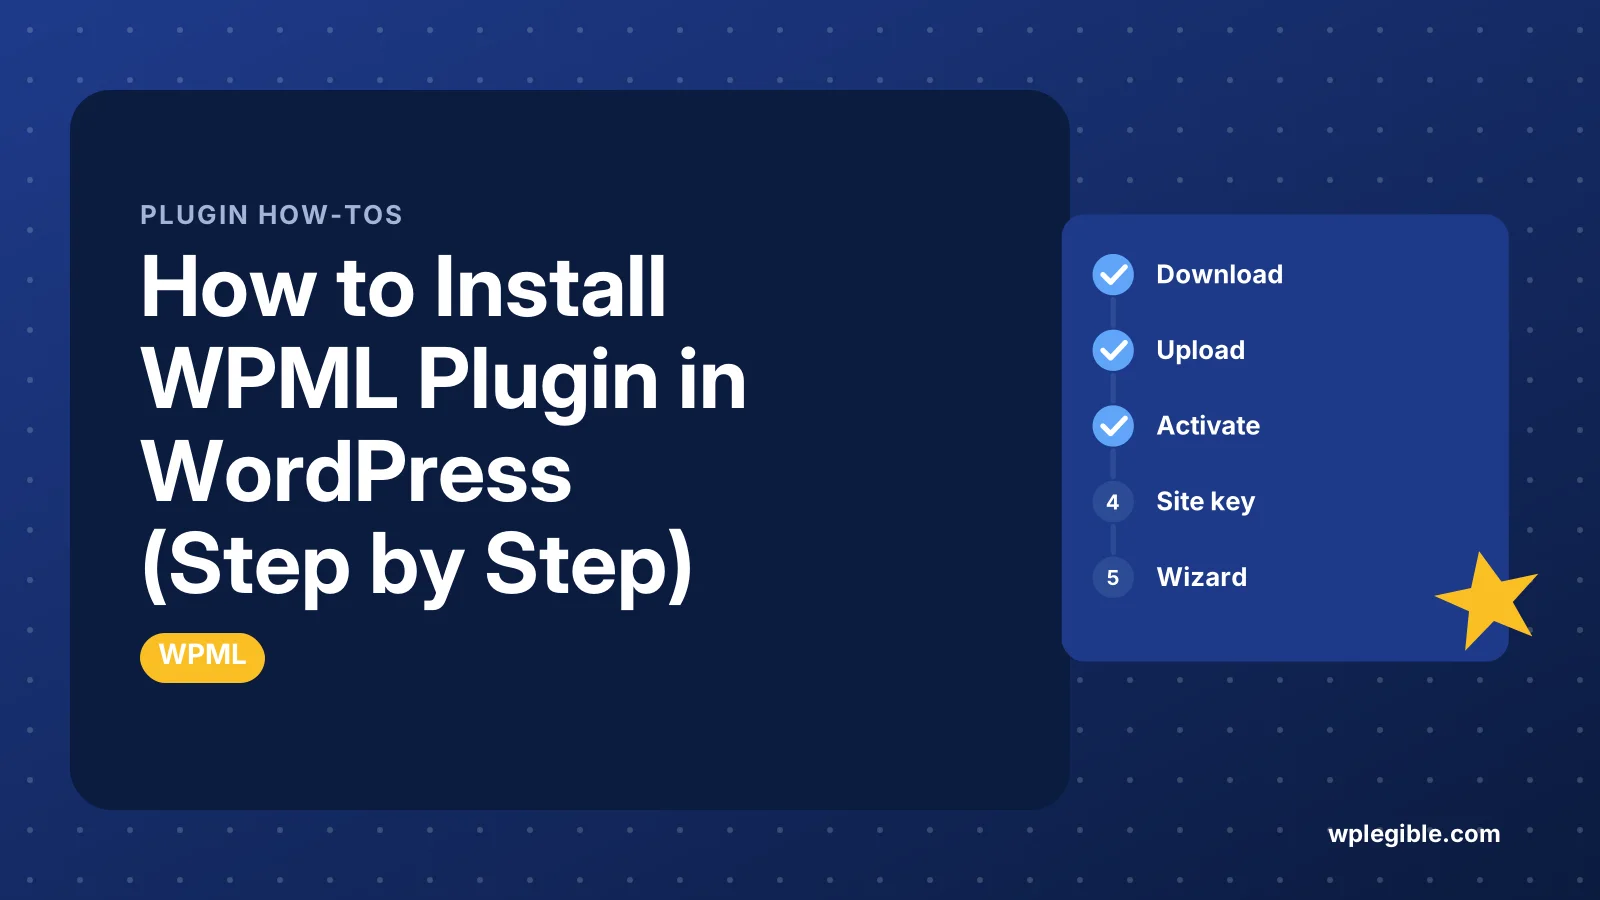
Buy a WPML plan and log in to your account on the WPML site. Download the OTGS Installer zip, upload it in Plugins > Add New Plugin > Upload Plugin and activate it. Register your site key, install WPML Multilingual CMS and String Translation, then run the setup wizard.
Key takeaways
- WPML is a paid plugin installed from your WPML account, not the free directory.
- The OTGS Installer downloads components and keeps them updated.
- A site key links your site to your account for updates.
- Manual zip upload works when your host blocks outgoing connections.
- Most sites need WPML Multilingual CMS plus String Translation.
- Language folders are the simplest URL format to set up.
How do you install the WPML plugin in WordPress?
Buy a WPML plan, download the OTGS Installer from your wpml.org account, upload and activate it in WordPress, register your site key, then install the WPML components you need and run the setup wizard.
WPML is a paid plugin, so it is not in the free WordPress plugin directory. You install it from your account on the WPML website instead.
There are two ways to do it:
- The OTGS Installer, a small plugin that downloads and updates the WPML components for you.
- Manual upload, where you download each component as a zip file and upload them one by one.
The installer route is easier and keeps updates automatic. This guide covers both, then the first steps after installation.
What do you need before installing WPML?
You need a WPML account with an active plan, admin access to WordPress, a recent backup, and a host running a supported PHP version.
Check these before you start:
- A WPML plan. The plan decides which components you can install. Check the WPML pricing page for what each plan includes.
- A backup. WPML adds database tables and changes how URLs work.
- A supported PHP version. The PHP supported versions page shows which versions still get updates.
- Enough memory. Multilingual sites use more server memory, so check your hosting limit.
If you are not sure WPML is the right tool, compare it with free options such as TranslatePress before buying.
How do you download WPML from your account?
Log in at wpml.org, open the Downloads page in your account, and download the OTGS Installer zip file, or the individual component zip files if you prefer manual installation.
- Go to wpml.org and log in.
- Open your account and go to Downloads.
- Click to download the OTGS Installer.
- Save the zip file to your computer without unzipping it.
WPML's download and install guide shows the same steps with screenshots.
Some browsers, especially Safari on a Mac, unzip downloads automatically. If that happens, zip the folder again or change the browser setting before uploading.
How do you install WPML with the OTGS Installer?
Upload the installer zip in Plugins > Add New Plugin > Upload Plugin, activate it, enter your site key, then choose the WPML components to install.
- In WordPress, go to Plugins > Add New Plugin.
- Click Upload Plugin at the top.
- Choose the OTGS Installer zip file and click Install Now.
- Click Activate Plugin.
- Follow the prompt to register WPML with your site key.
- Select the components you want, such as WPML Multilingual CMS and String Translation.
- Tick the option to activate them after download, then click Download.
The general steps for uploading a plugin zip are in WordPress's plugin management guide.
The installer downloads each component directly from WPML's servers. Your site needs to make outgoing connections for this to work.
How do you get and register your site key?
Create a site key in your wpml.org account for the exact site URL, then paste it into WordPress when WPML asks you to register.
A site key links your WordPress site to your WPML account. Without it, you will not get automatic updates or access to some features.
To create one:
- In your wpml.org account, open the sites section.
- Add your site's URL.
- Copy the site key WPML generates.
- Paste it into the registration box in WordPress.
The site URL must match exactly, including whether it uses www. WPML's guide on activating WPML covers registration in detail.
Staging and development sites may count differently from live sites. Check your plan terms if you use several environments.
How do you install WPML manually without the installer?
Download each component zip from your wpml.org Downloads page, upload them one at a time through Plugins > Add New Plugin > Upload Plugin, activate them, and then register your site key.
Manual installation is useful when your host blocks outgoing connections, or when you want tight control over which files go on the site.
The order matters a little:
- Upload and activate WPML Multilingual CMS first, since the other components depend on it.
- Upload and activate String Translation if your plan includes it.
- Add other components, such as Media Translation or WooCommerce Multilingual, if you need them.
- Register your site key so updates work.
You can also upload zip contents to wp-content/plugins through SFTP. Activate the components afterwards in the Plugins screen.
Which WPML components should you install?
Most sites need the core WPML Multilingual CMS plugin plus String Translation, and then only the extras that match their content, such as WooCommerce support or Media Translation.
| Component | What it does | Who needs it |
|---|---|---|
| WPML Multilingual CMS | Core plugin that adds languages and translation | Every WPML site |
| String Translation | Translates theme, plugin, widget and menu text | Almost every site |
| Media Translation | Uses different images per language | Sites with text inside images |
| WooCommerce Multilingual | Translates products and handles currencies | WooCommerce stores |
| Other add-ons | Extra integrations for forms, SEO or builders | Sites using those tools |
Component names and plan contents can change, so match this to the list in your account.
Install only what you use. Each extra component adds code and settings to maintain.
What does the WPML setup wizard ask?
After activation, the setup wizard asks for your default language, the languages to add, the URL format, your site key and how you want to translate content.
The main choices are:
- Default language, the language your existing content is written in.
- Translation languages, the extra languages you will offer.
- URL format, such as language folders, subdomains or separate domains.
- Translation method, such as automatic translation, translating yourself or using translators.
Language folders, such as /fr/, are the simplest to set up because they need no extra DNS or SSL work.
Take your time with the default language. Changing it later is possible but much more work.
The translation method matters for cost. Automatic translation uses credits, while translating yourself is free but slow. Many sites mix the two: machine translation for long pages, then a human review of key pages such as the home page, pricing and checkout.
You can change most wizard choices later in WPML's settings screens. The wizard simply gets a working setup in place quickly.
What should you do right after installing WPML?
Add a language switcher, translate your menus, check your theme and plugins for compatibility, and translate one test page before rolling out to the whole site.
A short checklist:
- Add a language switcher to the menu, footer or a widget.
- Translate one page and view it as a visitor.
- Sync and translate your menus.
- Translate key theme and plugin text in String Translation.
- Clear your cache and test on mobile.
If you build pages with Elementor, read our guide on using WPML with Elementor before translating builder pages.
What if WPML will not install?
Installation usually fails because the zip file was unzipped by the browser, the server blocks outgoing connections, the site key URL does not match, or PHP memory is too low.
Quick fixes:
- The package could not be installed. Download the zip again and make sure it stays zipped.
- Components will not download. Try manual installation instead of the installer.
- Site key rejected. Check the URL matches your site exactly, including https and www.
- White screen after activation. Raise the PHP memory limit or ask your host.
WordPress lets you raise its own memory limit with the WP_MEMORY_LIMIT constant. The wp-config documentation shows where to add it. Your host's PHP limit still caps what WordPress can use, so ask them if the change has no effect.
If the site breaks badly, rename the WPML plugin folders by SFTP to deactivate them. Then restore your backup or contact WPML support with the error message.
Once WPML is running, our guide on how to use WPML covers translating content.
If translations misbehave later, see WPML translation not working.
Frequently asked questions
Is WPML free to install?
No. WPML is a paid plugin and is not listed in the free WordPress plugin directory. You need an active plan to download it and receive updates. Prices and plan contents change, so check the WPML pricing page before buying.
What is the OTGS Installer?
It is a small plugin from WPML's developer that installs, activates and updates the WPML components on your site. You upload it once, register your site key, and then pick the components you want from inside WordPress.
Do I need a site key for WPML?
Yes, to get automatic updates and use account-linked features. You create the key in your WPML account for your site URL and paste it into WordPress. Without it, the plugin may still run, but you will miss updates.
Can I install WPML on a staging site?
Yes. Many people install and test WPML on staging first. Check your plan terms for how development and staging sites are counted, and register the staging URL separately if WPML asks for a site key there.
Why does WordPress say the WPML package could not be installed?
Usually the zip file was unzipped by your browser, or you uploaded the wrong file. Download the zip again, keep it zipped and upload it through the Upload Plugin button. If it still fails, try uploading by SFTP.
Sources
- Download and Install WPML WPML
- Activate WPML WPML
- Manage Plugins WordPress.org
- Supported Versions PHP
Is your product missing, or something out of date?
Tell us what to add or correct. We read every note and reply when we need a source. A message does not buy a ranking.
Thanks — we review requests within 3 business days.
Related guides
About the editors
Researched from the primary sources listed above and checked against our editorial rules before publishing.