Plugin how-tos · Guide
How to Install Gravity Forms on WordPress (Step by Step)
Short answer
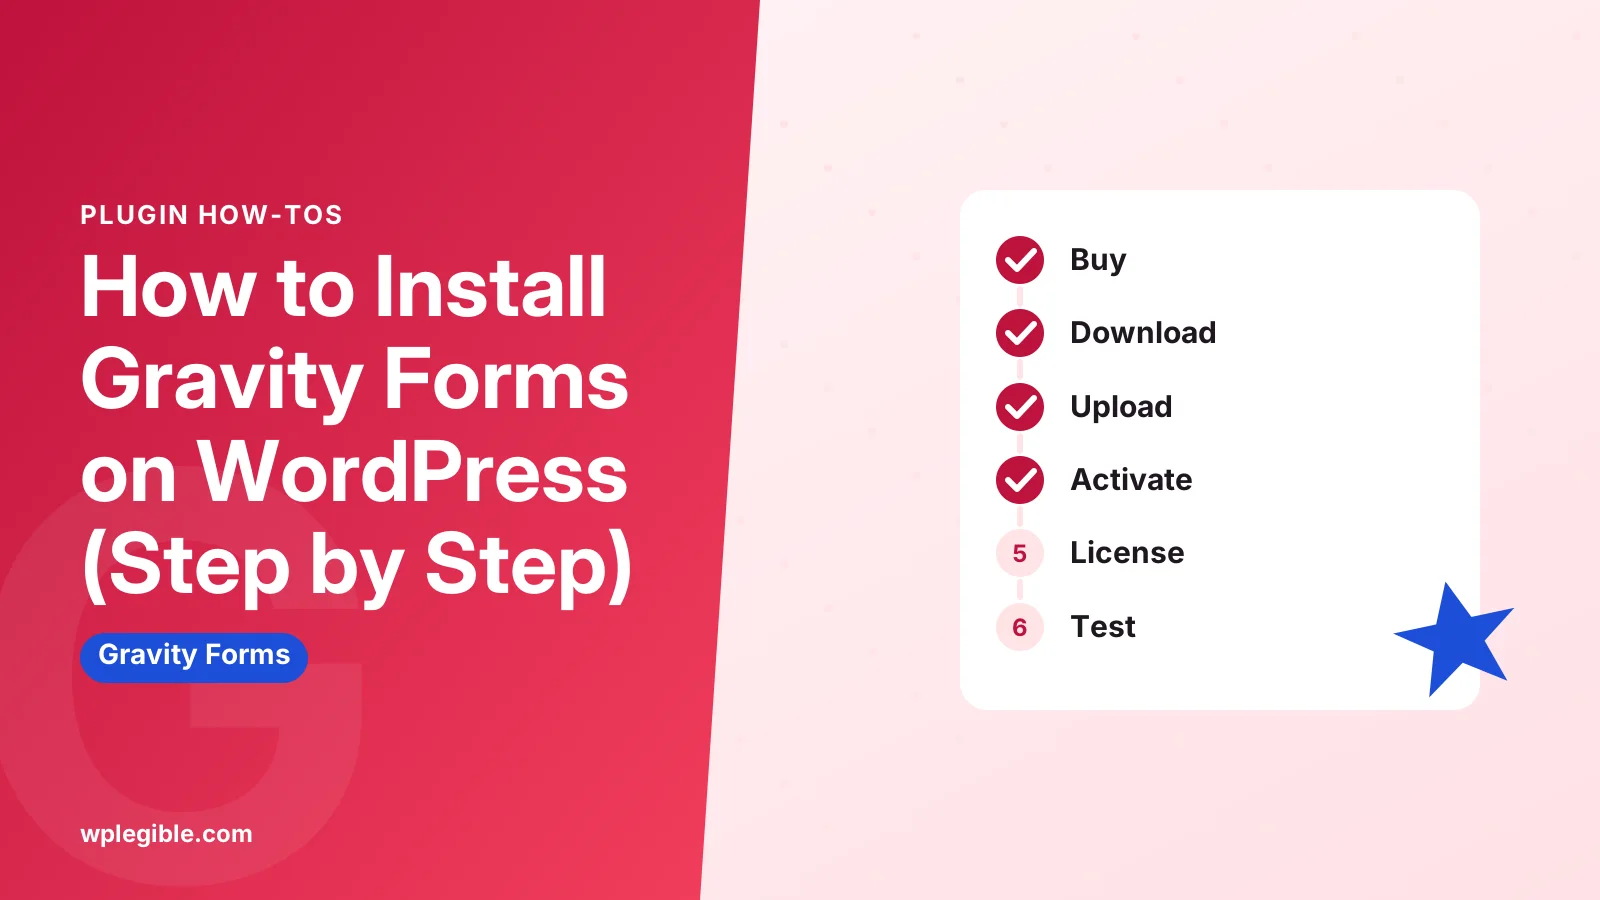
Buy a license, then download the Gravity Forms zip from your account on the Gravity Forms website. In WordPress, go to Plugins, Add New Plugin, then Upload Plugin, install the zip and activate it. Finally paste your license key into the setup wizard or the Forms settings page.
Key takeaways
- Gravity Forms is a paid plugin, so it is not in the WordPress.org directory.
- Download the zip from your Gravity Forms account and do not unzip it.
- Upload it under Plugins, Add New Plugin, Upload Plugin, then activate.
- Your license key enables updates, add-ons and support.
- Upload limits and wrong zip files cause most failed installs.
How do you install Gravity Forms on WordPress?
Buy a Gravity Forms license, download the plugin zip from your Gravity Forms account, upload it under Plugins > Add New Plugin > Upload Plugin, activate it, and enter your license key.
Gravity Forms is a premium form builder, so it is not in the free WordPress.org plugin directory. You will not find it by searching inside your dashboard. You have to get the file from the Gravity Forms website first.
The official Gravity Forms installation guide covers the same flow. The steps below add the details that trip up first-time users, such as license keys, upload limits and add-ons.
If you are still deciding whether to buy it, our explainer on what Gravity Forms does covers the main features.
What do you need before installing Gravity Forms?
You need a paid Gravity Forms license, a self-hosted WordPress site or a host that allows plugin uploads, and an administrator account.
Check these points first:
- A license. Gravity Forms sells yearly licenses with different site limits and add-on access. Our breakdown of how much Gravity Forms costs explains the tiers.
- Admin access. Only administrators can upload and activate plugins.
- Plugin uploads allowed. Self-hosted WordPress allows this by default. Hosted platforms may restrict it on lower plans.
- A current WordPress and PHP version. Gravity Forms supports recent versions. Check its documentation for current minimums before you install on an older site.
- A backup. Installing a plugin is low risk, but a fresh backup is good practice on any live site.
Avoid free copies of Gravity Forms from file-sharing or GPL club sites. They often lag behind on security fixes and can carry malware. Our article on whether nulled plugins are safe explains the risks.
There is no free version of the core plugin. Our article on whether Gravity Forms is free covers the demo and refund options.
How do you download the Gravity Forms plugin file?
Log in to your account on the Gravity Forms website, open the Downloads area, and download the Gravity Forms plugin as a zip file.
The steps are:
- Go to the Gravity Forms website and log in with the account you used to buy the license.
- Open the Downloads section of your account.
- Click the download button for Gravity Forms.
- Save the zip file to your computer. Do not unzip it.
The Gravity Forms download guide shows where the button sits in the account area.
Some browsers, especially Safari on Mac, unzip downloads automatically. If you end up with a folder instead of a zip, turn off automatic opening of safe files in Safari's settings and download again, or compress the folder back into a zip.
How do you upload and activate Gravity Forms?
In your dashboard, go to Plugins > Add New Plugin, click Upload Plugin, choose the zip file, click Install Now, then click Activate Plugin.
Step by step:
- Log in to WordPress as an administrator.
- Go to Plugins > Add New Plugin.
- Click the Upload Plugin button at the top of the page.
- Click Choose File and select the Gravity Forms zip.
- Click Install Now and wait for the success message.
- Click Activate Plugin.
After activation, a new Forms menu appears in the left sidebar. The WordPress documentation on managing plugins shows the upload screen if you have not used it before.
If you prefer, you can also upload the unzipped gravityforms folder to wp-content/plugins with FTP, then activate it from the Plugins page. The dashboard upload is simpler for most people.
How do you enter your Gravity Forms license key?
Copy the key from your Gravity Forms account, then paste it into the setup wizard that opens after activation or into the License Key field under Forms > Settings.
Gravity Forms shows an installation wizard the first time you activate it. The first screen asks for your license key. Paste it in and continue through the remaining screens.
If you skipped the wizard, add the key later:
- Go to Forms > Settings.
- Find the License Key field on the General tab.
- Paste your key and save.
You can find your key in the account area of the Gravity Forms website. The finding your license key guide shows where it lives.
The key is not needed for basic form building. Forms work without it. What the key gives you is automatic updates, add-on installs from the dashboard, and access to support.
That makes the key important for security. Without it, you have to download and upload every update by hand, which is easy to forget.
How do you install Gravity Forms add-ons?
With a valid license key saved, go to Forms > Add-Ons and click install on any add-on your license tier includes.
Add-ons connect Gravity Forms to email marketing tools, payment gateways, CRMs and more. Higher license tiers include more of them.
To add one:
- Go to Forms > Add-Ons.
- Find the add-on you need, such as a payment or email marketing integration.
- Click Install, then Activate.
- Open the add-on's settings, usually under Forms > Settings, to connect your account.
If an add-on shows as locked, it is not part of your current license tier. You can upgrade the license or download add-ons manually from your account, if your tier allows them.
Third-party add-ons for Gravity Forms exist too. These are installed like any other plugin, from WordPress.org or from the vendor's site.
Can you install Gravity Forms with WP-CLI or Composer?
Yes, Gravity Forms offers a free CLI add-on for WP-CLI and documents a Composer method, which suits developers who manage many sites.
The Gravity Forms CLI add-on is free on WordPress.org. Once it is installed, you can install Gravity Forms and its add-ons from the command line with your license key. The add-on's page lists the available commands.
You can also install a downloaded zip with the core WP-CLI command:
wp plugin install /path/to/gravityforms.zip --activateThe wp plugin install reference explains the options. You still need to add the license key afterwards through the settings screen or the CLI add-on.
Gravity Forms also has documentation for installing through Composer, which helps teams that keep plugins in version control.
| Method | Best for | Needs |
|---|---|---|
| Dashboard upload | Most site owners | Zip file and admin login |
| FTP upload | Sites with small upload limits | FTP or file manager access |
| WP-CLI | Developers and agencies | Shell access and WP-CLI |
| Composer | Teams using version control | Composer setup and license key |
What should you do after installing Gravity Forms?
Run through the settings, create a simple test form, add it to a page, and send a test entry to check that notifications arrive.
A short checklist:
- Review Forms > Settings. Set your currency, default email, and whether to output the default CSS.
- Create a test form. Go to Forms > New Form and add a few fields.
- Embed the form. Add it to a page with the Gravity Forms block or the shortcode.
- Submit a test entry. Check that it appears under Forms > Entries.
- Check notification emails. Make sure the admin email arrives in your inbox.
Email delivery is the most common problem on new installs. If notifications do not arrive, our guide on fixing Gravity Forms notifications that are not sending covers SMTP and spam folder issues.
For a full walkthrough of building forms, conditional logic and entries, see our guide on how to use Gravity Forms.
Why does the Gravity Forms installation fail?
Most failed installs come from a file upload limit that is too small, uploading the wrong file, folder permission problems, or a plugin folder that already exists.
Common errors and fixes:
- The uploaded file exceeds the upload_max_filesize directive. Your server's upload limit is too low. Raise it through your host, or upload the folder by FTP instead. The PHP upload_max_filesize setting controls this limit.
- The package could not be installed. No valid plugins were found. You uploaded the wrong zip, often a download that contains another zip inside. Upload the plugin zip itself.
- Destination folder already exists. An old copy of Gravity Forms is on the server. WordPress may offer to replace it. If not, delete the old folder by FTP first, without deleting your forms data.
- Installation failed: could not create directory. File permissions block WordPress from writing to the plugins folder. Our guide on fixing the could not create directory error explains how to correct permissions.
- License key not valid. Copy the key again without extra spaces, and check that the license has not expired or hit its site limit.
If the site breaks after activation, deactivate the plugin by renaming its folder over FTP, then look for a conflict with another plugin or the theme.
How do you update Gravity Forms safely?
With a valid license key, updates appear on the Plugins and Updates screens like any other plugin, and you install them with one click after taking a backup.
Gravity Forms releases updates for new features, bug fixes and security fixes. Keep it current, the same as WordPress core and your other plugins.
Good habits:
- Take a backup before updating.
- Test major updates on a staging site first if your forms handle payments or important leads.
- Update add-ons along with the main plugin, since they are built to match.
- Read the change log for notes about breaking changes.
Our guide on updating plugins in WordPress walks through safe updates, including what to do if one goes wrong.
Frequently asked questions
Can I install Gravity Forms from the WordPress plugin directory?
No. Gravity Forms is a premium plugin sold on its own website, so it does not appear when you search in Plugins, Add New Plugin. You download the zip from your Gravity Forms account and upload it to your site.
Do forms stop working if my Gravity Forms license expires?
Existing forms keep working on your site after a license expires. You lose automatic updates, new add-on installs and access to support, which means security fixes no longer arrive through the dashboard.
Can I use one Gravity Forms license on several sites?
It depends on your license tier. Basic licenses usually cover one site, while higher tiers cover more sites. Check your account to see how many sites your key allows and which sites it is currently active on.
Will reinstalling Gravity Forms delete my forms?
No. Forms and entries are stored in the WordPress database, not in the plugin folder. Deleting the plugin folder and uploading a fresh copy keeps your data, as long as you do not use the plugin's own uninstall option, which removes data.
Why is the Forms menu missing after installing Gravity Forms?
The plugin is probably installed but not activated, or your user account is not an administrator. Go to the Plugins page, activate Gravity Forms, and check that you are logged in with an admin account.
Sources
- Download and Install Gravity Forms Gravity Forms Docs
- Downloading the Gravity Forms Plugin and Add-Ons Gravity Forms Docs
- Finding and Entering Your License Key Gravity Forms Docs
- Gravity Forms CLI Add-On WordPress.org
- wp plugin install WordPress Developer Resources
- Manage Plugins WordPress.org
Is your product missing, or something out of date?
Tell us what to add or correct. We read every note and reply when we need a source. A message does not buy a ranking.
Thanks — we review requests within 3 business days.
Related guides

About the editors
Researched from the primary sources listed above and checked against our editorial rules before publishing.