Developer · Guide
How to Enable Multisite in WordPress (Step by Step)
Short answer
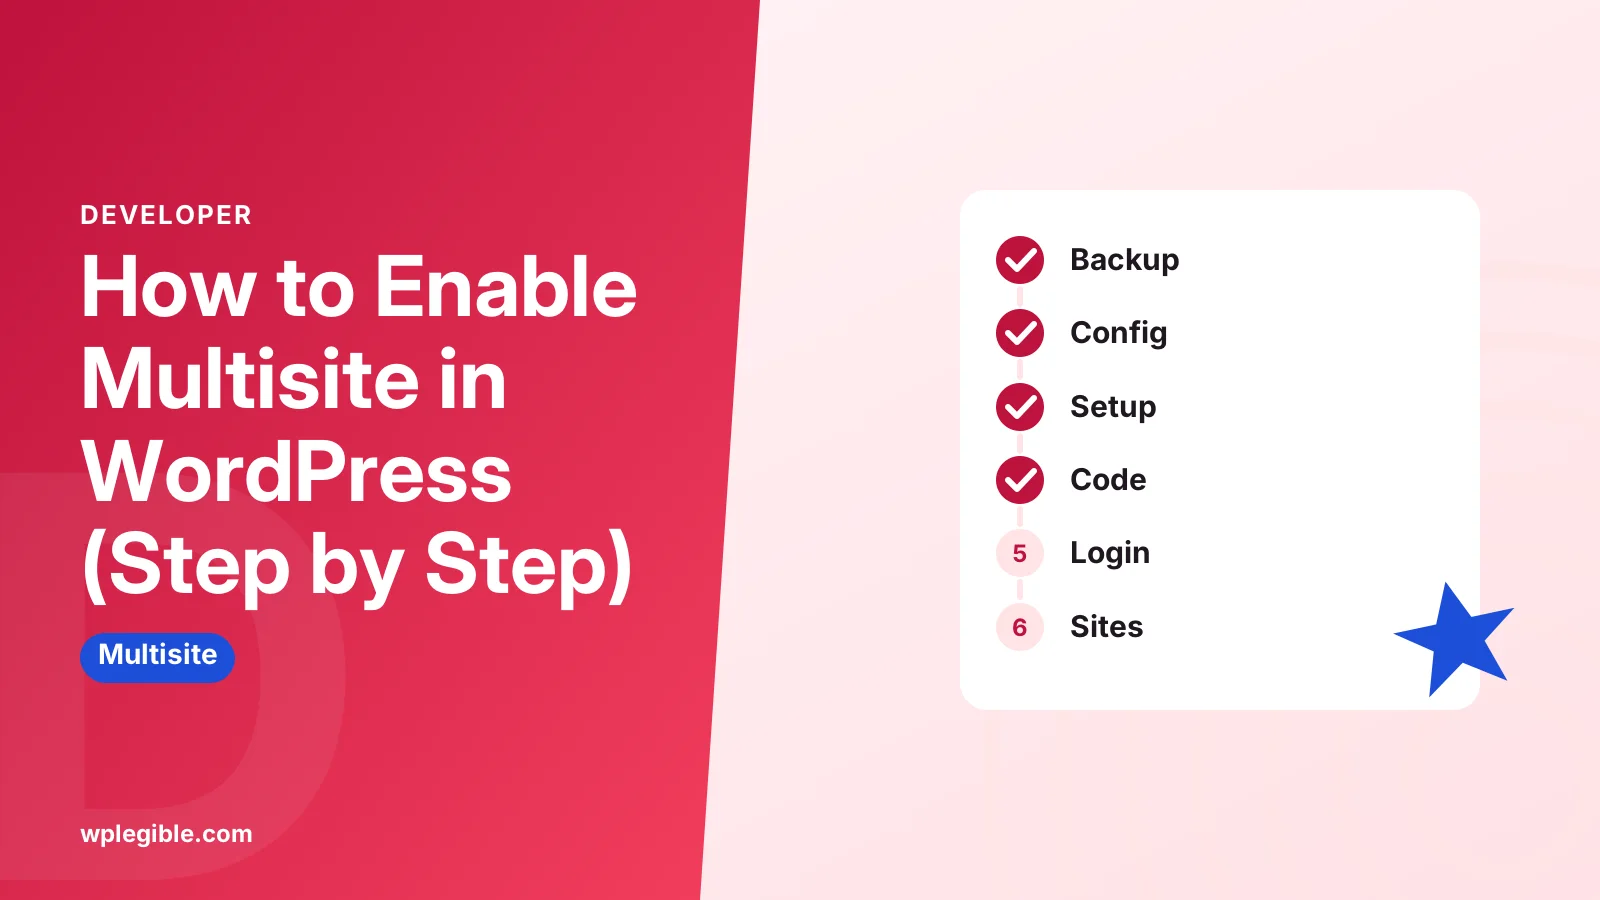
Back up the site and deactivate plugins, then add the WP_ALLOW_MULTISITE constant to your wp-config file. Run Tools, Network Setup, choose subdomains or subdirectories and click Install, then paste the code WordPress shows into wp-config and htaccess and log in again.
Key takeaways
- Multisite is built into WordPress and needs no plugin.
- Back up and test on staging before converting a live site.
- Choose subdomains or subdirectories carefully; switching later is hard.
- Paste the exact code from the Network Setup screen into your files.
- Only the Super Admin can install plugins and themes on a network.
How do you enable Multisite in WordPress?
You enable Multisite by adding the WP_ALLOW_MULTISITE line to wp-config.php, running Tools > Network Setup, then pasting the code WordPress gives you into wp-config.php and .htaccess.
The whole process takes about 15 minutes on a normal host. The hard part is not the setup, it is deciding whether a network is right for you and preparing the site first.
Multisite turns one WordPress install into a network of sites that share the same core files, plugins, themes and user table. Each site still has its own content, settings and admin area. The Learn WordPress introduction to Multisite networks gives a short video overview.
If you are still weighing the idea, read when to use WordPress Multisite first. A network is harder to undo than to create.
The steps below follow the official Create a Network guide in the WordPress developer handbook. Check it if your screens differ.
What do you need before you start?
You need admin access to WordPress, file access through SFTP or a file manager, a full backup and working pretty permalinks.
Make a full backup of files and the database. If anything goes wrong, a restore takes minutes. Our guide on how to restore a WordPress site from backup shows how, before you need it.
Better still, run the change on a staging copy first. Our guide to setting up a staging site explains the options most hosts offer.
Check that permalinks work. Visit a few posts and pages; if they return 404 errors, fix that before you begin, using our guide on permalinks not working.
Some setups cannot run a network. The handbook notes that a network will not work if the WordPress address and site address differ, or if the site runs on a port other than 80 or 443.
| Requirement | Why it matters |
|---|---|
| Full backup | Lets you roll back if the conversion fails |
| File access | You must edit wp-config.php and .htaccess |
| Working permalinks | Network sites rely on rewrite rules |
| Same WordPress and site address | Required for a network |
| Wildcard DNS (subdomains only) | Lets new subdomain sites resolve |
Should you choose subdomains or subdirectories?
Choose subdomains for addresses like site1.example.com and subdirectories for addresses like example.com/site1; you cannot easily switch later.
Subdirectories are simpler. They need no DNS changes, and every site shares the main domain's SSL certificate.
Subdomains need a wildcard DNS record, such as an asterisk A record pointing at your server, plus a certificate that covers the subdomains. Many hosts handle this for you, but check first. Let's Encrypt can issue wildcard certificates, though only through a DNS challenge.
There is one catch for older sites. WordPress may only offer subdomains if the site has been live for more than a month, because subdirectory sites could clash with existing post URLs.
Local development sites on localhost generally need subdirectories, because subdomains of localhost do not resolve without extra setup.
Step 1: Deactivate all plugins
Go to Plugins, select all, choose Deactivate from the bulk actions menu and apply it before you create the network.
The handbook recommends this to avoid conflicts while the network tables are created. You will reactivate the plugins afterwards, either on the main site or across the network.
Write down which plugins were active. Some will need to be network-activated later, and some may not support Multisite at all.
Check each plugin's page for Multisite support before you rely on it. Security, caching and backup plugins in particular often have separate network settings.
Step 2: Allow Multisite in wp-config.php
Open wp-config.php in the site's root folder and add the WP_ALLOW_MULTISITE line above the comment that says to stop editing.
Use SFTP or your host's file manager. Add this line:
define( 'WP_ALLOW_MULTISITE', true );It must sit above the line that reads That's all, stop editing! Happy publishing. Code placed below it may not load in time.
Save the file. If your host blocks writes to this file, our fix for being unable to write to wp-config.php covers file permissions.
This line does not create the network yet. It only turns on the Network Setup screen in the dashboard.
Step 3: Run Network Setup
Refresh the dashboard, go to Tools, then Network Setup, pick subdomains or subdirectories, enter a network title and admin email, and click Install.
The Network Setup screen shows a short form. The network title appears in emails and the network admin area, and you can change it later.
The admin email receives network notices. Use an address you check, because new site and user notices go there.
Click Install. WordPress creates the extra database tables the network needs, then shows a page of code to add to your files.
Do not close that page. You need the exact code it shows, because it includes your domain and path.
Step 4: Add the network code to wp-config.php and .htaccess
Copy the wp-config.php lines WordPress shows into the file above the stop-editing comment, then replace the WordPress rules in .htaccess with the new rules.
The wp-config.php block looks similar to this for a subdirectory network:
define( 'MULTISITE', true );
define( 'SUBDOMAIN_INSTALL', false );
define( 'DOMAIN_CURRENT_SITE', 'example.com' );
define( 'PATH_CURRENT_SITE', '/' );
define( 'SITE_ID_CURRENT_SITE', 1 );
define( 'BLOG_ID_CURRENT_SITE', 1 );
Use the code from your own screen, not this example. Your domain and settings will differ.
Next, open .htaccess in the same folder and replace the existing WordPress block with the rules shown on the setup page. Our guide on how to edit the .htaccess file shows where to find it if it is hidden.
Sites on Nginx have no .htaccess file. The handbook's Nginx configuration page includes Multisite rules, or your host can add them.
Step 5: Log in again and open Network Admin
Save both files, then log in again; you should now see My Sites and Network Admin in the toolbar.
WordPress logs you out because cookies change when the network starts. Log back in with your usual admin account, which now holds the Super Admin role.
Open My Sites, then Network Admin. This is where you manage sites, users, themes, plugins and network settings.
Visit the front of the main site and a few posts to make sure everything still loads. If you see errors, compare your files against the setup page code line by line.
Step 6: Add sites, plugins and themes
In Network Admin, go to Sites and Add New to create a site, then enable themes and network-activate plugins as needed.
Each new site needs an address, a title and an admin email. WordPress creates the admin user if the email is new.
Themes must be Network Enabled before site admins can use them. Plugins can be network-activated, which forces them on every site, or left for each site admin to activate.
By default, site admins cannot install plugins or themes. Only the Super Admin can, which keeps the network consistent and safer.
Reactivate the plugins you turned off in Step 1, one at a time, and check the main site after each. Our guide on adding custom user roles helps if you need finer control over who can do what.
Since WordPress 4.5, you can map a custom domain to any site in the network by editing its address under Sites in Network Admin. The domain must point at your server first.
Can you enable Multisite with WP-CLI?
Yes, the wp core multisite-convert command turns an existing single site into a network from the command line.
The WP-CLI multisite-convert command accepts options such as a network title and a flag for subdomains. It adds the database tables and wp-config.php constants for you.
You still need the right rewrite rules in .htaccess or your Nginx config. Check the command output and the handbook for those.
WP-CLI is handy if you manage many sites or work over SSH. Our guide on migrating WordPress with WP-CLI is a good introduction to the tool.
What problems come up after enabling Multisite?
The most common problems are redirect loops, 404 errors on new sites, broken images and plugins that do not support networks.
Redirect loops usually mean the DOMAIN_CURRENT_SITE value is wrong, for example missing or including the www prefix. Make it match the address in your settings exactly.
404 errors on new sub-sites point to missing or wrong rewrite rules. Recheck .htaccess, or the Nginx config, against the setup page.
Uploads for each sub-site go into a sites folder inside wp-content/uploads. If images fail, check folder permissions there.
Some plugins store settings per site, others across the network. Read each plugin's documentation before you network-activate it, and test on staging first.
Can you turn Multisite off again?
You can, but it is not a simple switch: you must move content out of the extra sites and then remove the network settings.
Disabling the constants in wp-config.php stops the network from loading, but leaves extra tables and content behind. Sub-sites become unreachable.
The safer route is to export each sub-site's content with Tools, then Export, import it into separate single installs, and only then remove the network code.
Because undoing a network is slow, test Multisite on staging and keep the pre-conversion backup until you are confident the network suits you. For security on a shared install, the Hardening WordPress guide applies to every site in the network.
General WordPress help and community answers are also available in the Multisite support forum.
Frequently asked questions
Does WordPress Multisite need a plugin?
No. Multisite is part of WordPress core. You enable it by adding a constant to wp-config, running Network Setup in the dashboard, and adding the code it gives you to your configuration and rewrite files.
Why is Network Setup missing from the Tools menu?
The WP_ALLOW_MULTISITE line is missing, misspelled or placed below the stop-editing comment in wp-config. Fix the line, save the file and refresh the dashboard to see the menu item.
Why can I only choose subdomains?
WordPress limits older sites to subdomains because subdirectory sites could clash with existing post URLs. The handbook explains workarounds, but most older sites should simply use subdomains.
Can each site in a network use its own domain?
Yes. Since WordPress 4.5, you can set a custom domain for any site by editing its address in Network Admin. Point the domain's DNS at your server and make sure SSL covers it.
Is Multisite slower than a single site?
Not by itself. Each request loads one site, much like a normal install. Performance depends on hosting, caching and the plugins you run, and a busy network may need a stronger server.
Sources
- Create A Network WordPress Developer Resources
- wp core multisite-convert WordPress Developer Resources
- Nginx WordPress Developer Resources
- Introduction to WordPress Multisite Networks Learn WordPress
- Multisite support forum WordPress.org
Is your product missing, or something out of date?
Tell us what to add or correct. We read every note and reply when we need a source. A message does not buy a ranking.
Thanks — we review requests within 3 business days.
Related guides
About the editors
Researched from the primary sources listed above and checked against our editorial rules before publishing.