Plugin how-tos · Guide
How to Edit Ninja Forms in WordPress (Step by Step)
Short answer
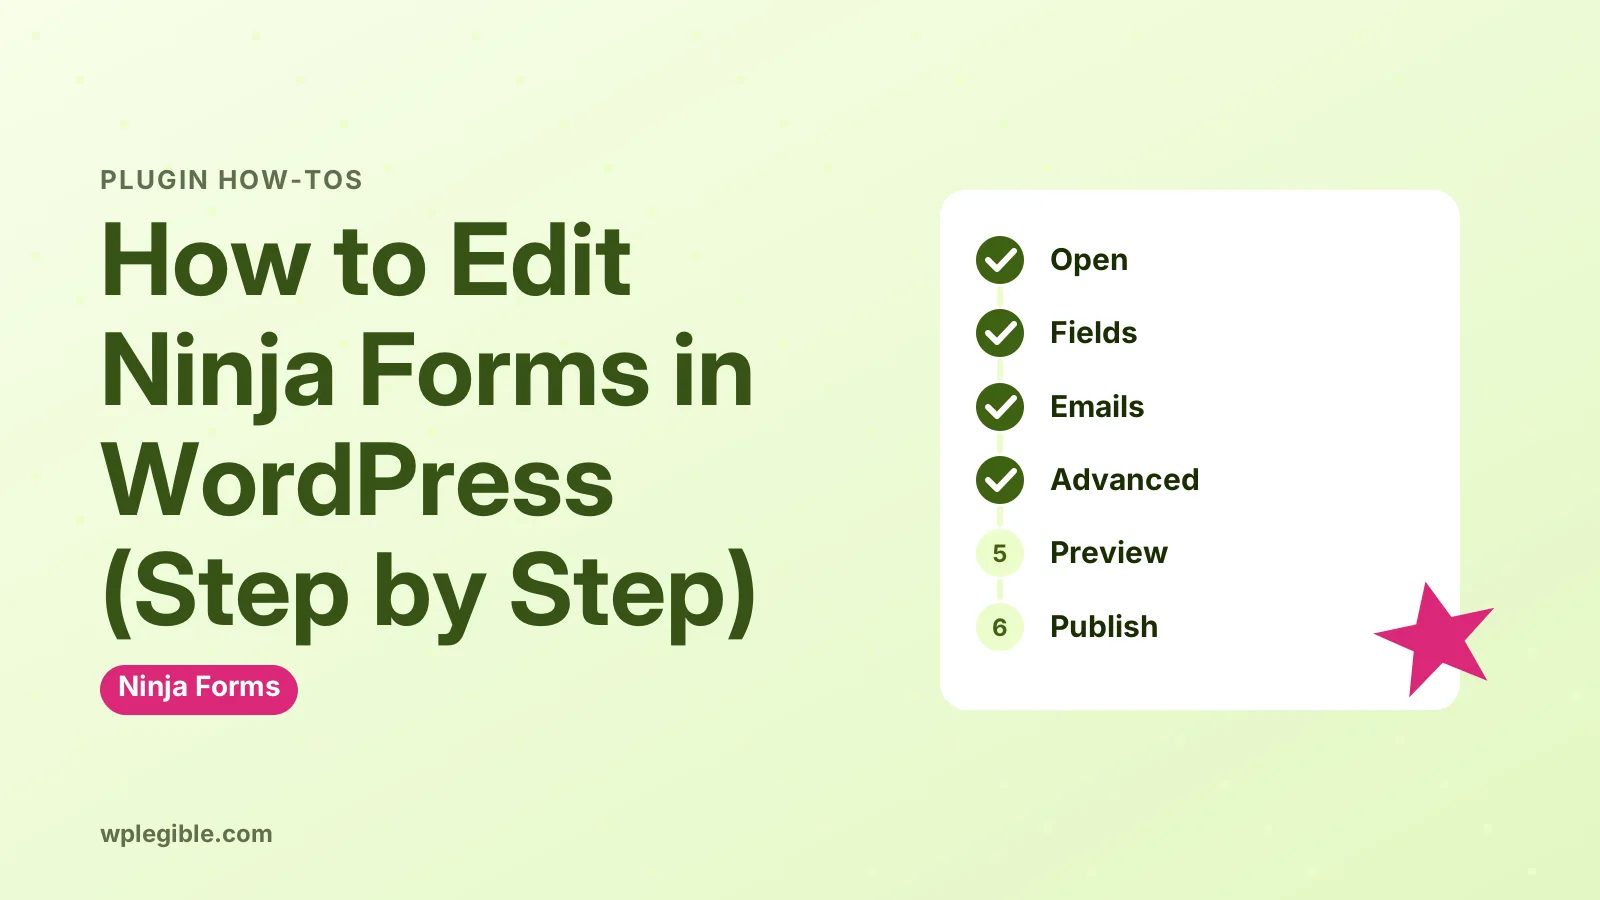
Go to Ninja Forms, then Dashboard, click the form title, and edit fields, emails and settings in the builder's Form Fields, Emails and Actions, and Advanced tabs. Preview your changes, then click Publish, because edits do not reach the live form until you publish them.
Key takeaways
- Edits stay in the builder until you click Publish.
- Click a field to open its settings drawer.
- Emails and the success message live under Emails & Actions.
- The Advanced tab holds display and restriction settings.
- Use CSS or an add-on to change form styling.
- Clear caches and test a submission after publishing.
How do you edit Ninja Forms in WordPress?
Go to Ninja Forms > Dashboard, click the form you want to change, edit fields, emails and settings in the form builder, then click Publish to save the changes to your live form.
Ninja Forms does not save edits automatically to the live site. Until you press Publish, visitors keep seeing the old version, which gives you a safe space to work.
The builder has three main tabs: Form Fields, Emails & Actions and Advanced. Almost every change you will want to make lives in one of these.
The official Ninja Forms form building docs cover the builder in depth. This guide walks through the common edits step by step.
If you are not sure whether your site uses Ninja Forms, our guide to what Ninja Forms is explains how to recognise it.
How do you open a form for editing?
Log in to WordPress, open the Ninja Forms menu, find your form in the list, and click its title to open the drag-and-drop builder.
- Go to Ninja Forms > Dashboard in the left sidebar.
- Find the form in the Forms tab. Use the search box if you have many forms.
- Click the form title, or hover and click Edit.
- The builder opens with the Form Fields tab active.
If you do not know which form a page uses, edit that page and look for the Ninja Forms block or a shortcode like ninja_form with an id number. Match the id with the list in the dashboard.
You need administrator rights, or a role given Ninja Forms access, to see the menu.
How do you edit, add or remove fields?
Click a field to open its settings drawer, click the plus button to add new fields, drag fields to reorder them, and use the hover icons to duplicate or delete them.
To edit a field: click it. A settings panel slides open with options such as Label, Label Position, Required Field, Placeholder and Default Value.
To add a field: click the blue + button in the builder. Choose a field type, such as Single Line Text, Email, Paragraph Text, Select or Checkbox, and it is added to the form.
To reorder fields: drag a field up or down in the builder.
To delete or duplicate: hover over a field and use the icons that appear.
Click Done to close the settings panel. Your changes are held in the builder until you publish.
Expand the Display, Restrictions and Administration sections in each field for extra options, such as CSS classes, input masks, character limits and help text.
How do you change form emails and actions?
Open the Emails & Actions tab, click an action such as Admin Email to edit it, change recipients, subject and message, and use the toggle to turn actions on or off.
New forms usually include actions like these:
| Action | What it does | Common edit |
|---|---|---|
| Success Message | Shows text after submission | Change the thank-you wording |
| Admin Email | Sends the submission to you | Change the To address |
| Email Confirmation | Sends a copy to the visitor | Edit subject and message |
| Record Submission | Saves the entry in WordPress | Keep it on for records |
To edit an email, click it and change the To, Subject and Email Message fields. Use merge tags, from the small tag icon, to insert field values such as the visitor's name or email.
Under advanced email settings you can set the From name, From address and Reply To. Use a From address on your own domain to reduce spam filtering.
If emails stop arriving after you edit them, our guide to Ninja Forms not sending email covers delivery fixes.
What can you change in the Advanced tab?
The Advanced tab holds form-wide settings, such as display options, submission restrictions and calculations, that apply to the whole form rather than one field.
Display Settings let you show or hide the form title, clear or hide the form after a successful submission, set the default label position, and add custom CSS classes.
Restrictions can require visitors to be logged in, limit the total number of submissions and set the message shown when the limit is reached.
Calculations let you set up totals or scores based on field values, which is useful for quotes and quizzes.
The form settings documentation explains each option.
How do you preview and publish your changes?
Click Preview to test the edited form in a new tab, then click Publish in the top right of the builder to push the changes to your live form.
Preview shows the latest unsaved version without affecting visitors. Submit a test entry there to check fields and emails.
When you are happy, press Publish. The live form updates on every page where it is embedded.
If you made a mistake before publishing, the builder includes undo options in its toolbar. After publishing, you will need to change the setting back manually.
Clear your page cache after publishing so visitors do not see the old form. Our guide on how to clear cache in WordPress covers each layer.
How do you back up a form before big edits?
Export the form from the Ninja Forms dashboard or duplicate it, so you can return to the original if your edits go wrong.
In the forms list, hover over a form to see options such as Duplicate. A duplicate gives you a copy to experiment with while the original stays live.
You can also export a form as a file under the import and export tools in the Ninja Forms menu. Keep that file somewhere safe before you rebuild a long form.
When the new version is ready, swap the form id in the block or shortcode on your page. That switch is instant and easy to reverse.
How do you change where a form appears?
Edit the page or post, then add, move or remove the Ninja Forms block, or paste the form's shortcode where you want the form to appear.
In the block editor, add the Ninja Forms block and choose the form from the dropdown. In page builders, use the builder's Ninja Forms widget if available, or a shortcode widget.
You can copy the shortcode from the forms list in the dashboard. The WordPress documentation on the Shortcode block shows how to use it.
Our guide on what a shortcode is explains how shortcodes work if you are new to them.
Developers who want to place a form from a theme template can call the shortcode in PHP. The Shortcode API documentation explains how WordPress processes shortcodes.
How do you edit form styling?
Change the look of Ninja Forms with your theme's styles, custom CSS classes on fields, or a styling add-on, because the core builder focuses on fields and actions rather than design.
The simplest route is to add CSS in Appearance > Customize > Additional CSS or your theme's CSS area. Target the Ninja Forms classes, or add your own class to a field in its Display settings.
Use your browser's inspect tool to find the class names. MDN's guide to CSS selectors helps you write rules that only affect the form.
Paid add-ons offer visual styling and multi-column layouts if you prefer not to write CSS.
How do you edit submissions rather than the form?
Submissions are separate from the form itself; view and edit them under Ninja Forms > Submissions, where you pick a form and open individual entries.
You can export submissions to CSV from that screen. Deleting or editing a submission does not change the form or the emails that were already sent.
If the Record Submission action was off when someone submitted, there will be no saved entry for that submission.
What should you check after editing a Ninja Form?
Test every changed field, submit a real test entry, confirm emails arrive, check the success message, and view the form on a phone.
Watch for required fields that became optional by accident, merge tags that no longer match renamed fields, and calculations that reference deleted fields.
If the edited form no longer appears on the page, see our guide to Ninja Forms not loading.
For general problems, our Ninja Forms not working guide covers other fixes.
Frequently asked questions
Why are my Ninja Forms changes not showing?
Changes only go live after you click Publish in the builder. If you already published, a page cache or CDN may be serving the old version. Clear every cache layer and check the page in a private browser window.
How do I find which Ninja Form is on a page?
Edit the page and look for the Ninja Forms block or a shortcode containing an id number. Match that id with the forms listed under Ninja Forms in the dashboard, then open that form to edit it.
How do I change who receives Ninja Forms emails?
Open the form, go to the Emails and Actions tab, click the Admin Email action and change the To field. You can add several addresses separated by commas. Publish the form and send a test entry to confirm delivery.
Can I undo changes in Ninja Forms?
The builder includes undo options while you are editing, before you publish. After publishing there is no version history, so you need to change settings back manually. Export the form first if you plan big changes.
Does editing a form change old submissions?
No. Submissions are stored separately. Renaming or deleting fields can make older entries harder to read in exports, but the stored data and already sent emails stay the same.
Sources
- Form building Ninja Forms
- Form settings Ninja Forms
- Ninja Forms WordPress.org Plugin Directory
- Shortcode block WordPress.org Documentation
- CSS selectors MDN Web Docs
Is your product missing, or something out of date?
Tell us what to add or correct. We read every note and reply when we need a source. A message does not buy a ranking.
Thanks — we review requests within 3 business days.
Related guides

About the editors
Researched from the primary sources listed above and checked against our editorial rules before publishing.