WooCommerce · Guide
How to Connect Printify to WooCommerce (Step by Step)
Short answer
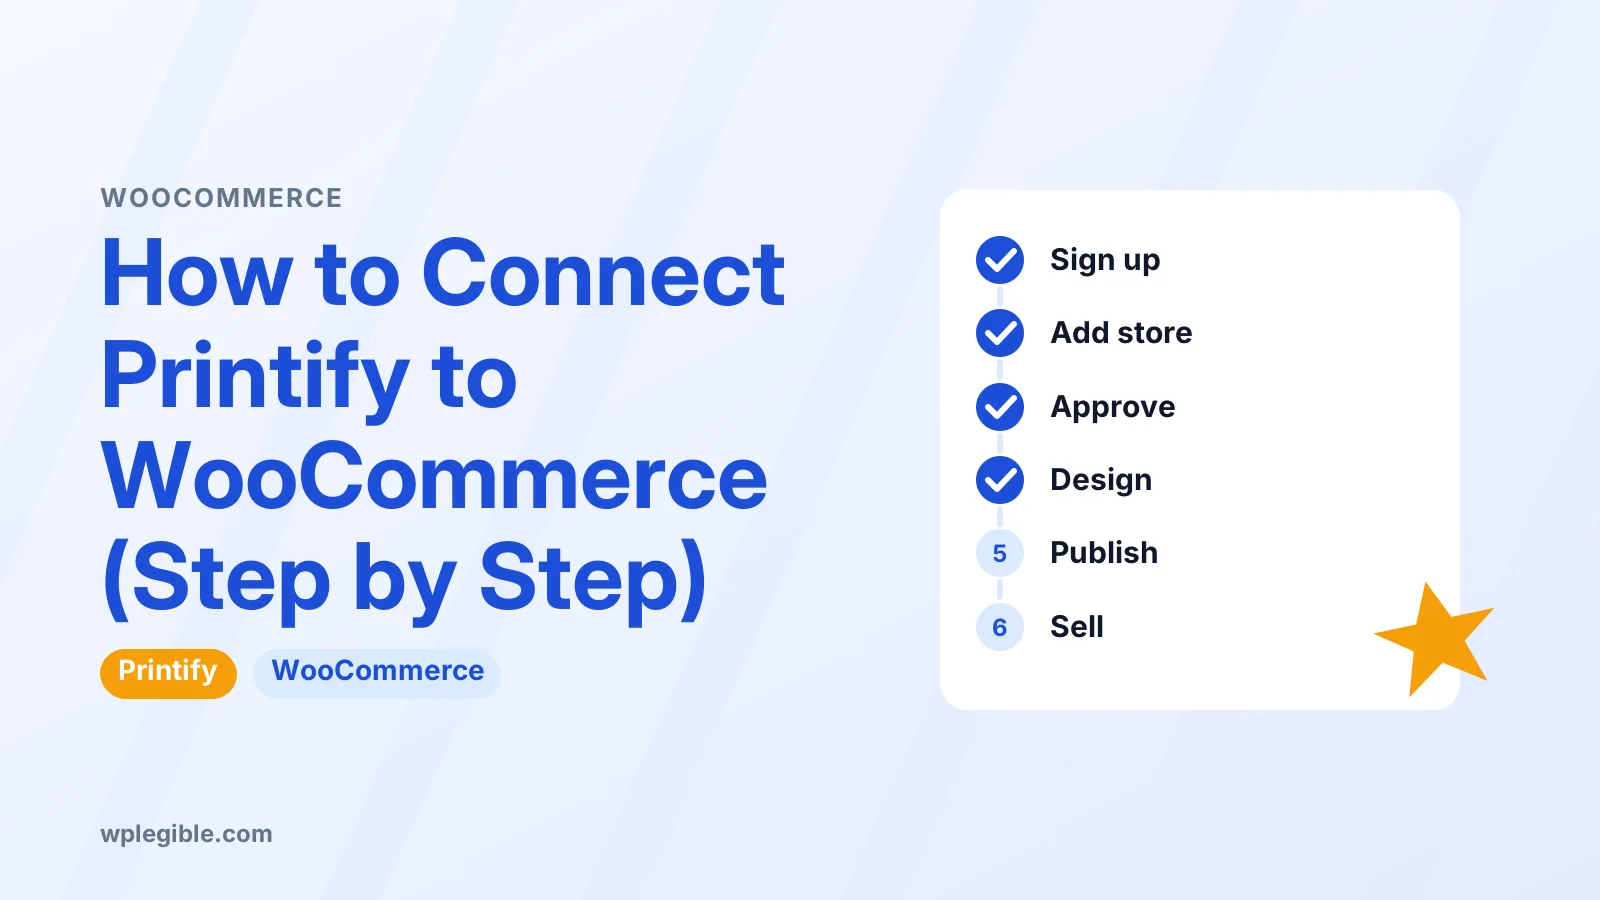
In your Printify account, add a new store, choose WooCommerce and enter your store address. WordPress then asks you to approve access, which creates a REST API key so Printify can publish products and read orders. Your site must be live, use HTTPS and have permalinks set to something other than Plain.
Key takeaways
- Printify connects through the WooCommerce REST API, so the store must be public and on HTTPS.
- Set permalinks to Post name or any option other than Plain before connecting.
- Approving the connection creates a read and write API key in WooCommerce.
- Products are designed and published from Printify and appear as variable products in WooCommerce.
- Match your WooCommerce shipping rates to Printify's shipping costs so you do not lose money.
- Security plugins, firewalls and SSL errors cause most failed connections.
What do you need before connecting Printify to WooCommerce?
You need a live WordPress site with WooCommerce active, admin access, a public HTTPS address, and permalinks set to anything other than Plain.
Printify talks to your store through the WooCommerce REST API. That API has to be reachable from the internet, so a site running only on your own computer will not connect.
Check these items before you start:
- WooCommerce is installed and active. Our guide to building a WooCommerce website covers the basic setup if you have not done it yet.
- You are logged in as an administrator. The connection screen asks you to approve access, and only admins can do that.
- The site has a valid SSL certificate. A broken or expired certificate is one of the most common reasons a connection fails.
- Permalinks are not set to Plain. Go to Settings > Permalinks and choose Post name or another pretty structure.
- The site is not behind a coming-soon or maintenance page. Printify needs to reach the store without a login wall.
WordPress explains each permalink option in its permalinks documentation. Changing from Plain to Post name is safe on a new store.
You also need a Printify account. Signing up is free, and Printify offers a paid plan with lower product prices. Check the current details on the Printify WooCommerce page because plans change.
Printify's integration relies on the WooCommerce REST API, which is documented on GitHub in the WooCommerce repository alongside the plugin's source code.
How do you connect Printify to WooCommerce step by step?
Add a new store in your Printify account, pick WooCommerce, enter your store address, and approve the access request on your WordPress site.
Here is the usual flow:
- Log in to your Printify account.
- Open the store menu and choose the option to add or connect a new store.
- Select WooCommerce from the list of sales channels.
- Type your full store address, for example https://www.example.com.
- Printify sends you to a WooCommerce screen that asks you to grant access.
- Log in to WordPress if asked, then click Approve.
- You are sent back to Printify, which now shows your WooCommerce store as connected.
The exact button labels can change as Printify updates its dashboard. The Printify help article on connecting WooCommerce has the current screens.
Type the address exactly as your site uses it. If your site loads on https://www.example.com, do not enter http://example.com. A mismatch between www and non-www, or http and https, can break the handshake.
What happens in WooCommerce when you approve Printify?
WooCommerce creates a REST API key with read and write access, and Printify uses that key to add products and read orders.
You can see the key under WooCommerce > Settings > Advanced > REST API. It will be listed with a description that mentions Printify.
Do not delete this key while the store is connected. If you remove it, product publishing and order syncing stop.
The WooCommerce REST API documentation explains how these keys work. If you ever need to create one by hand for another tool, our guide on getting a WooCommerce API key walks through it.
Read and write access is needed because Printify creates products in your catalog and updates order status. A read-only key would not be enough.
How do you create and publish Printify products to WooCommerce?
Design a product in Printify, set its price and description, then click publish so Printify pushes it to your WooCommerce catalog.
The process looks like this:
- In Printify, open the product catalog and choose a blank item, such as a t-shirt or mug.
- Pick a print provider. Providers differ in location, cost, print quality and shipping times.
- Upload your design and place it on the product.
- Choose colors and sizes. Each one becomes a variation in WooCommerce.
- Edit the title, description and mockup images.
- Set your retail prices and check the profit Printify shows for each variant.
- Click Publish to send the product to your store.
After a short wait, the product appears under Products in your WordPress dashboard. It arrives as a variable product with its variations, images and prices.
You can edit the product in WooCommerce afterwards, for example to add categories or change the short description. Be careful with variations and SKUs, though. Printify uses them to match orders, so changing them can stop orders from routing to production.
If a product never shows up, check the Printify article on why products will not publish to WooCommerce.
How do Printify orders work with WooCommerce?
When a customer buys a Printify product in your store, the order syncs to Printify, which prints and ships it after you pay the production and shipping cost.
The money flow is simple. The customer pays you through your WooCommerce payment gateway. Printify then charges you its base price plus shipping, and you keep the difference.
Printify lets you choose how orders are sent to production. You can have them go out automatically or hold them for manual approval. Manual approval is useful at the start, so you can check each order before paying for it.
You need a payment method saved in Printify for automatic fulfillment. If there is no card or balance on file, orders sit waiting.
Make sure WooCommerce is set to accept payments before you launch. Our guide to setting up Stripe in WooCommerce covers one of the most common choices.
Once Printify ships an order, it can send tracking information back to the store. Check the order notes and status in WooCommerce to confirm this is working on your setup.
How should you set shipping for Printify products in WooCommerce?
Set WooCommerce shipping rates so they cover what Printify charges you to ship, because WooCommerce does not know Printify's costs on its own.
Printify charges you shipping based on the provider, the product and the destination. Your customers, however, see whatever rates you set in WooCommerce.
Look up the shipping costs for your main products and regions in Printify. Then create matching shipping zones and methods in WooCommerce. Our explainer on WooCommerce shipping zones shows how zones control which rates appear.
| Setting | Where it lives | Why it matters |
|---|---|---|
| Base product cost | Printify | What you pay per item |
| Retail price | Printify, then WooCommerce | What the customer pays |
| Shipping you pay | Printify | Based on provider and destination |
| Shipping the customer pays | WooCommerce shipping zones | Must cover Printify's shipping |
| Taxes | WooCommerce | Collected at checkout |
Some sellers add a little extra to the retail price and offer free shipping instead. That works too, as long as the margin covers the real cost.
Why is Printify not connecting to your WooCommerce store?
Most connection failures come from plain permalinks, a security plugin or firewall blocking the REST API, an SSL problem, or a mistyped store address.
Work through these checks in order:
- Permalinks. Confirm they are not set to Plain, then save the permalinks page once to refresh rewrite rules.
- Store address. Use the exact address the site loads on, including https and www if your site uses it.
- SSL. Open the site in a browser and make sure there is no certificate warning.
- Security plugins. Wordfence, iThemes Security and similar tools can block REST API requests. Temporarily pause them or allow Printify's requests.
- Firewalls and CDNs. Bot protection on Cloudflare or your host can challenge Printify's server. Check the firewall log for blocked requests.
- Maintenance mode. Turn off coming-soon or password-protection plugins during the connection.
- REST API health. Go to Tools > Site Health and look for REST API errors.
Our guide to fixing REST API errors in Site Health helps if WordPress reports that the API is blocked.
Printify keeps a list of known causes in its article on why a store is not connecting. If you try everything and it still fails, contact Printify support with the error message.
Can you connect Printify to a WooCommerce site on localhost or staging?
Not usually, because Printify must reach your store over the public internet, and a local site or a password-protected staging site blocks that.
Build and test your theme locally if you like. Connect Printify only once the store is on a real domain with SSL.
If your staging site is public and has its own domain, a connection may work. Just remember that products and orders created there will not carry over automatically to your live store.
How do you disconnect Printify from WooCommerce?
Disconnect the store inside Printify, then delete the Printify REST API key in WooCommerce if you no longer need it.
Before you disconnect, decide what to do with the products already in WooCommerce. They usually stay in your catalog, but they will no longer sync. Set them to draft or delete them so customers cannot order items nobody will print.
After that, go to WooCommerce > Settings > Advanced > REST API and revoke the key Printify used. This closes the access you granted.
Is Printify the right print-on-demand option for WooCommerce?
Printify suits sellers who want a large catalog and a choice of print providers, but compare it with other services on quality, shipping times and fees before you commit.
Printify works with many independent print providers. That gives you options on price and location, but quality can vary between providers. Order samples before you sell.
Other services, such as Printful and Gelato, also connect to WooCommerce. Each has different product ranges and pricing. If you are still planning your store, our guide to setting up WooCommerce for dropshipping covers the wider business model.
Whatever you choose, place a test order yourself before launch. It is the only reliable way to see the full path from checkout to delivery.
Frequently asked questions
Is it free to connect Printify to WooCommerce?
Connecting is free. Printify does not charge you to link the store, and the WooCommerce plugin itself is free. You pay Printify for each product it prints and ships, and Printify also offers an optional paid plan that lowers product prices. Check Printify's site for current plan details.
Do I need a separate Printify plugin for WooCommerce?
Usually not. The standard connection uses WooCommerce's built-in REST API, which you authorize from the Printify dashboard. Printify creates the access key during that approval step, so there is normally nothing extra to install on your WordPress site.
Why are my Printify products not showing in WooCommerce?
Publishing can take a few minutes. If products still do not appear, the API key may have been deleted, a security plugin may be blocking requests, or the products may be saved as drafts. Check WooCommerce products with all statuses and review the publishing status in Printify.
Can I edit Printify products inside WooCommerce?
You can change things like categories, tags and descriptions in WooCommerce. Avoid changing variations, SKUs or deleting variants, because Printify uses them to match orders to the right item. Make design and variant changes in Printify and publish again.
Does Printify handle sales tax for my WooCommerce store?
No. Your WooCommerce store collects tax from customers at checkout based on your tax settings. Printify may charge you tax on its own invoices depending on your location. This is general information, so check with a tax adviser for your situation.
Sources
- How can I connect my WooCommerce store to Printify? Printify Help Center
- Why is my store not connecting? Printify Help Center
- Why can't I publish my products to WooCommerce? Printify Help Center
- WooCommerce REST API WooCommerce
- Customize permalinks WordPress.org
Is your product missing, or something out of date?
Tell us what to add or correct. We read every note and reply when we need a source. A message does not buy a ranking.
Thanks — we review requests within 3 business days.
Related guides

About the editors
Researched from the primary sources listed above and checked against our editorial rules before publishing.