WooCommerce · Guide
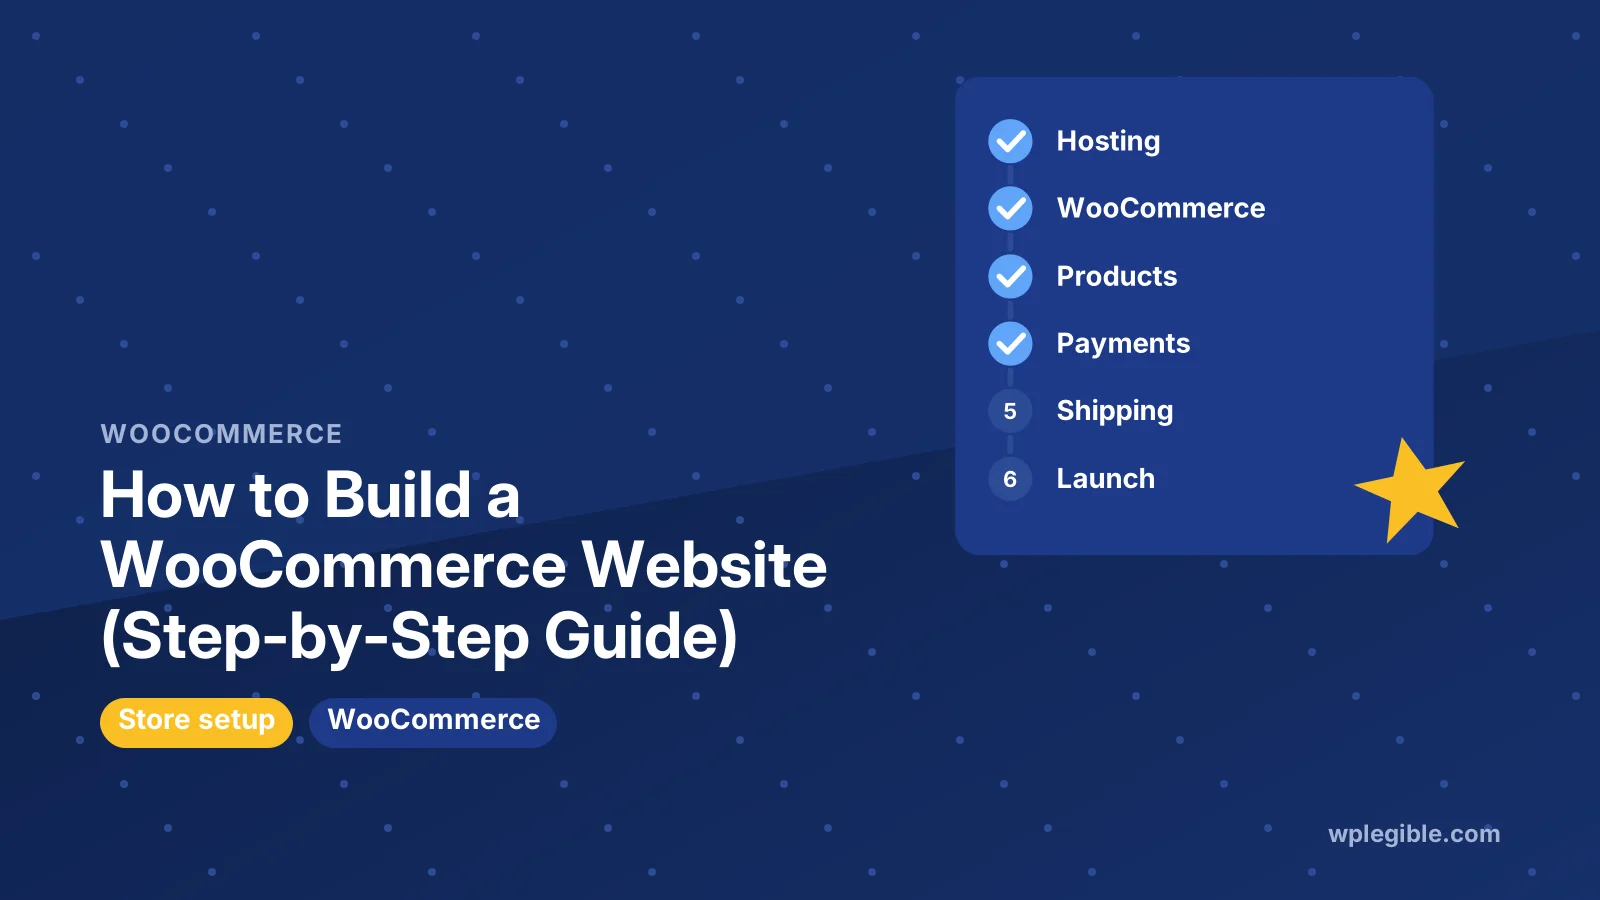
How to Build a WooCommerce Website (Step-by-Step Guide)
Short answer
To build a WooCommerce website, set up WordPress on hosting that meets WooCommerce's requirements, install the free WooCommerce plugin, run the setup wizard, add products, connect a payment gateway, configure shipping and tax, add legal pages, then place a test order before launch. A small store can be ready in a few days.
Key takeaways
- WooCommerce is a free plugin, but you pay for hosting, a domain and any paid extensions you need.
- Choose hosting with at least a 256 MB WordPress memory limit, current PHP and SSL, since stores need more resources than blogs.
- Set up payments, shipping and tax before adding many products, because they affect pricing.
- Use the block-based cart and checkout and keep the checkout short to reduce abandoned carts.
- Place real test orders, including refunds and emails, before you announce the store.
What do you need before building a WooCommerce store?
You need a domain, WordPress hosting that meets WooCommerce's server recommendations, a list of products with prices and photos, and a business plan for payments, shipping and tax.
WooCommerce itself is a free plugin. Your costs come from hosting, the domain, and any paid themes or extensions. Our breakdown of how much a WooCommerce store costs covers typical budgets.
Gather these before you start:
- Product names, descriptions, prices, SKUs and good photos
- Where you will ship to and how you will charge for shipping
- Which payment methods your customers expect
- Your tax registration details, if your country requires them
- Return, refund and privacy policies
Step 1: How do you choose hosting for WooCommerce?
Pick a host that meets WooCommerce's requirements, including a WordPress memory limit of 256 MB or more, HTTPS, and a current PHP version, with enough CPU for uncached cart and checkout pages.
The official WooCommerce server recommendations list the minimums. Stores need more than blogs because carts, checkout and account pages cannot be fully cached.
PHP matters soon. WooCommerce has announced that version 11.6 will require PHP 8.1 or newer, so pick a host that already runs PHP 8.3 or newer.
Our guide on choosing hosting for an online store compares plan types.
For exact CPU, memory and storage numbers, see what hosting resources WooCommerce needs.
Step 2: How do you install WordPress and WooCommerce?
Install WordPress with your host's one-click installer, then go to Plugins > Add New Plugin, search for WooCommerce, install and activate it.
Many hosts offer a WordPress install with WooCommerce already added. Either way, make sure SSL is active and your site address starts with https before you go further.
After activation, WooCommerce opens its setup wizard. It asks about your store's address, industry, the type of products you sell and the extensions you may want.
Skip extensions you do not need yet. You can add them later, and every extra plugin adds load to your checkout.
Step 3: How do you choose a theme for a store?
Use a lightweight, WooCommerce-compatible block theme so the shop, product, cart and checkout pages look right without extra page builder code.
The default WordPress block themes and WooCommerce's own themes support store templates in the Site Editor. That lets you change the product page or shop archive layout visually.
Check the theme's demo on a phone. Most store traffic is mobile, so product images, prices and the add-to-cart button should be clear on a small screen.
Step 4: How do you add products?
Go to Products > Add New Product, enter the name, description, price, images and inventory, then choose the product type that fits what you sell.
WooCommerce supports several product types:
| Product type | Use it for |
|---|---|
| Simple | One item with one price, such as a book |
| Variable | One product with options, such as sizes or colors |
| Grouped | A set of related products shown together |
| External or affiliate | Products sold on another site |
| Virtual or downloadable | Services, files and digital goods |
Write unique descriptions instead of copying the manufacturer's text, and add alt text to images. Use categories and attributes so shoppers can filter products.
For large catalogs, import products from a CSV file under Products > Import instead of adding them one by one.
Step 5: How do you set up payments?
Open WooCommerce > Settings > Payments and connect at least one card payment gateway, then add other methods your customers use, such as PayPal or local options.
Most stores start with a card processor such as Stripe or WooPayments. Our comparison of WooPayments vs Stripe explains fees and features.
Turn on test mode while you build. Every major gateway offers test card numbers, such as the ones in Stripe's testing documentation, so you can run full orders without moving real money.
Check which payment methods are common in your market. Wallets, bank transfers and buy-now-pay-later options can matter as much as cards in some countries.
Step 6: How do you set up shipping and tax?
Create shipping zones for the regions you sell to, add a method and rate to each zone, then turn on tax calculation and enter the rates or connect an automated tax service.
Go to WooCommerce > Settings > Shipping and add a zone for each area you ship to. Each zone can use flat rate, free shipping or local pickup.
Keep shipping simple at launch. Clear flat rates or a free shipping threshold are easier for customers to understand than complex weight tables.
Tax rules depend on where you and your customers are. Our guide on setting up taxes in WooCommerce explains the settings, and an accountant can confirm what you must collect.
Step 7: How do you set up the cart and checkout?
Use the block-based Cart and Checkout pages, ask only for the fields you need, and offer guest checkout so first-time buyers do not have to create an account.
New WooCommerce installs create Cart and Checkout pages with blocks. Our comparison of cart and checkout blocks vs shortcodes explains why blocks are now the default.
Remove optional fields such as company name if you do not need them. Every extra field gives shoppers another reason to leave.
Show shipping costs early, ideally on the product or cart page. Surprise costs at checkout are one of the most common reasons buyers abandon an order.
Step 8: Which pages and policies does a store need?
Add a privacy policy, terms and conditions, a refund and returns policy, shipping information and a contact page, and link them in the footer and at checkout.
WordPress creates a privacy policy draft under Settings > Privacy. WooCommerce can show a terms checkbox at checkout once you choose a terms page under its advanced settings.
If you sell to customers in the EU or UK, privacy and cookie rules apply. Our guide on making WooCommerce GDPR compliant covers the store-specific parts.
Which extensions does a new store actually need?
Most new stores need only a payment gateway, an email delivery service, a backup tool and an SEO plugin; add other extensions when a real need appears.
It is tempting to install every feature the setup wizard suggests. Each extension adds code that runs on cart and checkout pages, which are the slowest and most important pages in your store.
Add extensions in response to a specific problem:
- Product reviews: built into WooCommerce, so you rarely need a plugin
- Subscriptions or memberships: only if you sell recurring products
- Shipping labels and tracking: once order volume makes manual labels slow
- Marketing and abandoned cart emails: after you have steady traffic
- Accounting sync: when bookkeeping by hand takes too long
Before buying a paid extension, check that it supports your WooCommerce version, the block checkout and HPOS order storage. The listing usually states this under compatibility.
Step 9: How do you test the store before launch?
Place several test orders with different products, payment methods and shipping zones, then check order emails, stock levels, refunds and the order screen.
Use this test list:
- Buy a simple product and a variable product
- Use a coupon and check the discount
- Test a failed payment as well as a successful one
- Check that customer and admin emails arrive
- Refund a test order and confirm stock returns
- Repeat the checkout on a phone
If order emails do not arrive, set up a proper email sending service before launch. Store emails are too important to leave to default server mail.
Step 10: What should you do after launch?
Switch payments to live mode, set up backups and monitoring, keep everything updated on a schedule, and watch your checkout speed and conversion rate.
Take daily backups that include the database, since orders change constantly. Test updates on a staging copy before running them on the live store.
Speed affects sales directly. Our guide to speeding up WooCommerce checkout shows where stores usually lose time.
The official WooCommerce documentation covers each settings screen in detail when you need it.
Frequently asked questions
How long does it take to build a WooCommerce website?
A small store with a few products can be ready in a few days. Most of the time goes into product photos and descriptions, payment and shipping setup, and testing. Large catalogs or custom designs take weeks.
Is WooCommerce free to use?
The WooCommerce plugin is free. You pay for hosting, a domain, payment processing fees and any paid themes or extensions. Many stores run well with only free extensions at first.
Can I build a WooCommerce store without coding?
Yes. The setup wizard, product editor, block theme and settings screens let you build and run a complete store without code. Developers are only needed for custom features or integrations.
Do I need a special hosting plan for WooCommerce?
You need hosting that meets WooCommerce's server recommendations, including a 256 MB memory limit and current PHP. Cheap shared plans can work for small stores, but busy stores need more CPU because checkout pages cannot be cached.
Can I sell digital products with WooCommerce?
Yes. Mark a product as virtual and downloadable, upload the file, and WooCommerce gives buyers a secure download link after payment. Extensions add subscriptions, memberships and licence keys if you need them.
Sources
- WooCommerce Server Recommendations WooCommerce
- New Requirement for WooCommerce 11.6: PHP 8.1+ WooCommerce Developer Blog
- WooCommerce Documentation WooCommerce
- Testing Stripe Docs
- Requirements WordPress.org
Is your product missing, or something out of date?
Tell us what to add or correct. We read every note and reply when we need a source. A message does not buy a ranking.
Thanks — we review requests within 3 business days.
Related guides
About the editors
Researched from the primary sources listed above and checked against our editorial rules before publishing.