Hosting · Guide
How to Use Namecheap Domain on WordPress: A Beginner's Guide
Short answer
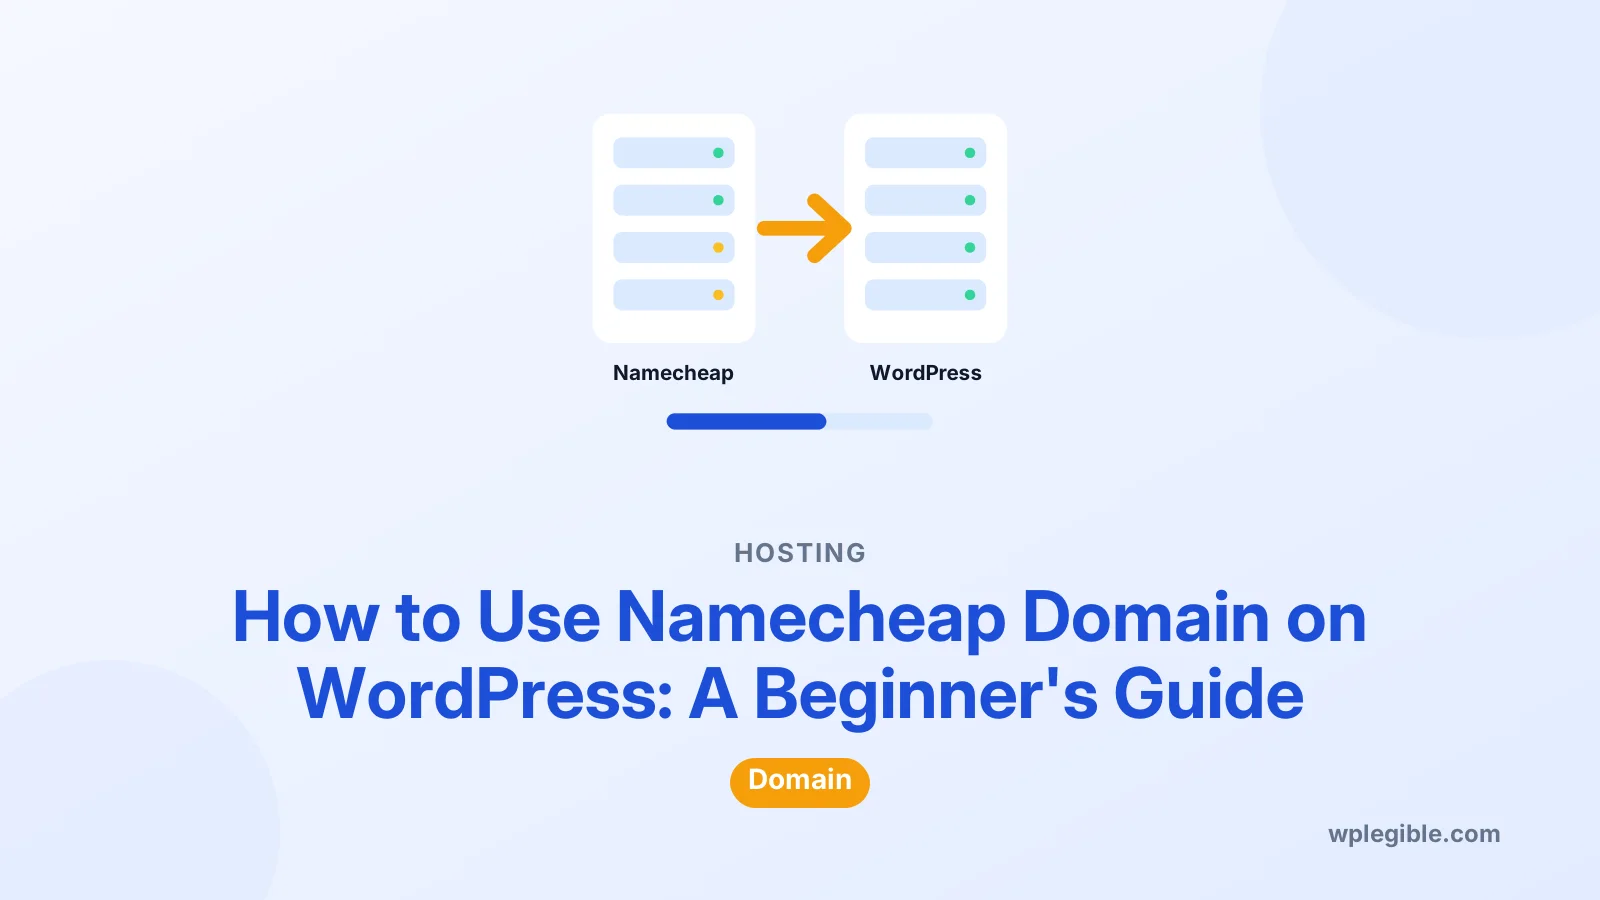
Point the domain at your WordPress host. In Namecheap, either set Custom DNS with your host's nameservers, or keep BasicDNS and add an A record for @ and a CNAME for www in Advanced DNS. Then add the domain at your host and set WordPress to use it.
Key takeaways
- The domain stays at Namecheap while WordPress runs at your host.
- Change nameservers for simple setups or add A and CNAME records to keep DNS at Namecheap.
- Delete Namecheap parking records before adding your own.
- Add the domain in your hosting account as well as in DNS.
- Issue a free SSL certificate once DNS points to the host.
How do you use a Namecheap domain on WordPress?
To use a Namecheap domain on WordPress, point the domain at your WordPress host by changing its nameservers or adding an A record in Namecheap, then add the domain in your host and set WordPress to use it.
Buying a domain at Namecheap and hosting WordPress somewhere else is very common. The domain and the website are separate things. Namecheap holds the name, and your host stores the WordPress files and database.
To connect them, you change where the domain points. That is done with DNS, and Namecheap gives you two ways to do it:
- Change the nameservers so your host manages all DNS for the domain.
- Keep Namecheap's DNS and add records that point to your host.
Both work. This guide explains when to use each, then covers the WordPress side, SSL and common problems.
If DNS terms are new to you, our explainer on what a nameserver is is a quick read first.
Which WordPress setup do you have?
The steps depend on where WordPress is hosted: a regular web host, Namecheap's own hosting or EasyWP, or WordPress.com, so check which one you use first.
| Where WordPress runs | How to connect the Namecheap domain |
|---|---|
| Another web host (cPanel, managed WordPress) | Change nameservers, or add A and CNAME records |
| Namecheap shared hosting | Use Namecheap's hosting DNS option |
| Namecheap EasyWP | Connect the domain from the EasyWP dashboard |
| WordPress.com | Add the domain in WordPress.com, then update DNS |
Each host gives you the exact values to use, such as nameserver names or an IP address. Find these in your hosting welcome email or dashboard before you start.
If WordPress is not installed yet and you use Namecheap hosting, follow our guide on installing WordPress on Namecheap hosting first.
Should you change nameservers or add DNS records?
Change nameservers when you want your host to manage all DNS in one place; add A and CNAME records when you want to keep email or other services managed at Namecheap.
Changing nameservers is the simplest option. Your host then controls every DNS record. The downside is that records you had at Namecheap, such as email settings, must be recreated at the host.
Adding records keeps Namecheap in charge of DNS. You only change the records for the website. This is better if you use Namecheap's email service or have other records you do not want to move.
A quick rule:
- New domain with nothing else set up: change nameservers.
- Domain already used for email or other services: add records.
- Using Cloudflare: use the nameservers Cloudflare gives you.
How do you change nameservers in Namecheap?
In your Namecheap account, open Domain List, click Manage next to the domain, choose Custom DNS under Nameservers, enter your host's nameservers and save.
Step by step:
- Log in to Namecheap and open Domain List from the dashboard.
- Click Manage next to your domain.
- Find the Nameservers section on the Domain tab.
- Choose Custom DNS from the dropdown.
- Enter the nameservers from your host, for example
ns1.yourhost.comandns2.yourhost.com. - Click the green checkmark to save.
Namecheap's knowledge base has an article on how to connect a domain to a server or hosting with screenshots of these screens. The Kinsta knowledge base also has a clear guide on changing nameservers at Namecheap.
Nameserver changes can take a few hours to spread, and sometimes up to 48 hours. Our guide on how long DNS propagation takes explains why.
How do you point the domain with an A record?
Keep Namecheap BasicDNS, open the Advanced DNS tab, and set an A record for @ to your host's IP address plus a CNAME or A record for www.
Step by step:
- Go to Domain List and click Manage next to the domain.
- Make sure Nameservers is set to Namecheap BasicDNS.
- Open the Advanced DNS tab.
- Under Host Records, delete any parking page records that point elsewhere, such as a default URL redirect or CNAME for
www. - Add an A Record with host
@and your server's IP address as the value. - Add a CNAME Record with host
wwwand your domain as the value, or an A record forwwwwith the same IP. - Save each record.
Your records should look roughly like this:
| Type | Host | Value |
|---|---|---|
| A Record | @ | Your server IP, such as 203.0.113.10 |
| CNAME Record | www | example.com |
Some managed WordPress hosts ask for different records, such as a CNAME to their own hostname. Always use the values your host gives you. For more on what each record does, read our guide to WordPress DNS settings.
How do you add the domain at your host?
Your host also needs to know the domain belongs to your account, so add it as the primary domain or an addon domain in the hosting dashboard.
DNS sends visitors to the right server. The server then has to know which website to show for that name.
How this looks at common hosts:
- cPanel hosts: the domain is set as the main domain at signup, or added under Domains.
- Managed WordPress hosts: add the domain in the site's domain settings and mark it as primary.
- VPS or cloud servers: add the domain to the web server configuration, such as an Nginx server block.
Skipping this step is a common reason a domain shows a host's default page or an error even though DNS is right.
How do you connect a Namecheap domain to WordPress.com?
On WordPress.com, add the domain under your site's domain settings as a connected domain, then follow the instructions to change nameservers or add the records it lists.
WordPress.com usually suggests pointing the nameservers to its own servers. You can also connect with records if you want to keep DNS at Namecheap.
The WordPress.com guide to connecting an existing domain lists the current values and plan requirements.
If you want to move the domain fully, rather than just point it, you could transfer it. That is optional and not needed for the site to work.
How do you update WordPress to use the new domain?
If WordPress was installed on a temporary URL, change the WordPress Address and Site Address in Settings > General to your Namecheap domain, then update old links.
When you install WordPress after the domain is connected, it already uses the right address and you can skip this step.
If not:
- Go to Settings > General.
- Change WordPress Address (URL) and Site Address (URL) to
https://yourdomain.com. - Save and log in again.
- Run a search and replace for the old address in the database.
The WordPress.org guide to changing the site URL covers other methods if you are locked out. Our guide on changing the domain of a WordPress site walks through the search and replace.
How do you add SSL to the domain?
Once DNS points to your host, issue a free SSL certificate from the hosting dashboard, then make sure WordPress loads over https.
Most hosts offer free Let's Encrypt certificates. The certificate can only be issued after the domain resolves to the host, so wait for DNS to update first.
Steps:
- Find the SSL or security section in your hosting panel and issue a certificate for the root domain and
www. - Update the WordPress URLs to
https://if they are not already. - Redirect all http traffic to https.
Namecheap also sells SSL certificates, but you do not need one for a normal WordPress site if your host provides a free certificate. Our guide on installing an SSL certificate on WordPress has the details.
Why is the Namecheap domain not showing the WordPress site?
If the domain shows a parking page, an old site or an error, the usual causes are DNS still updating, leftover Namecheap parking records, the domain not added at the host, or a browser cache.
Check these in order:
- Propagation: recent changes may not have spread yet. Check with an online DNS lookup tool.
- Parking records: a URL redirect record or parking CNAME in Advanced DNS can override your A record.
- Wrong nameserver option: Advanced DNS records only work when Namecheap BasicDNS is selected.
- Host setup: the domain must be added in your hosting account.
- Local cache: flush your computer's DNS cache or test on mobile data.
If the browser says the site cannot be reached at all, our guide to fixing DNS_PROBE_FINISHED_NXDOMAIN covers that error.
Frequently asked questions
Can I use a Namecheap domain with WordPress hosted elsewhere?
Yes. Domains and hosting are separate. Point the Namecheap domain to your host by changing nameservers or adding DNS records, add the domain in your hosting account, and WordPress will load on that domain.
How long does it take for a Namecheap domain to work with WordPress?
Record changes often work within an hour, while nameserver changes can take longer, sometimes up to 48 hours. Different visitors may see the change at different times while DNS caches expire.
Do I need to transfer my domain away from Namecheap?
No. You can keep the domain registered at Namecheap and only point it to your host. Transferring is optional and mainly useful if you want billing and DNS for everything with one company.
Why does my Namecheap domain still show a parking page?
Namecheap adds parking records to new domains. If they are still in Advanced DNS, they can override your settings. Delete the default redirect or parking records, add your own A and CNAME records, and wait for DNS to update.
Will changing nameservers affect my email?
It can. When you switch to your host's nameservers, any email records stored at Namecheap stop working until you add them at the new DNS provider. Copy your MX and TXT records before switching.
Sources
- How to connect a domain to a server or hosting Namecheap
- How to change nameservers at Namecheap Kinsta
- Connect an existing domain WordPress.com
- Moving WordPress WordPress Developer Resources
Is your product missing, or something out of date?
Tell us what to add or correct. We read every note and reply when we need a source. A message does not buy a ranking.
Thanks — we review requests within 3 business days.
Related guides
About the editors
Researched from the primary sources listed above and checked against our editorial rules before publishing.