Speed & performance · Guide
How to Purge LiteSpeed Cache in WordPress (All Methods)
Short answer
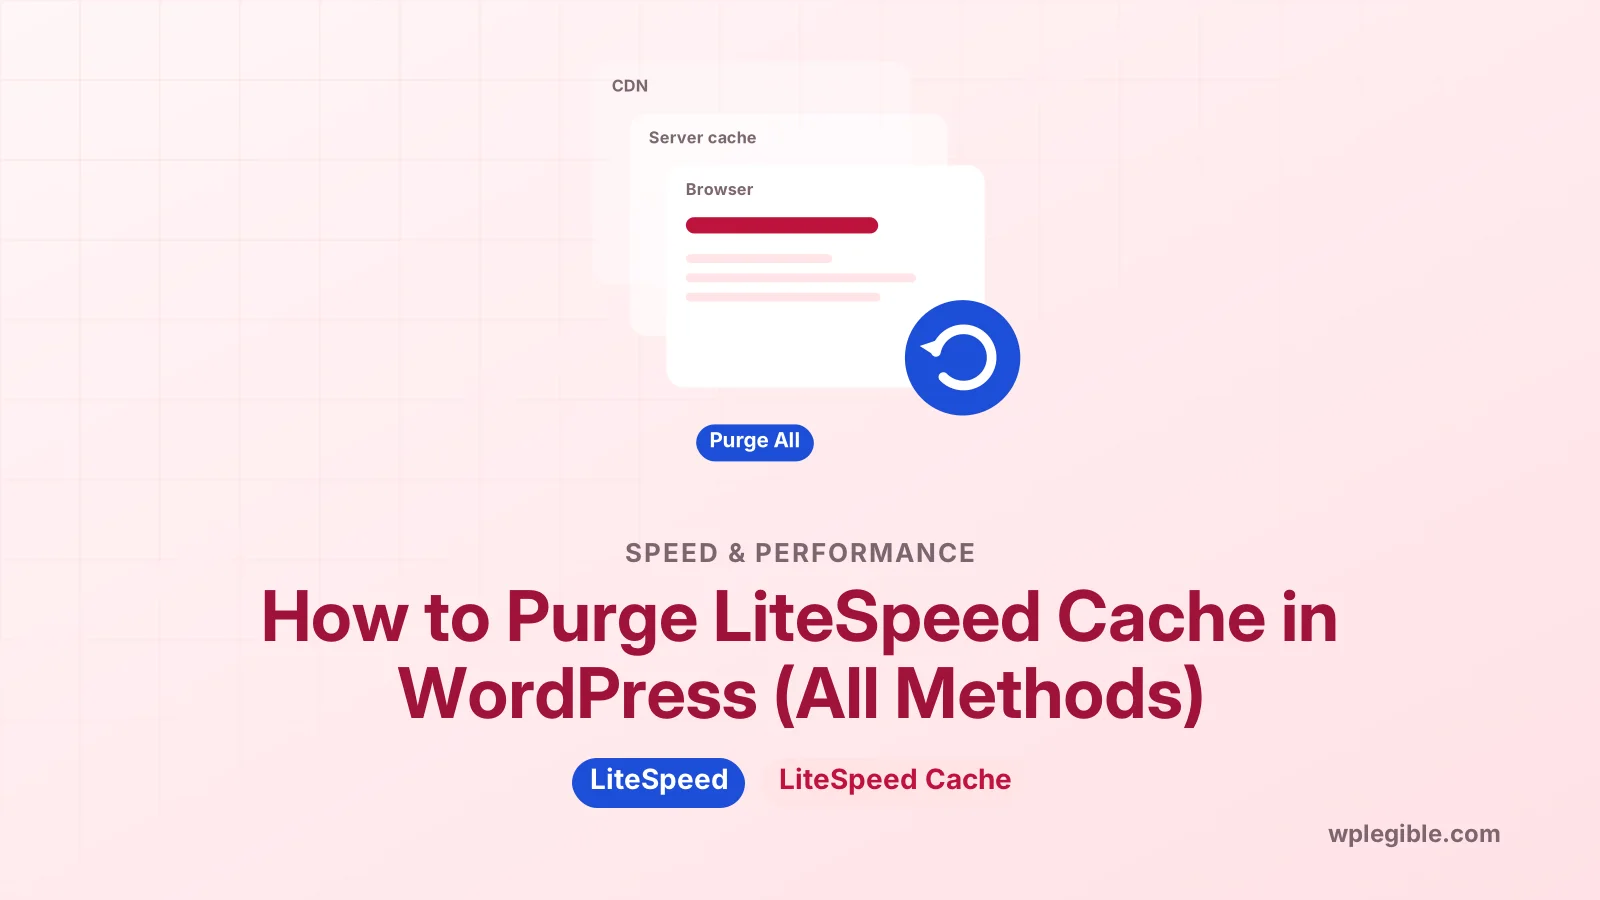
To purge LiteSpeed Cache in WordPress, hover over the LiteSpeed icon in the admin bar and choose Purge All, or go to LiteSpeed Cache > Toolbox > Purge for more options. You can also purge one page, purge by URL, category, tag or post ID, or run the WP-CLI command wp litespeed-purge all.
Key takeaways
- The fastest method is Purge All from the LiteSpeed icon in the admin bar.
- LiteSpeed Cache > Toolbox > Purge has buttons for each cache type.
- You can purge one page, or purge by URL, category, tag or post ID.
- WP-CLI uses wp litespeed-purge all for scripts and deployments.
- Clear CDN and browser caches too, or visitors may still see old files.
What does purging LiteSpeed Cache do?
Purging deletes stored copies of your pages and optimised files, so the next visitor triggers a fresh version that LiteSpeed caches again.
The LiteSpeed Cache plugin stores full pages at server level. That is why it is fast, and also why a change can look invisible until the cached copy is cleared.
If you want a refresher on how the plugin works, our explainer on what LiteSpeed Cache does covers page cache, object cache and optimisation features.
Purging is safe. It does not delete content or settings; it only removes temporary cache files, which the plugin rebuilds as pages are visited.
The official LiteSpeed Cache plugin page lists the purge features, including scheduled purges and WP-CLI commands.
How do you purge everything from the admin bar?
While logged in, hover over the LiteSpeed icon in the top admin bar and click Purge All; this is the quickest way to clear the whole site cache.
The same menu usually offers more specific options, such as purging only the page cache, CSS and JavaScript files or the object cache, depending on the features you use.
When you are viewing a page on the front end, the menu also offers to purge just that page. Use this after editing a single post.
If you do not see the LiteSpeed icon, check that the plugin is active and that your user role is an administrator.
Which purge buttons are in the Toolbox?
Go to LiteSpeed Cache > Toolbox > Purge to find separate buttons for the front page, all pages, CSS and JavaScript files, critical and unique CSS, the object cache, the opcode cache and more.
| Button | What it clears | When to use it |
|---|---|---|
| Purge Front Page | The home page only | After home page changes |
| Purge All - LSCache | All cached pages | After site-wide content changes |
| Purge All - CSS/JS | Minified and combined files | After theme or style changes |
| Purge All - Critical/Unique CSS | Generated CSS from QUIC.cloud | After layout changes |
| Purge All - Object Cache | Stored database results | After data looks out of date |
| Purge All - Opcode Cache | Compiled PHP code | After code or plugin file changes |
| Purge All | Every cache type above | When in doubt |
The LiteSpeed documentation for the Toolbox purge tab describes every button, including how they behave on multisite networks.
Start with the narrowest button that fixes the problem. Purging everything forces the whole site to rebuild its cache, which briefly slows the first visits.
What does Empty Entire Cache do?
It clears all cache entries the server holds for this site, including entries the plugin does not track, so keep it for cases where normal purges do not work.
Use it sparingly, and only when a normal Purge All has not cleared the problem.
How do you purge a single page or URL?
Open the page while logged in and use the purge-this-page option in the admin bar, or use the Purge By section in the Toolbox to purge by URL, post ID, category or tag.
Purging by URL is handy when you know exactly which page is stale. Paste one URL per line.
Purging by category or tag clears every cached page linked to that term. This helps after editing a category description or archive layout.
Single-page purges are kinder to your server than Purge All on large sites. Only the pages you changed need to be rebuilt.
How do you purge LiteSpeed Cache with WP-CLI?
Run wp litespeed-purge all from your WordPress folder over SSH; the plugin also has commands to purge a specific post, URL or site in a network.
cd /path/to/wordpress
wp litespeed-purge all
The LiteSpeed WP-CLI documentation lists every purge command and its parameters.
If WP-CLI is new to you, the official WP-CLI site explains how to install it and run commands safely.
Add the purge command to deployment scripts. That way each code release clears old pages automatically.
LiteSpeed notes that some CLI purges are queued and run on the next request that reaches PHP. Load a page once after the command if changes still do not show.
How do you purge from the hosting panel?
Many hosts running LiteSpeed web server add a cache manager to cPanel or their own dashboard, with a flush button that clears LiteSpeed cache for your account.
This works even if you cannot log in to WordPress. It is useful when a cached error page keeps showing.
The exact menu name varies by host. Look for LiteSpeed Web Cache Manager or a cache section in your hosting dashboard.
After flushing from the panel, purge inside the plugin too if it uses QUIC.cloud services. Those generated files are stored separately.
How do you set automatic purge rules?
Go to LiteSpeed Cache > Cache > Purge to choose which pages purge when you publish or update content, whether to purge all on plugin and theme upgrades, and when to run scheduled purges.
The default rules purge related pages such as the home page, category archives and tag archives when a post changes. Most sites can keep them.
Scheduled purge URLs are useful for pages with time-sensitive content, such as event lists or daily deals.
Our guide to LiteSpeed Cache settings explains the purge tab together with the cache lifetime options.
Why do changes still not show after purging?
Another cache layer is still serving the old version, usually a CDN, the browser cache, a second caching plugin, or optimised CSS and JavaScript files that were not purged.
Check in a private browser window first. If the change shows there, only your browser cache needs clearing.
If you use Cloudflare, purge it as well. The Cloudflare purge cache documentation covers purging everything or single files.
Run only one page caching plugin. Two plugins caching the same pages cause confusing results and hard-to-trace bugs.
Our guide on how to clear cache in WordPress lists every layer to check, from plugin to CDN.
Should you purge after every change?
No. LiteSpeed purges related pages automatically when you publish or update content, so manual purges are mainly for theme, plugin, settings, menu and widget changes.
Menus, widgets and Customizer changes affect many pages at once. A Purge All is often the simplest fix after those edits.
Frequent full purges hurt speed. Every visitor after a purge gets an uncached page until the cache warms up again.
The crawler feature can rebuild cache after a purge on supported hosts, so visitors see fast pages sooner.
How does purging work with WooCommerce?
LiteSpeed Cache purges product and category pages when stock or prices change, while cart, checkout and account pages are not cached, so most stores rarely need manual purges.
If prices or stock look wrong, purge the product and its categories first, then check the object cache.
Our guide to LiteSpeed Cache settings for WooCommerce covers the store-specific options.
Avoid caching pages that show personal data. Keep the plugin's default exclusions for carts and checkouts in place.
What if purging breaks the site?
Purging itself does not break sites, but regenerated optimised CSS or JavaScript can expose a conflict, so disable optimisation features one at a time to find the cause.
A common sign is a page that loads without styling or with broken menus right after a purge.
Our troubleshooting guide on LiteSpeed Cache breaking a site walks through safe ways to find the setting causing it.
Keep a note of which optimisation options you turned on. That makes rolling back much faster.
How do you build a simple purge routine?
Rely on automatic purge rules for content, purge the affected pages after small edits, use Purge All after theme or plugin changes, and include CDN purges in the same routine.
For teams, write the routine down. Editors then know which button to press without guessing.
If you use QUIC.cloud services, our guide on setting up LiteSpeed Cache with QUIC.cloud explains how its CDN and generated CSS fit in.
Review the routine after big changes, such as moving host or adding a CDN.
Frequently asked questions
How do I clear LiteSpeed Cache in WordPress?
Hover over the LiteSpeed icon in the admin bar and click Purge All. For more control, go to LiteSpeed Cache, then Toolbox, then the Purge tab.
Can I purge only one page in LiteSpeed Cache?
Yes. Open the page while logged in and use the purge option for that page in the admin bar, or purge by URL or post ID in the Toolbox.
What is the WP-CLI command to purge LiteSpeed Cache?
Run wp litespeed-purge all from your WordPress folder. The plugin also has commands to purge specific posts, URLs and sites in a network.
Does purging LiteSpeed Cache delete my content?
No. Purging only removes temporary cache files. Your posts, pages and settings stay the same, and the cache rebuilds as people visit.
Why do I still see old content after purging?
Another cache is still serving the old version. Check a private browser window, purge your CDN and make sure no second caching plugin is active.
Sources
- Toolbox LiteSpeed Documentation
- WordPress CLI LiteSpeed Documentation
- LiteSpeed Cache WordPress.org Plugins
- Purge cache Cloudflare Docs
- WP-CLI WP-CLI
Is your product missing, or something out of date?
Tell us what to add or correct. We read every note and reply when we need a source. A message does not buy a ranking.
Thanks — we review requests within 3 business days.
Related guides
About the editors
Researched from the primary sources listed above and checked against our editorial rules before publishing.