WooCommerce · Guide
How to Integrate Shiprocket with WooCommerce (Step by Step)
Short answer
To integrate Shiprocket with WooCommerce, create a Read/Write API key under WooCommerce > Settings > Advanced > REST API. Then open Channels in your Shiprocket panel, add WooCommerce as a channel, and paste your store URL, consumer key and consumer secret. Save, test the connection and choose which order statuses sync.
Key takeaways
- The integration pulls WooCommerce orders into Shiprocket and sends tracking back.
- Create a Read/Write REST API key in WooCommerce and copy the secret straight away.
- Add WooCommerce as a channel in Shiprocket using the exact store URL.
- Sync paid orders, usually the Processing status, and set product weights.
- Most sync failures come from bad keys, a blocked REST API or a URL mismatch.
What does integrating Shiprocket with WooCommerce do?
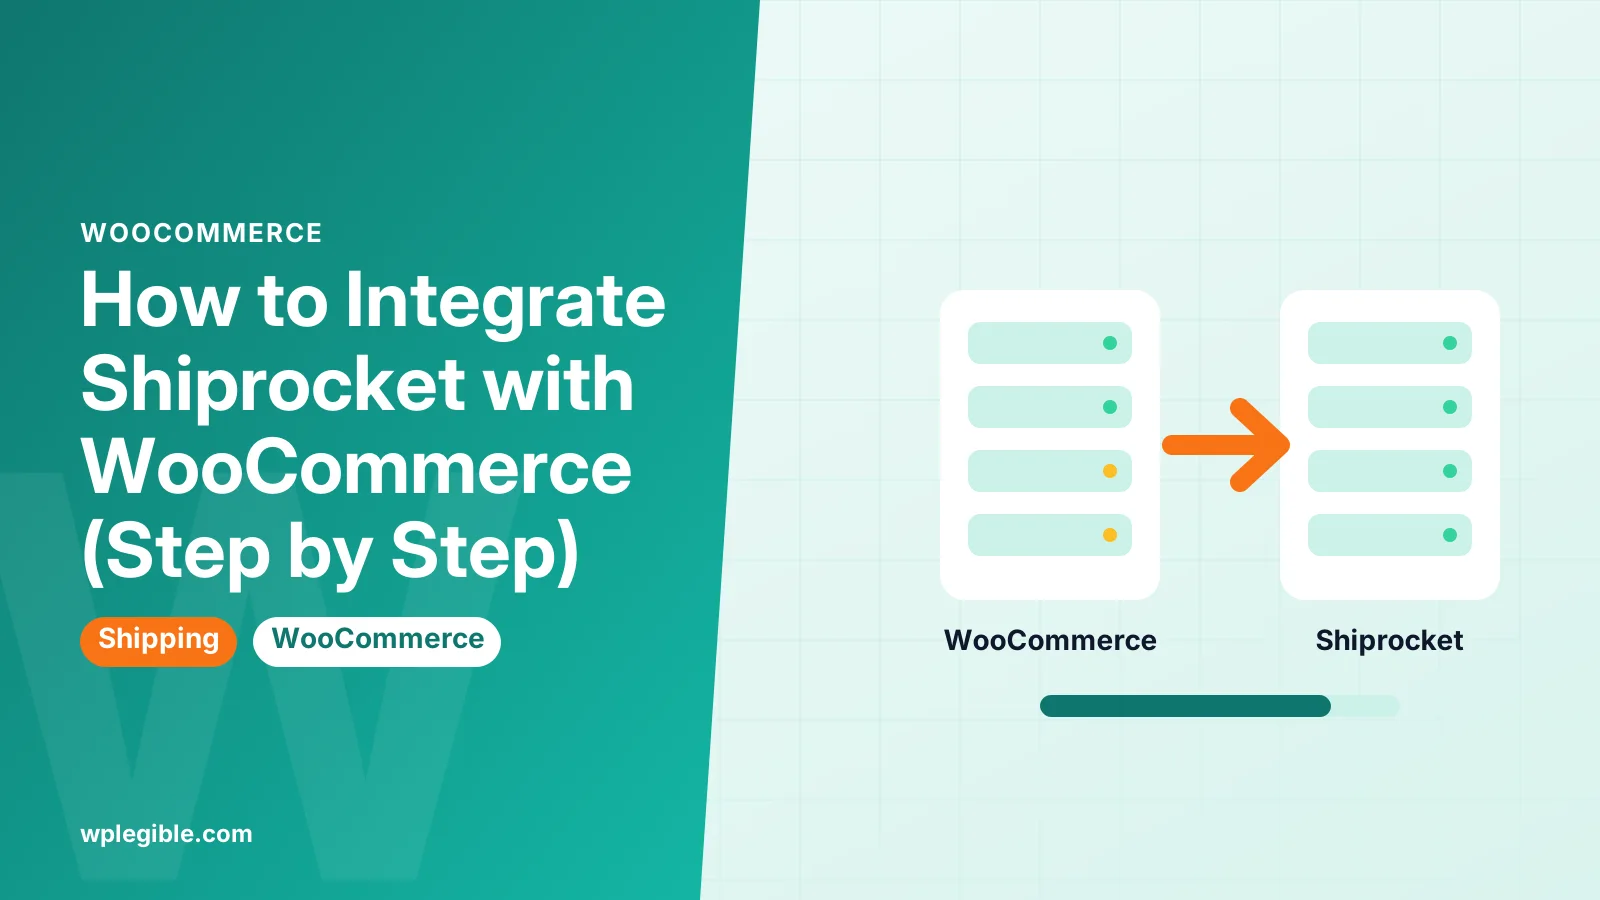
Connecting Shiprocket to WooCommerce pulls your store's orders into the Shiprocket panel, where you compare couriers, book pickups, print labels and send tracking updates back to the store.
Shiprocket is a shipping aggregator for sellers in India. Instead of signing separate contracts with each courier, you ship through one account and pick a courier per order.
Without the integration, you would copy every order by hand. With it, new WooCommerce orders appear in Shiprocket automatically, and status changes flow back so customers see tracking details.
WooCommerce's own shipping settings still matter. Shipping zones and rates decide what customers pay at checkout, while Shiprocket handles the actual delivery after the order is placed. Our guide to WooCommerce shipping zones explains how those rates are set.
What do you need before you connect Shiprocket?
You need a live WooCommerce store on a public domain with HTTPS, admin access to WordPress, a Shiprocket account with KYC done, and your pickup address details ready.
Check these points first, because they cause most failed connections:
- Public site: Shiprocket must reach your store over the internet. A local or password-protected staging site will not connect.
- HTTPS: an SSL certificate on the store domain.
- Working REST API: the integration uses the WooCommerce REST API. Security plugins or firewalls that block it will stop orders syncing.
- Pretty permalinks: many integrations expect a permalink setting other than Plain, under Settings > Permalinks.
- Pickup address: add it in Shiprocket before you ship your first order.
If you are unsure whether the REST API works, open Tools > Site Health and look for REST API warnings. Our guide on fixing the REST API error in Site Health covers the usual causes.
How do you create WooCommerce API keys for Shiprocket?
In WordPress, go to WooCommerce > Settings > Advanced > REST API, click Add key, give it a description, choose a user, set permissions to Read/Write, and click Generate API key.
- Go to WooCommerce > Settings
- Open the Advanced tab
- Click REST API, then Add key
- Enter a description such as Shiprocket
- Choose an admin user
- Set Permissions to Read/Write
- Click Generate API key
- Copy the Consumer key and Consumer secret
WooCommerce shows the secret only once. Copy both values into a safe place before you leave the page. If you lose them, revoke the key and create a new one.
Read/Write access is needed because Shiprocket both reads new orders and writes back status and tracking information. The WooCommerce REST API documentation explains key permissions in more detail.
Our step-by-step guide on how to get a WooCommerce API key has screenshots of each screen.
How do you add WooCommerce as a channel in Shiprocket?
In the Shiprocket panel, open Channels, add a new channel, choose WooCommerce, then enter your store URL, consumer key and consumer secret, and save to test the connection.
- Log in to your Shiprocket account
- Open the Channels section
- Click to add a new channel and pick WooCommerce
- Enter your store URL exactly as it loads, including https
- Paste the Consumer key and Consumer secret
- Choose your order sync and status settings
- Save and test the connection
Shiprocket's support article on integrating WooCommerce shows the current screens. The panel layout changes from time to time, so follow it if your menu names differ.
Use the same version of your domain that the store uses. If your site loads on www, enter the www address. A mismatch can break the connection or cause redirect errors.
Should you use the Shiprocket WordPress plugin?
Shiprocket publishes a plugin in the WordPress directory, and you can install it if you want the features it adds, but the core order sync works through the channel connection and API keys.
The Shiprocket plugin on WordPress.org lists what it currently does and which WooCommerce versions it supports. Read the description and changelog before installing, since plugin features change over time.
Install it like any plugin from Plugins > Add New Plugin. Then follow its setup screen to link it to your Shiprocket account.
Keep the number of shipping plugins low. Running two plugins that both try to edit order statuses or tracking fields can create duplicate updates.
How do you choose which orders sync to Shiprocket?
Set the order statuses that Shiprocket should fetch, usually Processing, so paid orders sync and unpaid or cancelled ones stay in WooCommerce.
WooCommerce marks paid orders as Processing. Pending payment and Failed orders have not been paid, so you rarely want them in your shipping queue.
Cash on delivery orders usually move straight to Processing too. Check how your payment gateways set statuses so COD orders are not missed.
If you use custom order statuses from a plugin, make sure Shiprocket knows about them. Otherwise those orders may never sync.
How do you ship your first order through Shiprocket?
Open the synced order in Shiprocket, check the package weight and size, choose a courier, assign the AWB, schedule a pickup, and print the shipping label.
- Find the new order in Shiprocket's orders list
- Check the address, phone number and payment method
- Enter the package weight and dimensions
- Compare courier options and pick one
- Generate the AWB and schedule pickup
- Print the label and manifest
Accurate weight matters. Couriers charge on the higher of actual and volumetric weight, and wrong figures lead to weight disputes and extra charges later.
Add default product weights and dimensions in WooCommerce under each product's Shipping tab. Shiprocket can then pick them up automatically.
If you also want to print labels without leaving WordPress, our guide on printing shipping labels from WooCommerce compares the options.
How do tracking updates reach your customers?
Once the courier picks up the parcel, Shiprocket sends tracking details and status changes back to WooCommerce, and customers can get updates by email or SMS depending on your settings.
Status sync is what keeps the two systems aligned. When an order is shipped or delivered, Shiprocket can update the WooCommerce order so your admin screen shows the right status.
Check one test order end to end. Place an order, ship it, and confirm that the tracking number appears in WooCommerce and in the customer's email.
If WooCommerce emails are not reaching customers at all, fix that first. Our guide on WooCommerce emails not sending explains SMTP and deliverability fixes.
Which settings should you review after connecting?
Review sync status, pickup addresses, default package details, COD settings and notification options so the integration matches how you actually ship.
| Setting | Where | Why it matters |
|---|---|---|
| Order statuses to fetch | Shiprocket channel settings | Stops unpaid orders syncing |
| Status write-back | Shiprocket channel settings | Keeps WooCommerce orders current |
| Pickup address | Shiprocket settings | Needed before any pickup |
| Product weight and size | WooCommerce product Shipping tab | Accurate courier charges |
| API key permissions | WooCommerce > Settings > Advanced > REST API | Read/Write needed for sync |
Look at these again whenever you change hosting, domain or security plugins. Each of those can quietly break the API connection.
Why are WooCommerce orders not syncing to Shiprocket?
Orders usually fail to sync because of wrong or revoked API keys, a blocked REST API, a store URL mismatch, or order statuses that Shiprocket is not set to fetch.
- Invalid key or secret: create a fresh Read/Write key and update the channel.
- REST API blocked: check security plugins, firewall rules and Cloudflare settings that challenge API requests.
- URL mismatch: enter the exact address the store uses, including https and www if present.
- Orders in the wrong status: confirm that new paid orders land in a status Shiprocket fetches.
- Store moved or renamed: update the channel after any domain change.
The WordPress REST API handbook explains how API requests work if you need to debug with your host.
Also check that the API key user still exists and is an administrator. Deleting or downgrading that user breaks the key.
If problems continue, contact Shiprocket support with an order number that failed to sync. Their team can see the API responses from their side.
Frequently asked questions
Is the Shiprocket WooCommerce integration free?
Connecting the channel does not need a separate paid plugin, but you pay Shiprocket for the shipments you book and for any paid plan you choose. Check Shiprocket's current pricing page for courier rates and plan fees in your area.
Why does Shiprocket need Read/Write API access?
Shiprocket reads new orders from your store and writes back status changes and tracking details. Read-only keys let orders sync in but stop updates from reaching WooCommerce and your customers.
Can I connect more than one WooCommerce store to Shiprocket?
Yes, Shiprocket supports multiple channels on one account. Create separate API keys in each store and add each one as its own WooCommerce channel, then label them clearly so orders are easy to tell apart.
Do I still need WooCommerce shipping zones with Shiprocket?
Yes. Shipping zones and methods decide what customers pay at checkout. Shiprocket handles booking couriers after the order is placed, so you still need sensible rates set inside WooCommerce.
How long does it take for orders to appear in Shiprocket?
New orders usually sync within a short time of being placed, depending on Shiprocket's fetch schedule. If an order is missing, check its status in WooCommerce and use the channel's manual fetch option if one is available.
Sources
- How do I integrate WooCommerce with Shiprocket? Shiprocket Support
- Integrating WooCommerce with Shiprocket Shiprocket Knowledgebase
- Shiprocket plugin WordPress.org
- WooCommerce REST API WooCommerce
- REST API Handbook WordPress Developer Resources
Is your product missing, or something out of date?
Tell us what to add or correct. We read every note and reply when we need a source. A message does not buy a ranking.
Thanks — we review requests within 3 business days.
Related guides

About the editors
Researched from the primary sources listed above and checked against our editorial rules before publishing.