Hosting · Guide
How to Install WordPress on GreenGeeks (Step by Step)
Short answer
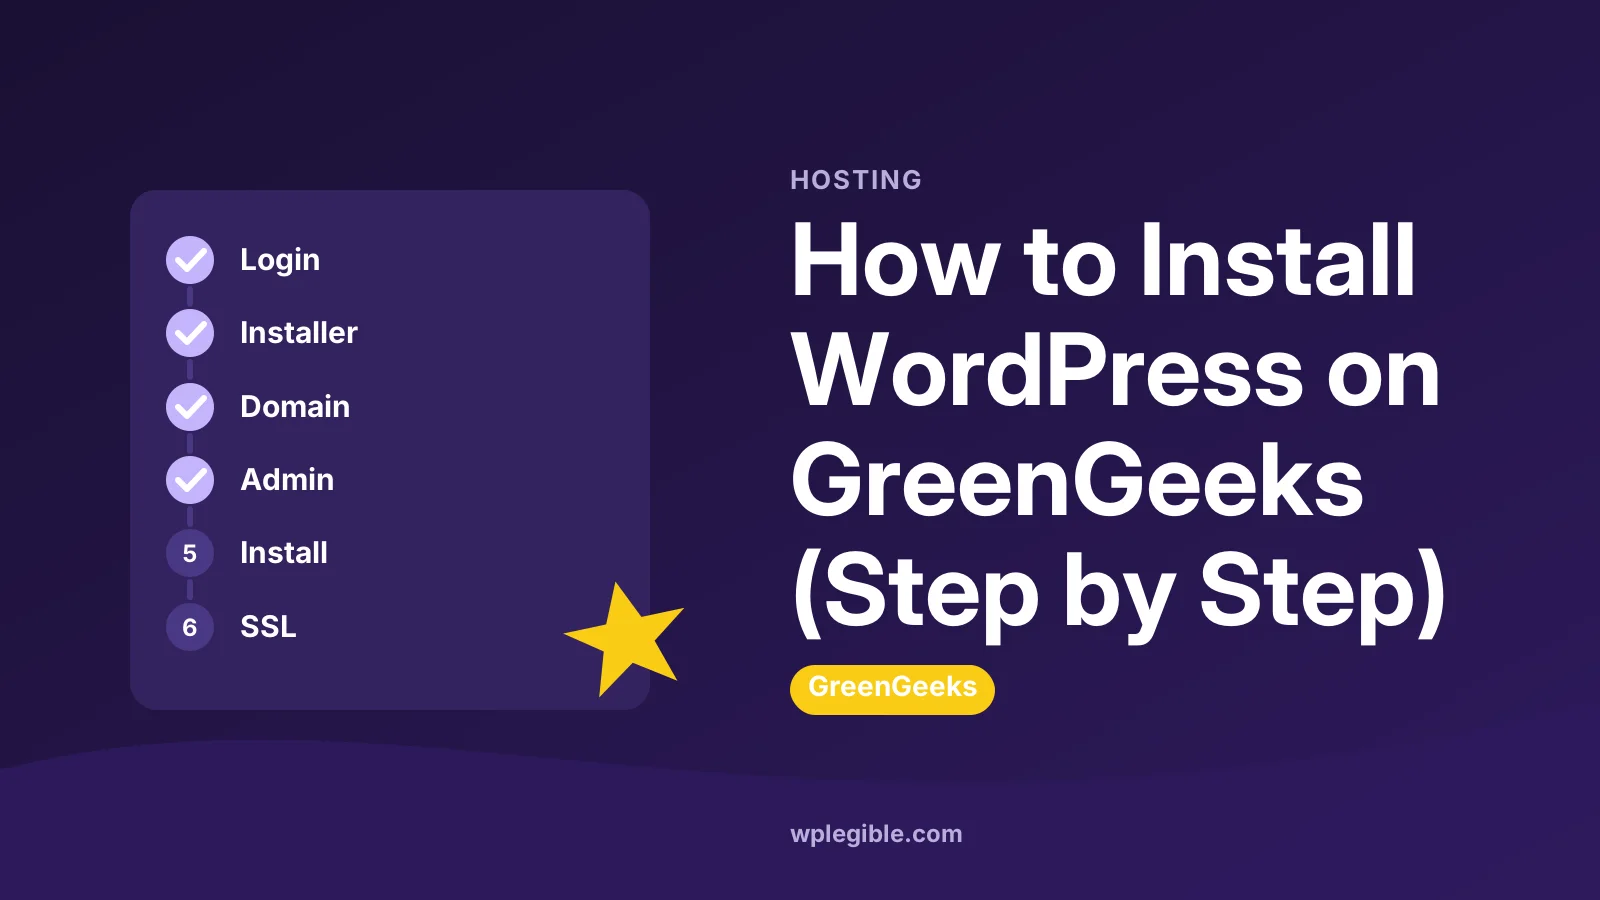
Log in to the GreenGeeks dashboard, open the WordPress or App Installer tool for your hosting account, choose your domain and leave the folder blank, then enter a site name, admin username, password and email. Click Install, log in at your domain followed by wp-admin, and switch on SSL.
Key takeaways
- Point your domain to GreenGeeks before or soon after installing.
- Leave the directory field blank to install at the domain root.
- Use a unique admin username and a generated password.
- Confirm free SSL is active and both site addresses use https.
- Set permalinks, backups and caching on day one.
How do you install WordPress on GreenGeeks?
Log in to your GreenGeeks dashboard, open the WordPress or App Installer tool for your hosting account, pick your domain, set an admin username and password, and click Install.
GreenGeeks is a shared hosting company that markets itself on putting renewable energy credits back into the grid. Its WordPress plans come with a one-click installer, so you do not need to upload files or create a database by hand.
The whole process takes about ten minutes if your domain already points to GreenGeeks. Most of that time is waiting for DNS and SSL, not clicking buttons.
Here is the short version:
- Buy a GreenGeeks hosting plan and connect your domain
- Log in to the GreenGeeks dashboard
- Open the WordPress installer for your hosting account
- Choose the domain and folder
- Enter the site name, admin username, password and email
- Run the install and log in to wp-admin
- Turn on SSL and set up the basics
The sections below explain each step and what to do if something goes wrong.
What do you need before you start?
You need an active GreenGeeks hosting plan, a domain added to that account, and an email address you can reach for the admin account.
Check these items first:
- A hosting plan. Any GreenGeeks web hosting or WordPress hosting plan includes the installer.
- A domain. Either one you registered with GreenGeeks or one from another registrar.
- Correct nameservers. If the domain is registered elsewhere, point its nameservers to the ones in your GreenGeeks welcome email.
- A strong password. Use a password manager to create one for the WordPress admin.
If your domain is still pointing somewhere else, you can install WordPress, but you will not see it at your domain until DNS updates. Our guide on how to point a domain to WordPress hosting explains nameservers and A records.
DNS changes can take a few hours to spread. You can check progress with a public lookup tool such as DNS Checker.
How do you log in to the GreenGeeks dashboard?
Go to the GreenGeeks website, click Login, and sign in with the email and password you used when you bought hosting.
GreenGeeks calls its main customer area the Account Manager or dashboard. From there you manage billing, domains, email and your hosting accounts.
After logging in:
- Find your hosting account in the list of products or services
- Open its management page
- Look for a WordPress section, an App Installer link, or a cPanel link
GreenGeeks has updated its dashboard over time, so labels can differ slightly between accounts. The GreenGeeks Account Manager guide shows the current layout.
How do you run the GreenGeeks WordPress installer?
Open the App Installer or WordPress tool, choose WordPress, select your domain, fill in the site and admin details, and start the installation.
GreenGeeks documents its own installer in the GreenGeeks App Installer guide for WordPress. The fields are similar across one-click installers.
Fill them in like this:
| Field | What to enter |
|---|---|
| Domain | The domain you want the site on, with https if offered |
| Directory | Leave blank to install at the root, such as example.com |
| Site name | Your business or blog name (you can change it later) |
| Admin username | Something unique, not admin |
| Admin password | A long, generated password |
| Admin email | An inbox you check, for password resets and alerts |
| Language | The language of your dashboard |
Leave the directory empty unless you want the site in a subfolder like example.com/blog. A stray value here is a common reason people cannot find their new site.
Some installers offer extras, such as auto-updates, a starter theme or extra plugins. Keep auto-updates for minor core releases on. Skip extra plugins you do not need, since each one adds upkeep.
Click Install and wait. The installer creates the database, copies the WordPress files and writes the wp-config.php file for you.
What if your account uses cPanel and Softaculous?
Older or some current GreenGeeks accounts use cPanel, where you install WordPress through Softaculous or a WordPress manager tool with the same fields.
In cPanel, look for a Softaculous Apps Installer or WordPress Manager section. Click WordPress, then Install.
The fields match the table above: protocol, domain, directory, site name, admin details and language. Under Advanced Options you can choose a database name and backup settings.
If you want to know more about how that tool works, read our explainer on what WordPress Manager by Softaculous is.
How do you log in to your new WordPress site?
Go to your domain followed by /wp-admin and sign in with the admin username and password you set during installation.
For example, visit example.com/wp-admin. WordPress redirects you to the login page and then to the dashboard.
Most installers also show a direct login link or an Admin button once the install finishes. Bookmark the login URL.
If the page does not load, wait for DNS to finish. If you see the old site or a GreenGeeks placeholder page, clear your browser cache or try a private window. Our guide on what the WordPress admin URL is covers other login paths.
How do you turn on SSL for your GreenGeeks site?
GreenGeeks includes free SSL certificates, so check that one has been issued for your domain, then make sure WordPress uses https in its site addresses.
Free certificates usually issue automatically once the domain points to GreenGeeks. In the dashboard or cPanel, look for an SSL or security section and confirm your domain shows an active certificate.
Then in WordPress:
- Go to Settings > General
- Make sure both the WordPress Address and Site Address start with https
- Save and log in again if asked
If the padlock still does not show, there may be mixed content, which is an image or script loading over http. Our guide on how to install an SSL certificate on WordPress covers redirects and mixed content.
What should you set up right after installing?
Set your permalinks, delete sample content, choose a theme, and set up backups and updates before you start adding real content.
A short first-day checklist:
- Permalinks. Go to Settings > Permalinks and choose Post name for clean URLs.
- Sample content. Delete the Hello world post, the sample page and the default comment.
- Time zone. Set it under Settings > General so scheduled posts go out on time.
- Theme. Pick a theme from Appearance > Themes. The default block theme is a fine start.
- Unused plugins. Remove anything the installer added that you will not use.
- Backups. Check what GreenGeeks backs up and add a plugin backup you control.
The official First Steps with WordPress guide covers these settings in more detail.
Caching matters too. GreenGeeks runs LiteSpeed web servers on its shared plans, so the free LiteSpeed Cache plugin is the natural fit. Check with GreenGeeks support if you are unsure what your plan supports.
How do you install WordPress on GreenGeeks manually?
You can upload WordPress files yourself and create a database in cPanel, but most people should use the installer because it does the same work with fewer chances for error.
A manual install makes sense when you need a custom setup, a specific WordPress version or a non-standard folder. The steps are:
- Download WordPress from WordPress.org
- Upload the files to public_html with File Manager or FTP
- Create a MySQL database and user in cPanel and give the user all privileges
- Visit your domain and run the setup wizard, entering the database details
- Set your site title and admin account
The WordPress installation guide explains each step and the wp-config.php settings.
What problems come up when installing WordPress on GreenGeeks?
The usual problems are DNS that has not updated, a site installed in the wrong folder, an old index file blocking WordPress, or a database connection error.
| Problem | Likely cause | Fix |
|---|---|---|
| Domain shows a placeholder page | Default index.html still in public_html | Delete or rename the placeholder file |
| Site not found | Nameservers still point elsewhere | Update nameservers and wait for DNS |
| Site at a strange URL | Directory field filled in | Reinstall at the root or move the install |
| Database connection error | Wrong database details | Check wp-config.php values |
| Not secure warning | SSL not issued yet | Wait, then reissue from the SSL tool |
For the database error, see how to fix error establishing a database connection.
GreenGeeks offers support around the clock through chat and tickets. If the installer itself fails, contact them with the domain name and any error you saw.
Is GreenGeeks a good host for WordPress?
GreenGeeks is a reasonable choice for small sites, blogs and small stores that want simple shared hosting with an eco-friendly angle, but busy stores may outgrow shared plans.
Things to weigh:
- Shared plans limit CPU and memory, which matters for WooCommerce or membership sites
- Intro prices are lower than renewal prices, so check the renewal rate on the GreenGeeks pricing page
- Free domain and SSL offers vary by plan and promotion
If you plan to grow, read our guide on how to choose hosting for a WordPress blog before you commit to a long term.
Frequently asked questions
Does GreenGeeks have a one-click WordPress install?
Yes. GreenGeeks hosting includes an installer in its dashboard, and some accounts also have Softaculous in cPanel. Both create the database, copy files and set up the admin account for you.
How long does it take to install WordPress on GreenGeeks?
The install itself takes a few minutes. If your domain was just pointed to GreenGeeks, DNS can take a few hours to update before the site loads at your domain and the free SSL certificate is issued.
Why does my GreenGeeks domain show a placeholder page?
A default index file in public_html loads before WordPress, or DNS still points to an old host. Remove the placeholder file and confirm your nameservers match the ones in your GreenGeeks welcome email.
Can I install WordPress in a subfolder on GreenGeeks?
Yes. Enter a folder name in the directory field, such as blog, and WordPress installs at that path. Leave the field blank if you want the site on the main domain.
Does GreenGeeks include SSL for WordPress?
GreenGeeks includes free SSL certificates on its hosting plans. After the domain points to GreenGeeks, check the SSL section shows an active certificate, then make sure both WordPress addresses use https.
Sources
- Getting started with the GreenGeeks App Installer for WordPress GreenGeeks
- Getting started with the GreenGeeks Account Manager GreenGeeks
- How to install WordPress WordPress Developer Resources
- First steps with WordPress WordPress.org Documentation
- LiteSpeed Cache WordPress.org Plugins
Is your product missing, or something out of date?
Tell us what to add or correct. We read every note and reply when we need a source. A message does not buy a ranking.
Thanks — we review requests within 3 business days.
Related guides
About the editors
Researched from the primary sources listed above and checked against our editorial rules before publishing.