SEO & AI search · Guide
How to Install Site Kit by Google (Step by Step)
Short answer
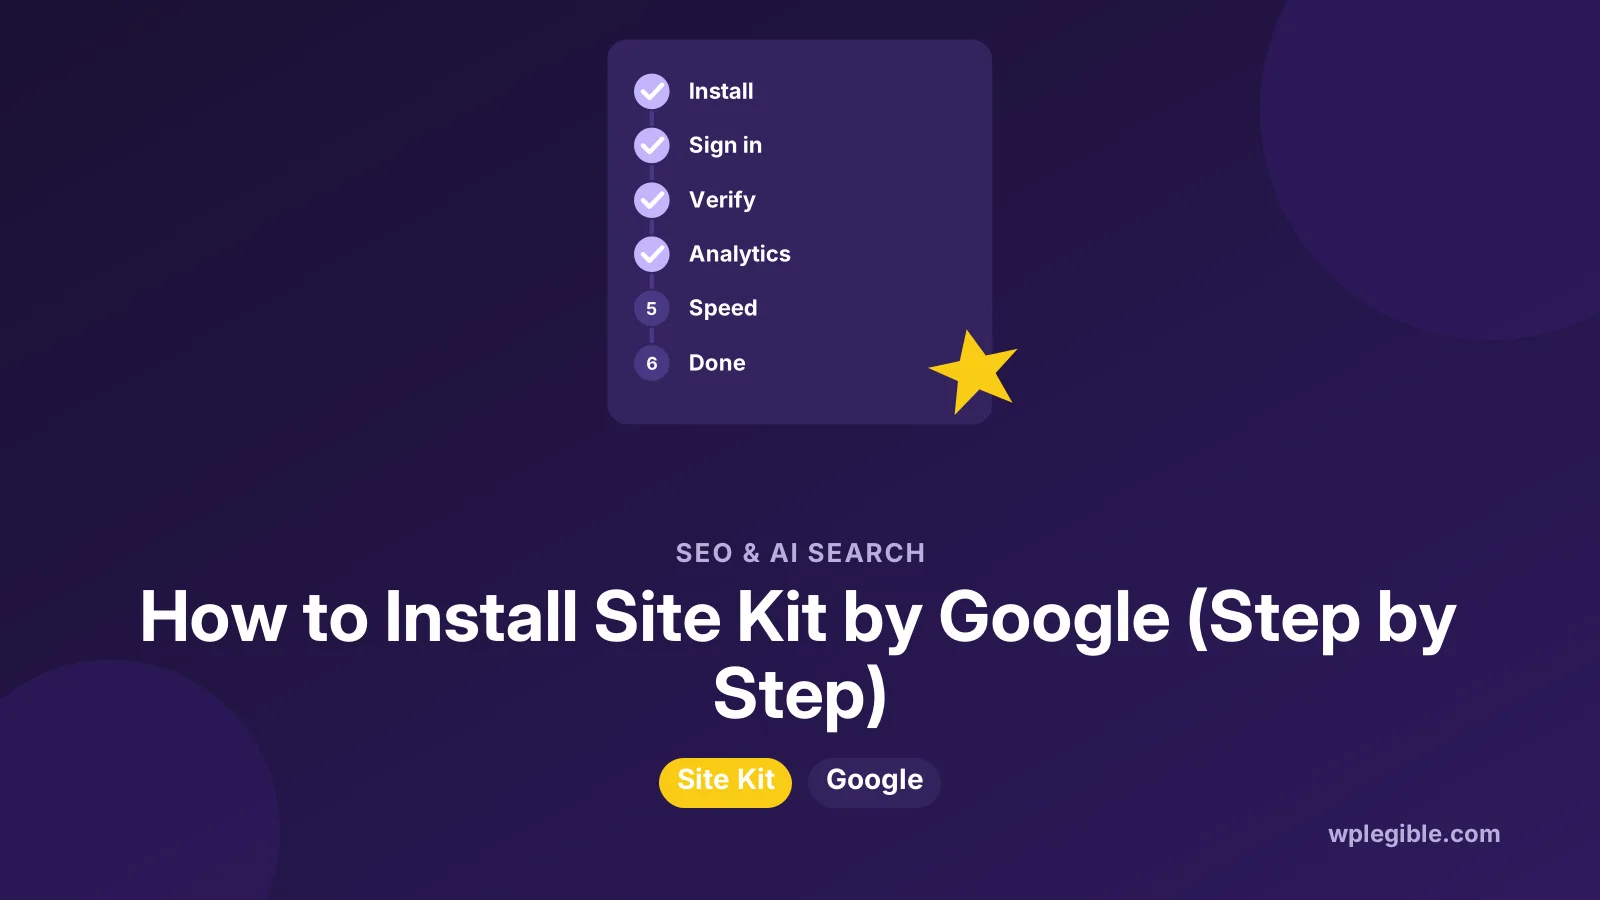
Go to Plugins, then Add New Plugin, search for Site Kit by Google, and click Install Now and Activate. Click Start setup, sign in with your Google account, approve the permissions, and let Site Kit verify your site and connect Search Console before adding Analytics.
Key takeaways
- Site Kit is Google's free official WordPress plugin.
- Setup only works on a live, public site with a working REST API.
- Search Console connects during setup; Analytics is added from Settings.
- Let only one tool place the Analytics tag to avoid double counting.
- Most failures come from blocked REST API calls or the wrong Google account.
How do you install Site Kit by Google?
Go to Plugins > Add New Plugin, search for Site Kit by Google, install and activate it, then click Start setup and sign in with your Google account to connect Search Console.
Site Kit is Google's official WordPress plugin. It links your site to Search Console, Analytics, PageSpeed Insights and other Google services, then shows the key numbers in your dashboard.
Installing the plugin takes a minute. The setup that follows takes a few more, mostly spent clicking through Google's permission screens.
This guide covers the requirements, each setup step, how to add Analytics and other services, and what to do when setup fails. For background on what the plugin does, read our explainer on what Google Site Kit is.
What do you need before installing Site Kit?
You need a live, publicly reachable WordPress site, an administrator account, a Google account you plan to keep, and a working WordPress REST API.
Run through this short checklist first:
- A public site. Google must reach your site to verify it. Local copies and password-protected staging sites cannot finish setup.
- Admin rights in WordPress. Only administrators can install plugins and connect Google services.
- The right Google account. Use an owner or company account rather than a contractor's personal login.
- A healthy REST API. Site Kit talks to Google through the WordPress REST API. Tools > Site Health will warn you if it is blocked.
- Recent PHP and WordPress. Check the minimum versions listed on the Site Kit plugin page, since they rise over time.
If another plugin already adds your Google Analytics tag, make a note of it. You will need to choose which tool keeps that job later.
Step 1: How do you install and activate the plugin?
Open Plugins > Add New Plugin, type Site Kit in the search box, click Install Now on the plugin by Google, then click Activate.
- Log in to WordPress as an administrator.
- Go to Plugins > Add New Plugin.
- Search for Site Kit by Google.
- Check the author is Google, then click Install Now.
- Click Activate when the button changes.
A new Site Kit menu appears in the left sidebar. You also see a banner prompting you to start setup.
If your host blocks plugin installs from the dashboard, download the zip from WordPress.org and upload it under Plugins > Add New Plugin > Upload Plugin. The WordPress guide to managing plugins explains both methods.
Step 2: How do you start setup and sign in with Google?
Click Start setup on the Site Kit screen, choose your Google account, and approve the permissions Site Kit asks for so it can read and manage data for your site.
Site Kit sends you to a Google sign-in page. Pick the account you want to own the connection.
Next, Google lists the permissions Site Kit needs. These usually include viewing and managing Search Console data and verifying site ownership. Tick the boxes and continue.
Some screens ask whether you also want to set up Analytics during this first pass. You can say yes now or connect it later from the settings.
The Site Kit website keeps an up-to-date walkthrough of each screen, which helps if Google changes the wording.
Step 3: How does Site Kit verify your site?
Site Kit verifies ownership automatically by adding a verification token to your site, so you do not need to upload files or edit DNS records yourself.
Once verification passes, Site Kit connects Search Console. If you already have a Search Console property for the site, it uses that one.
If not, Site Kit creates a property for you. Search Console data can take a few days to fill in for a brand new property, so early charts may look empty.
Verification is where most failures happen. A security plugin, firewall or maintenance page that blocks Google's request will stop the process.
Step 4: How do you connect Google Analytics?
Open Site Kit > Settings > Connect more services, choose Analytics, sign in again if asked, and pick an existing GA4 property or let Site Kit create a new one.
- Go to Site Kit > Settings.
- Open the Connect more services tab.
- Click Set up Analytics.
- Select your account, property and web data stream, or create new ones.
- Decide whether Site Kit should place the Analytics tag.
- Click Configure Analytics.
Step 5 is important. If MonsterInsights, a theme setting or a header plugin already adds the GA4 tag, tell Site Kit not to place its own. Two tags count every visit twice.
For more on the reporting side, see our guide on using Google Analytics with WordPress.
Which other services can you connect?
You can also connect PageSpeed Insights, AdSense, Tag Manager, Google Ads and a few newer modules, each from the same Connect more services screen.
| Service | What you get | Good for |
|---|---|---|
| Search Console | Search clicks, impressions and queries | Every site |
| Analytics | Visitors, top pages, traffic sources | Every site |
| PageSpeed Insights | Speed scores and Core Web Vitals | Every site |
| AdSense | Ad code placement and earnings | Sites that show ads |
| Tag Manager | Adds the GTM container | Sites with custom tracking |
| Google Ads | Conversion tag | Sites running ad campaigns |
You do not have to connect everything. Start with Search Console, Analytics and PageSpeed Insights, then add more only if you use those products.
The Tag Manager option deserves a caution. If you use GTM to load Analytics, let GTM handle it and keep Site Kit's Analytics tag off.
How do you check that Site Kit works?
Open Site Kit > Dashboard and look for Search Console and Analytics widgets; then view a page in a private window and confirm a visit in the Analytics Realtime report.
The dashboard shows search traffic, top content and speed scores. Search data lags by a couple of days, which is normal.
To confirm the Analytics tag, view your page source and search for your measurement ID, which starts with G-. It should appear once.
You can also open Tools > Site Health to make sure there are no REST API or loopback warnings, since those can stop Site Kit from refreshing data.
How do you give other users access to Site Kit?
Administrators can sign in to Site Kit with their own Google accounts, and the dashboard sharing setting lets editors and other roles view chosen widgets without connecting Google.
Each admin who signs in uses their own Google permissions. If someone lacks access to the Analytics property, their widgets will show an error.
Dashboard sharing, found in the Site Kit dashboard, lets you pick which roles can see each module's data. This is handy for editors who want traffic numbers but should not manage Google settings.
If you need to review who can do what, our guide to WordPress user roles explains each role.
Why does Site Kit setup fail?
Setup usually fails because the site is not public, the REST API is blocked, a security tool stops Google's verification request, or the Google account lacks property access.
| Problem | Likely cause | Fix |
|---|---|---|
| Verification fails | Site is local, staging or password protected | Run setup on the live site |
| REST API error | Security plugin or server rule blocks /wp-json/ | Allow the REST API, check Site Health |
| Redirect loop at sign-in | Caching or a wrong site URL | Clear cache and check Settings > General |
| Property not listed | Google account lacks access | Ask the owner to add you in Analytics |
| No data after setup | New property or caching | Wait a few days and clear caches |
If you see a REST API warning, our guide on fixing REST API errors in Site Health walks through the usual causes.
You can also reset Site Kit under Site Kit > Settings > Admin Settings. Resetting disconnects every service and lets you start again with a different account.
How do you remove Site Kit cleanly?
Reset Site Kit from its admin settings first, then deactivate and delete the plugin; your Search Console and Analytics data stays in your Google account.
Resetting clears the stored tokens and settings from your database. Deleting the plugin without a reset can leave some options behind.
Remember that removing Site Kit also removes any tags it placed. If Site Kit was adding your Analytics tag, set up another method first so tracking does not stop.
Removing the plugin does not delete your Search Console property or your GA4 data. Those live in Google, not in WordPress, so you can keep using them directly at Google Search Console.
Frequently asked questions
Is Site Kit by Google free?
Yes. Site Kit is free and open source, with no paid tier. The services it connects to have their own terms. Search Console, Analytics and PageSpeed Insights are free for normal sites, while Google Ads charges for ad campaigns you choose to run.
Can I install Site Kit on a local or staging site?
You can install it, but setup will not finish. Google needs to reach your site to verify ownership and collect data, so a local copy or a password-protected staging site fails at the verification step. Run setup on the live site instead.
Does Site Kit slow down my website?
Site Kit's reports load in the admin area, so visitors are not affected by them. The tags it places, such as Analytics or AdSense, add the same weight they would add if you inserted them by hand, so connect only the services you use.
Can I switch the Google account connected to Site Kit?
Yes. Use the reset option in Site Kit's admin settings to disconnect everything, then run setup again and sign in with the new account. Make sure the new account has access to the Search Console and Analytics properties first.
Do I need Site Kit if I already use MonsterInsights?
Not necessarily. Both can connect Analytics, but only one should place the tag. Some people use Site Kit for Search Console and speed data while MonsterInsights handles Analytics tracking and reports.
Sources
- Site Kit by Google WordPress.org
- Site Kit by Google Google
- Manage Plugins WordPress.org Documentation
- REST API Handbook WordPress Developer Resources
- Google Search Console Google
Is your product missing, or something out of date?
Tell us what to add or correct. We read every note and reply when we need a source. A message does not buy a ranking.
Thanks — we review requests within 3 business days.
Related guides

About the editors
Researched from the primary sources listed above and checked against our editorial rules before publishing.