WooCommerce · Guide
How to Add Products to Your WordPress Website (Step by Step)
Short answer
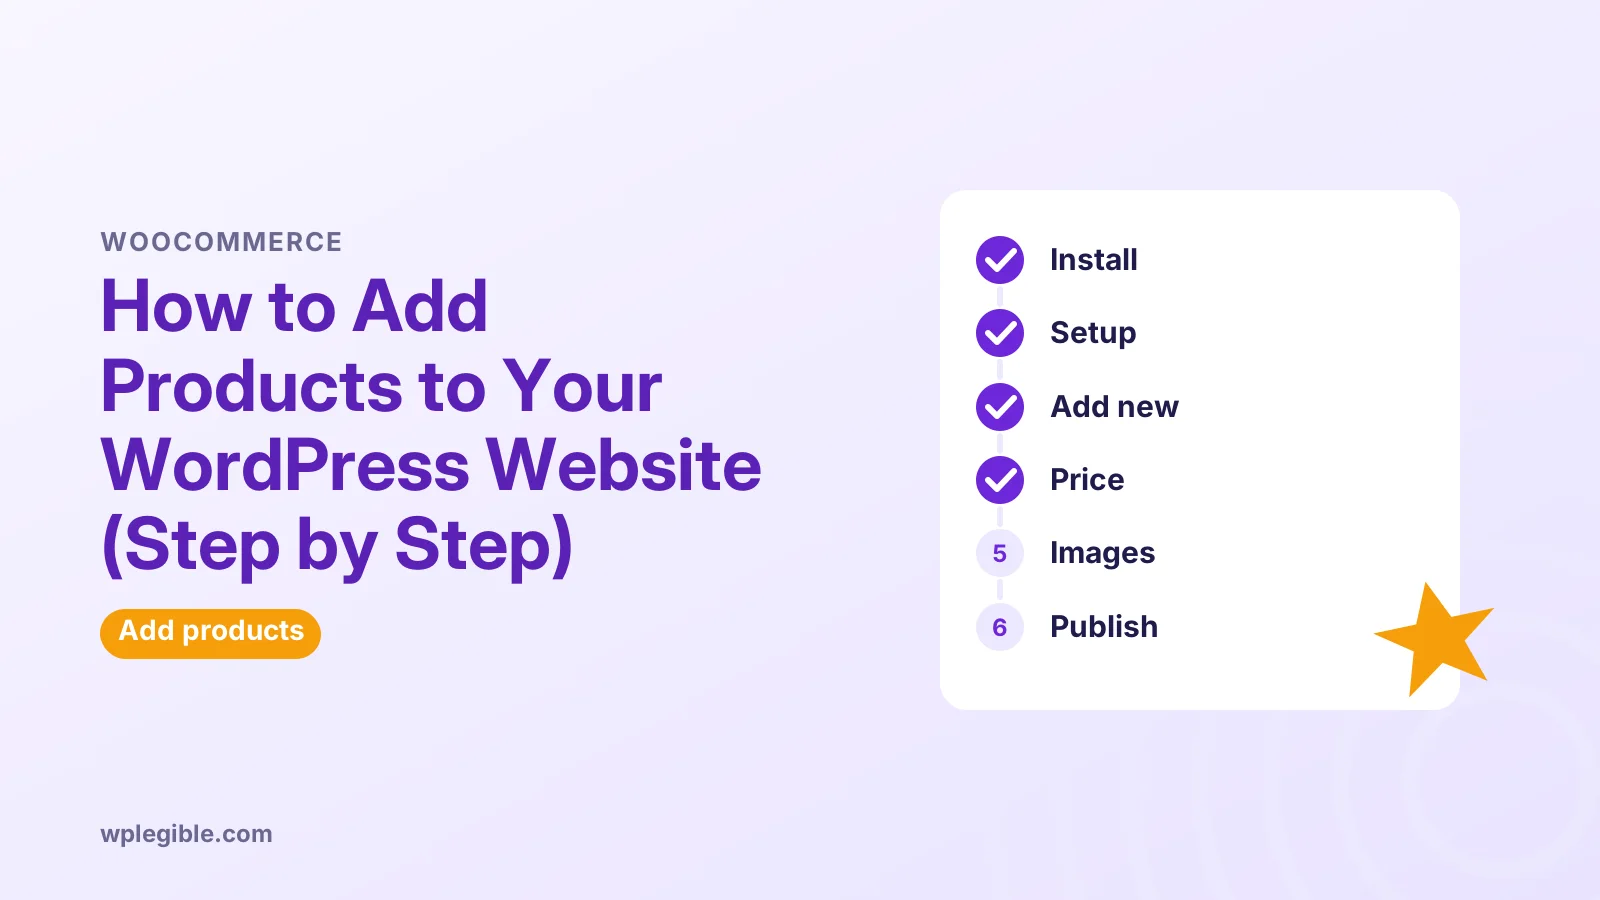
Install and activate WooCommerce, run its setup wizard, then go to Products, Add New Product. Enter a name, description and price, choose a product type, add images and categories, and click Publish. For many items at once, use the built-in CSV importer under Products, Import.
Key takeaways
- WordPress needs an ecommerce plugin such as WooCommerce to sell products.
- Set up payments and shipping before adding your first product.
- Use simple products for single items and variable products for sizes or colours.
- Every variation needs its own price or it cannot be bought.
- Bulk add products with the WooCommerce CSV importer.
- Drafts, missing prices and cache are the usual reasons a product does not show.
What do you need before adding products to WordPress?
You need an ecommerce plugin, usually WooCommerce, installed and set up with your store address, currency, payments and shipping, plus product photos and details ready to enter.
WordPress does not have a built-in product system. A plugin adds the product type, cart and checkout. WooCommerce is the most widely used option and is free to install from the WooCommerce plugin page.
Gather these before you start:
- Product name and description. A short summary and a longer description.
- Price, and a sale price if you want one.
- Photos. One main image and a few gallery images, ideally the same size and shape.
- SKU and stock count if you track inventory.
- Weight and dimensions if you charge shipping by size or weight.
- Categories and tags you want to group products under.
If you are still choosing a platform, our comparison of WordPress and Shopify explains how a WordPress store differs from a hosted one.
How do you install and set up WooCommerce?
Go to Plugins > Add New Plugin, search for WooCommerce, click Install Now and then Activate, and follow the setup wizard to enter your store details.
The setup wizard asks for your store address, industry, product types and business details. You can skip parts and come back later under WooCommerce > Settings.
Before adding products, check three settings areas:
- General: store address, selling locations and currency.
- Payments: enable at least one payment method so customers can check out.
- Shipping: add shipping zones and methods if you sell physical goods. Our guide to WooCommerce shipping zones explains how zones work.
Our full tour of WooCommerce settings covers every tab if you want more detail.
How do you add a simple product step by step?
Go to Products > Add New Product, enter a title and description, set the price in the Product data box, add an image and category, then click Publish.
Here is the full process for a basic physical product:
- In your dashboard, go to Products > Add New Product.
- Type the product name in the title field.
- Write the main description in the large editor below the title.
- Scroll to the Product data box and leave the type as Simple product.
- On the General tab, enter the Regular price and, optionally, a Sale price.
- Set Tax status and Tax class if you charge tax.
- On the Inventory tab, add a SKU and tick stock management if you want WooCommerce to track quantity.
- On the Shipping tab, enter weight, dimensions and a shipping class if you use one.
- Add a Product short description further down. Many themes show it beside the product image.
- In the right sidebar, pick Product categories and add Product tags.
- Set the Product image and add extra photos to the Product gallery.
- Click Publish.
WooCommerce shows a similar walkthrough in its guide on how to add a product. Screen layouts can change between WooCommerce versions, so labels may differ slightly.
Which product type should you choose?
Choose simple for single items, variable for items with options like size or colour, grouped for sets of related products, and external for affiliate items sold elsewhere.
| Product type | Best for | Example |
|---|---|---|
| Simple | One item, one price | A mug |
| Variable | Options with different prices or stock | T-shirt in sizes S to XL |
| Grouped | A collection of simple products | A starter kit page |
| External/Affiliate | Products sold on another site | Amazon affiliate item |
Two checkboxes sit next to the type selector:
- Virtual removes shipping fields for services or non-physical items.
- Downloadable adds file fields for digital products like ebooks or templates.
The WooCommerce product documentation explains each type in more depth.
How do you add a product with variations?
Pick Variable product, create attributes such as Size or Colour on the Attributes tab, tick Used for variations, then generate variations and give each one a price.
Step by step:
- Set the Product data type to Variable product.
- Open the Attributes tab.
- Add an attribute, for example Size, and enter values like S | M | L.
- Tick Used for variations and save the attributes.
- Open the Variations tab and generate variations from all attributes.
- Expand each variation and set its Regular price. Variations without a price will not show as purchasable.
- Optionally set a SKU, stock and image for each variation.
- Click Update or Publish.
If you reuse attributes across many products, create them once under Products > Attributes. That keeps names consistent and makes filtering easier.
How do you organize products with categories and tags?
Create product categories under Products > Categories for the main groups in your store, and use tags for smaller cross-cutting labels.
Good structure helps both shoppers and search engines. Keep categories broad, such as Mugs, Prints and Clothing, and use tags for themes like gift ideas or summer.
Each category can have its own image and description, which many themes display on the category page. Our guide on showing product categories in WooCommerce explains how to display them on your shop page.
How should you prepare product images?
Use clear photos with the same aspect ratio, compress them before upload, and add descriptive alt text so they load fast and make sense to screen readers and search engines.
Tips that keep your shop looking tidy:
- Use a consistent background and the same shape for every main image, usually square.
- Export images at a sensible size rather than full camera resolution.
- Name files descriptively, such as blue-ceramic-mug.jpg, rather than IMG_1234.jpg.
- Fill in the alt text field in the media library. The W3C images tutorial explains how to write useful alt text.
If images look cropped or blurry, our guide to changing WooCommerce product image size explains the thumbnail settings. Google's image SEO guidance covers alt text and file names.
Can you add many products at once?
Yes. WooCommerce includes a CSV importer under Products > Import, so you can upload a spreadsheet of products instead of adding them one by one.
Download a sample CSV from WooCommerce first and match its columns. Each row becomes a product, with columns for name, price, SKU, categories, images and more. Variable products need parent and variation rows.
Before importing a large file:
- Test with five or ten rows first.
- Host images at public URLs so the importer can fetch them.
- Back up your site in case you need to undo.
Our guide to exporting WooCommerce products is useful too, because exporting one finished product gives you a perfect template for the import file.
Why is a new product not showing in your store?
The usual reasons are that the product is still a draft, has no price, is out of stock and hidden, is set to hidden catalog visibility, or the page is cached.
Check these quickly:
- Status: make sure the product is published, not draft or pending.
- Price: simple products and each variation need a price.
- Catalog visibility: in the Publish box, confirm it is set to show in shop and search results.
- Stock settings: WooCommerce can hide out-of-stock items in its inventory settings.
- Cache: clear your caching plugin and any CDN cache.
If products still do not appear, our troubleshooting guide on WooCommerce products not showing in the shop page goes through more causes.
What should you check before you start selling?
Before going live, place a test order, check emails, confirm tax and shipping totals, and view each product on mobile.
A short pre-launch list:
- Place a test order with a real or test payment method.
- Confirm the order and customer emails arrive.
- Check that shipping and tax add up correctly at checkout.
- View product pages on a phone.
- Make sure your returns, privacy and terms pages are published.
Once that all works, your products are ready for real customers.
Frequently asked questions
Can I add products to WordPress without WooCommerce?
Yes. Other ecommerce plugins exist, and simple payment buttons from services like PayPal or Stripe can be added to pages. For a full store with cart, checkout, stock and orders, WooCommerce is the most common and best supported choice.
How do I add a digital product in WooCommerce?
Create a simple product, tick both Virtual and Downloadable, and upload the file in the Downloadable files section. You can also set a download limit and expiry. After payment, customers get a download link in their order email and account.
Can I add products on WordPress.com?
Yes, on plans that support ecommerce or plugins. Those plans let you use WooCommerce in the same way as a self-hosted site. Free and lower-tier plans do not include full store features, so check the plan details first.
How many products can I add to my WordPress site?
There is no fixed limit in WooCommerce. Stores with thousands of products work well on suitable hosting. Very large catalogs need more server resources, good caching and careful database maintenance to stay fast.
How do I edit a product after publishing it?
Go to Products, hover over the product and click Edit. Change any details and click Update. For small changes to price or stock across many items, Quick Edit and Bulk Edit on the products list save time.
Sources
- WooCommerce plugin WordPress.org
- Adding and Managing Products WooCommerce
- How to Add a WooCommerce Product WooCommerce
- Google image SEO best practices Google Search Central
Is your product missing, or something out of date?
Tell us what to add or correct. We read every note and reply when we need a source. A message does not buy a ranking.
Thanks — we review requests within 3 business days.
Related guides


About the editors
Researched from the primary sources listed above and checked against our editorial rules before publishing.