Setup & site building · Guide
How to Add Paystack to Your WordPress Website (Step by Step)
Short answer
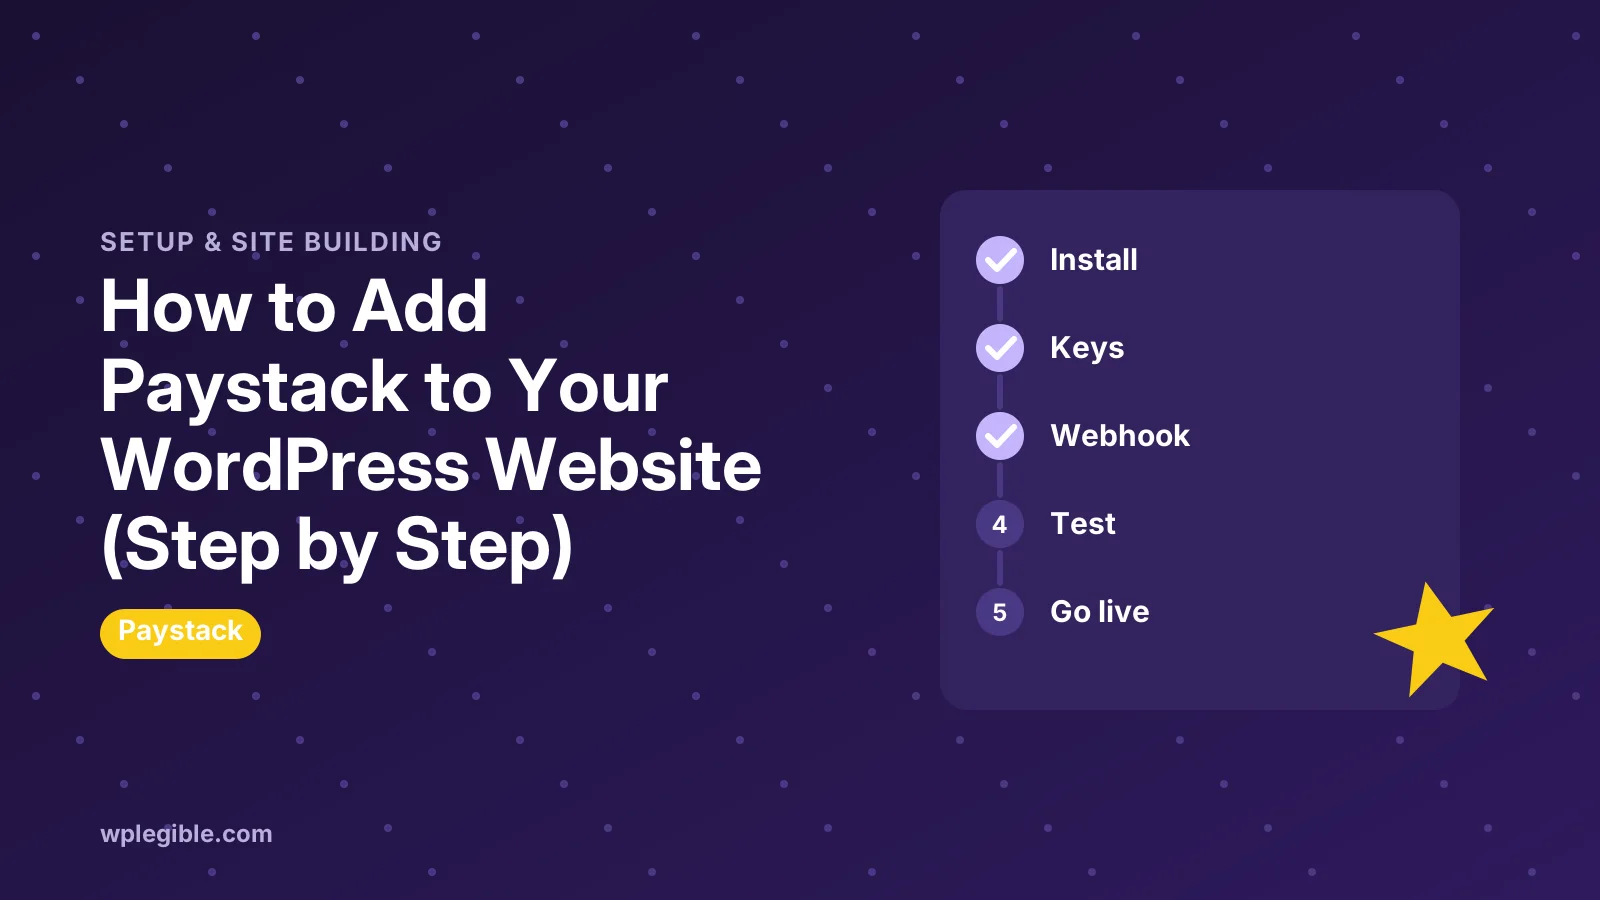
Install the Paystack WooCommerce gateway for a store, or Payment Forms for Paystack for simple payments. Paste your test keys from the Paystack Dashboard, add the webhook URL, run test payments, then switch to live keys.
Key takeaways
- WooCommerce stores use the free Paystack WooCommerce Payment Gateway plugin.
- Sites without a store can use Payment Forms for Paystack and a shortcode.
- Test and live keys are separate pairs, and mixing them breaks payments.
- The webhook marks orders as paid even if the customer closes the browser.
- Exclude checkout pages from caching and script optimization.
How do you add Paystack to a WordPress website?
You add Paystack to WordPress by installing a Paystack plugin, pasting your API keys from the Paystack Dashboard, and testing a payment in test mode before going live.
The plugin you pick depends on what you sell. A WooCommerce store needs the Paystack gateway for WooCommerce, while a site that only takes donations, fees or one-off payments can use a payment form plugin instead.
Both routes follow the same pattern. You create a Paystack account, copy your keys, connect them in WordPress, set the webhook URL, and run a few test payments.
This guide walks through each step for both setups. It also covers the settings that cause most failed payments, so you can spot problems before a real customer does.
| What you sell | Plugin to use | Where settings live |
|---|---|---|
| Physical or digital products with a cart | Paystack WooCommerce Payment Gateway | WooCommerce payments settings |
| Donations, fees, one-off payments | Payment Forms for Paystack | Its own admin menu |
| Form-based payments | A form plugin with a Paystack add-on | The form builder |
| Digital downloads | A Paystack gateway for your download plugin | That plugin's payment settings |
What do you need before you start?
You need an active Paystack account, admin access to WordPress, an SSL certificate on your site, and a store currency that Paystack supports in your country.
Sign up at Paystack and finish the business verification steps. Until your account is activated, you can usually only take test payments, which is fine for setup but not for real orders.
Check that your site loads over https. Payment pages should never run on plain http, and many gateways refuse to work without SSL. Our guide on how to install an SSL certificate in WordPress covers this if you still need one.
Confirm your currency too. Paystack works with a set list of currencies tied to the countries it serves, so check the Paystack support centre for what your account can accept.
Finally, take a backup. Adding a payment plugin is low risk, but a fresh backup means you can roll back quickly if something conflicts.
Where do you find your Paystack API keys?
Your API keys are in the Paystack Dashboard under the settings area for API Keys & Webhooks, where you will see a test pair and a live pair of keys.
Each pair has a public key and a secret key. The public key is used in the browser to open the payment window, and the secret key is used on your server to verify payments.
Test keys start with pk_test and sk_test, and live keys start with pk_live and sk_live. Mixing them up is one of the most common setup mistakes.
Treat the secret key like a password. Never paste it into a public page, a support forum or a theme file, and regenerate it from the dashboard if you think it has leaked.
Paystack's own article on API keys and webhooks shows where these fields sit in the dashboard.
How do you add Paystack to a WooCommerce store?
Install the free Paystack WooCommerce Payment Gateway plugin, open the Paystack entry in your WooCommerce payment settings, enable it, and paste your keys.
Here is the process in order:
- Go to Plugins → Add New and search for Paystack WooCommerce Payment Gateway.
- Install and activate the Paystack WooCommerce plugin.
- Go to WooCommerce → Settings → Payments and find Paystack in the list.
- Open its settings and tick the box to enable it.
- Turn on test mode and paste your test secret key and test public key.
- Set the title and description customers see at checkout.
- Save the changes.
Paystack publishes a step-by-step article on setting up Paystack on WooCommerce with screenshots. Field names can change between plugin versions, so use it alongside this guide.
If you have not set up WooCommerce yet, start with our guide to WooCommerce payment settings and come back once the store basics are in place.
Which Paystack settings matter most in WooCommerce?
The settings that matter most are test mode, the correct key pair, the payment page style, and the webhook URL, because each one directly affects whether an order gets marked as paid.
Test mode. Keep it on while you set up. When you switch it off, the plugin uses the live keys, so those fields must be filled in correctly first.
Payment option. The plugin can open Paystack as a popup on your checkout page or redirect customers to a Paystack-hosted page. The redirect option tends to avoid script conflicts with themes and optimization plugins.
Title and description. This is the text customers see next to the payment method. Keep it plain, such as Pay with card, bank or mobile money, so buyers know what to expect.
Extra options. Depending on the version, you may see options for saved cards, split payments or custom metadata. Leave these off until basic payments work.
How do you set up the Paystack webhook?
Copy the webhook URL shown in the plugin's settings and paste it into the webhook field in your Paystack Dashboard, under the same API settings area as your keys.
A webhook lets Paystack tell your site when a payment succeeds, even if the customer closes the browser before returning to your store. Without it, some paid orders can stay stuck as pending.
Paste the URL into the correct mode. Paystack keeps separate webhook fields for test and live, so set the test URL now and the live URL when you go live.
The Paystack webhook documentation explains how events are sent and verified. You do not need to write code for this when you use the plugin, because it handles verification for you.
If webhooks never arrive, check that a security plugin or firewall is not blocking requests to the webhook address. Our guide to WooCommerce orders stuck in pending payment covers this problem in more detail.
How do you add Paystack without WooCommerce?
Use the free Payment Forms for Paystack plugin, which lets you build simple payment forms and place them on any page with a shortcode, without needing a full online store.
This suits donations, event tickets, school fees, consulting deposits and similar one-off payments. You do not need a cart, product pages or shipping settings.
The basic steps are:
- Install and activate Payment Forms for Paystack.
- Open the plugin's settings page and paste your test and live keys.
- Create a new payment form and set the amount, or let the payer enter one.
- Add any extra fields you need, such as phone number or reference.
- Copy the form's shortcode and paste it into a page or post.
- Publish the page and run a test payment.
Paystack also has a support article on setting up Payment Forms for WordPress. If you need help with shortcodes, see our guide on what a shortcode is in WordPress.
Can you use Paystack with a form builder plugin?
Yes, some form builders offer a Paystack add-on, which is a good choice if you already build your forms with that plugin and want payments inside the same form.
For example, WPForms documents a Paystack addon that connects payment fields to your Paystack account. Add-ons like this are often limited to paid plans, so check the vendor's pricing before you rely on it.
The advantage is one form for everything. You can collect a registration, payment and custom answers in a single submission, and the entry shows the payment status.
The trade-off is cost and lock-in. If you later switch form builders, you will need to rebuild your payment forms.
How do you test Paystack before going live?
Run several test payments with test mode on, using the test cards listed in Paystack's documentation, and confirm each order or entry is marked as paid in WordPress.
Try a successful payment first. Then try a failed or declined test card to see what the customer sees and whether the order stays unpaid.
For each test, check three places. The Paystack Dashboard should show the transaction, WordPress should show the order as processing or completed, and the customer should receive the right emails.
Also test on a phone. Many Paystack customers pay on mobile, and a popup that works on desktop can behave differently on a small screen.
If test emails do not arrive, the payment may be fine but your mail setup may not. Our guide on fixing WooCommerce emails that are not sending can help.
How do you switch Paystack to live mode?
Fill in your live public and secret keys, set the live webhook URL in the Paystack Dashboard, turn off test mode in the plugin, and make one small real payment to confirm it works.
Your Paystack account must be activated before live payments will succeed. If live payments fail straight away, check the activation status in your dashboard first.
After the first real payment, refund it from the Paystack Dashboard if you want. This confirms both payments and refunds work end to end.
Keep an eye on the first few days of orders. Compare the Paystack Dashboard with your WooCommerce orders to make sure every successful payment created a paid order.
Why is Paystack not working on my WordPress site?
Paystack usually fails on WordPress because of mixed-up test and live keys, a missing webhook, an unsupported store currency, or a caching or script optimization plugin breaking the checkout.
Work through these checks in order:
- Keys. Confirm test keys are used in test mode and live keys in live mode, with no extra spaces.
- Currency. Make sure the WooCommerce store currency matches one your Paystack account accepts.
- Webhook. Confirm the webhook URL is saved in the right mode in the Paystack Dashboard.
- Caching. Exclude cart, checkout and account pages from page caching.
- Scripts. Turn off script delay or combine options for the checkout page, or switch to the redirect payment option.
- Plugin conflicts. Test with other plugins paused on a staging copy.
Error logs often point straight to the problem. Our guide on how to check PHP error logs shows where to find them.
Is Paystack safe to use on WordPress?
Yes, Paystack is safe to use on WordPress because card details are entered on Paystack's own payment window or page, so your site never stores the full card number.
That reduces your security burden, but it does not remove it. Your WordPress admin account, hosting and plugins still need to be kept secure and up to date.
Use strong passwords and two-factor authentication on both WordPress and the Paystack Dashboard. Limit dashboard access to people who really need it.
Keep the Paystack plugin updated. Payment plugins receive fixes for security issues and API changes, and an outdated version can stop working without warning.
Frequently asked questions
Is the Paystack plugin for WordPress free?
Yes. Both the Paystack WooCommerce Payment Gateway plugin and Payment Forms for Paystack are free to download from the WordPress plugin directory. Paystack charges a fee per successful transaction instead, so check its pricing page for the rates in your country.
Do I need WooCommerce to use Paystack on WordPress?
No. WooCommerce is only needed if you want a full store with a cart and product pages. For donations, fees or one-off payments, a payment form plugin for Paystack lets you place a form on any page with a shortcode.
Why are my Paystack orders stuck on pending?
Pending orders usually mean the webhook is missing or blocked, so WordPress never hears that the payment succeeded. Copy the webhook URL from the plugin settings into the Paystack Dashboard for the correct mode, and check that no firewall blocks it.
Can I test Paystack without real money?
Yes. Turn on test mode in the plugin and use your test keys, then pay with the test cards listed in Paystack's documentation. Test transactions appear in the dashboard's test mode and no real money moves.
Where do customers enter their card details?
Customers enter card details in Paystack's secure payment window or on a Paystack-hosted page, depending on the payment option you choose. Your WordPress site never stores the full card number, which reduces your security and compliance burden.
Sources
- Paystack WooCommerce Payment Gateway WordPress.org Plugins
- Payment Forms for Paystack WordPress.org Plugins
- How to set up Paystack on WooCommerce Paystack Support
- How to set up Paystack Payment Forms for WordPress Paystack Support
- Webhooks Paystack Docs
- Paystack Addon WPForms
Is your product missing, or something out of date?
Tell us what to add or correct. We read every note and reply when we need a source. A message does not buy a ranking.
Thanks — we review requests within 3 business days.
Related guides

About the editors
Researched from the primary sources listed above and checked against our editorial rules before publishing.